Getting started with making paper
Introduction
In this introduction I will try to provide a method that will get you started with almost no equipment.
Considerations
- Start small
The golden rule I had to learn which has also helped me to continue. Honestly, don't expect much at the start. Be surprised with whatever you create. It is all a learning experience. My first paper I tried to dry on baking paper, resting on a board. Needless to say it never dried and fell apart.
- Learn from failure
Some of my biggest achievements were as a result of previous iterations of complete failures.
- Understand what you can achieve in a day
I am still trying to learn. Trust me you don't want a vat of pulp waiting to rot on a Sunday evening.
- Trust the process
I always tell people. Papermaking is a lesson in patience.
Materials & equipment
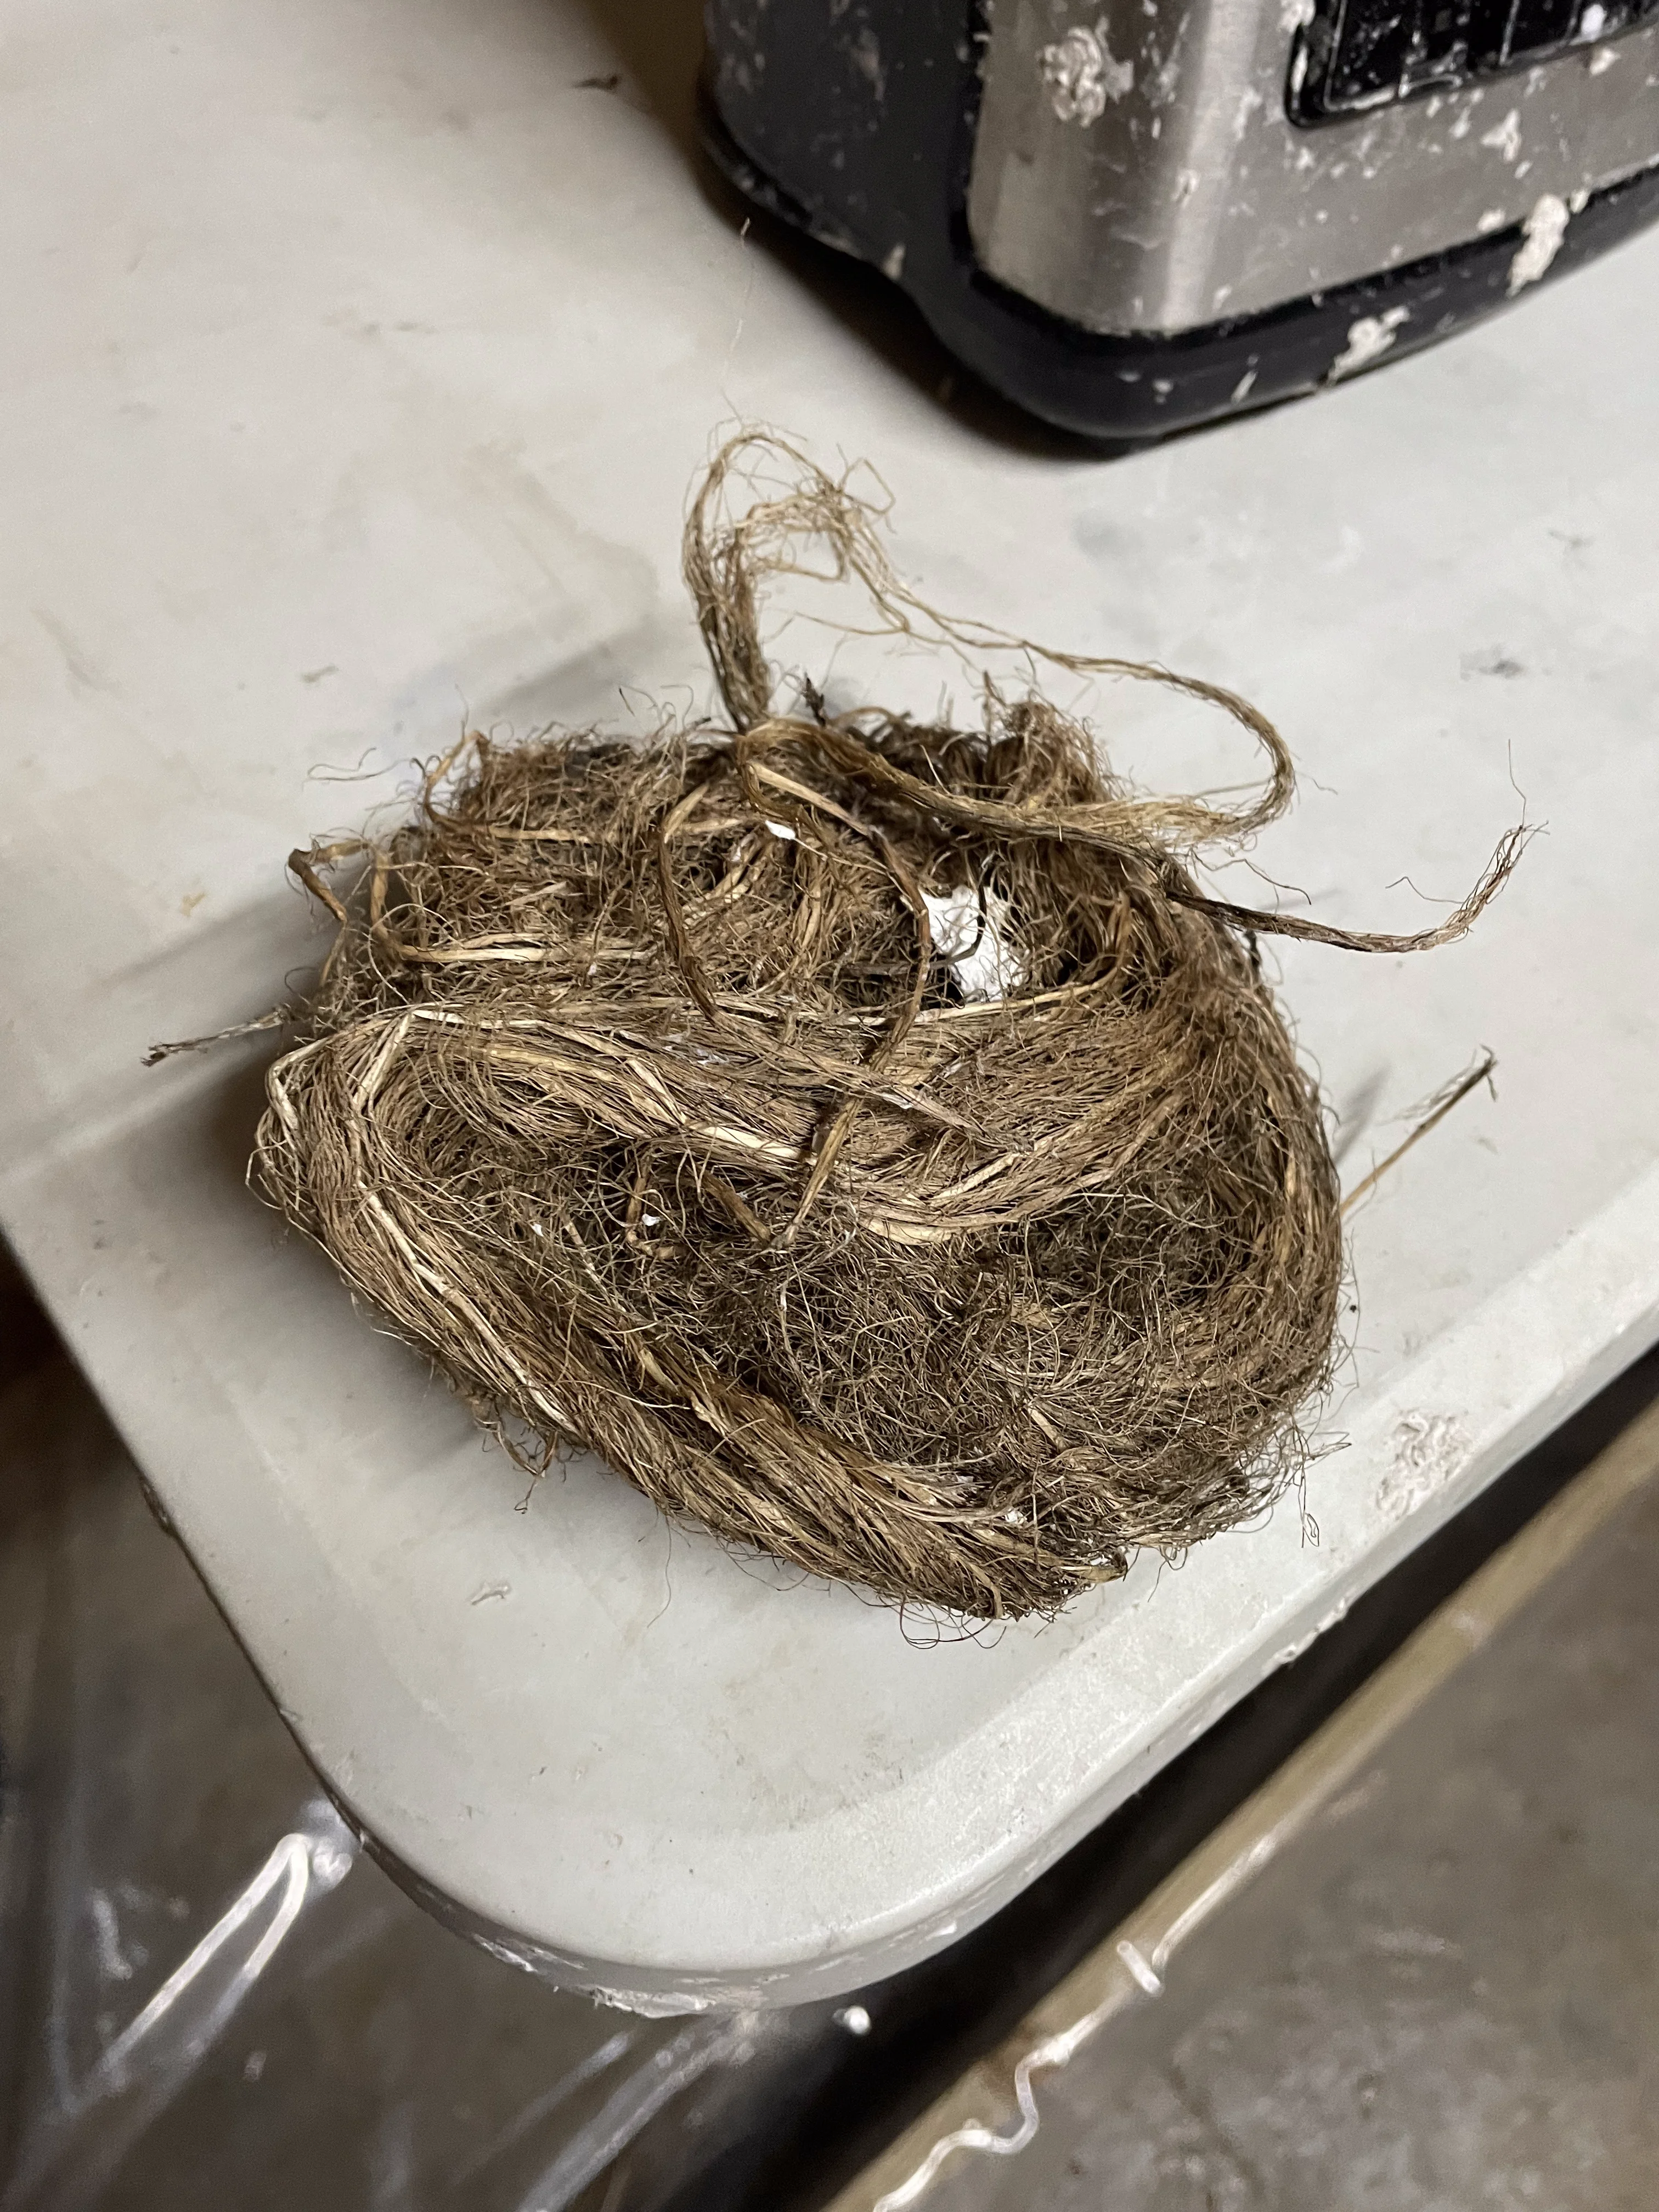
I have outlined some materials which you could find around the home. What is important if you don't have a blender or beater (please don't buy them yet!) is to look for materials that have some sort of fibre.
I have tried a few types of materials. One note of caution is that if you do decide to try using newspaper, I would suggest mixing it with something like cut grass that has been dried or some other fibrous material. As on its own it does not tend to do so well. Saying this I have been able to produce quite beautiful paper with cardboard, newspaper and found sewing thread scraps.
The following are some suggestions for you to look for:
- Found/recycled fibre material
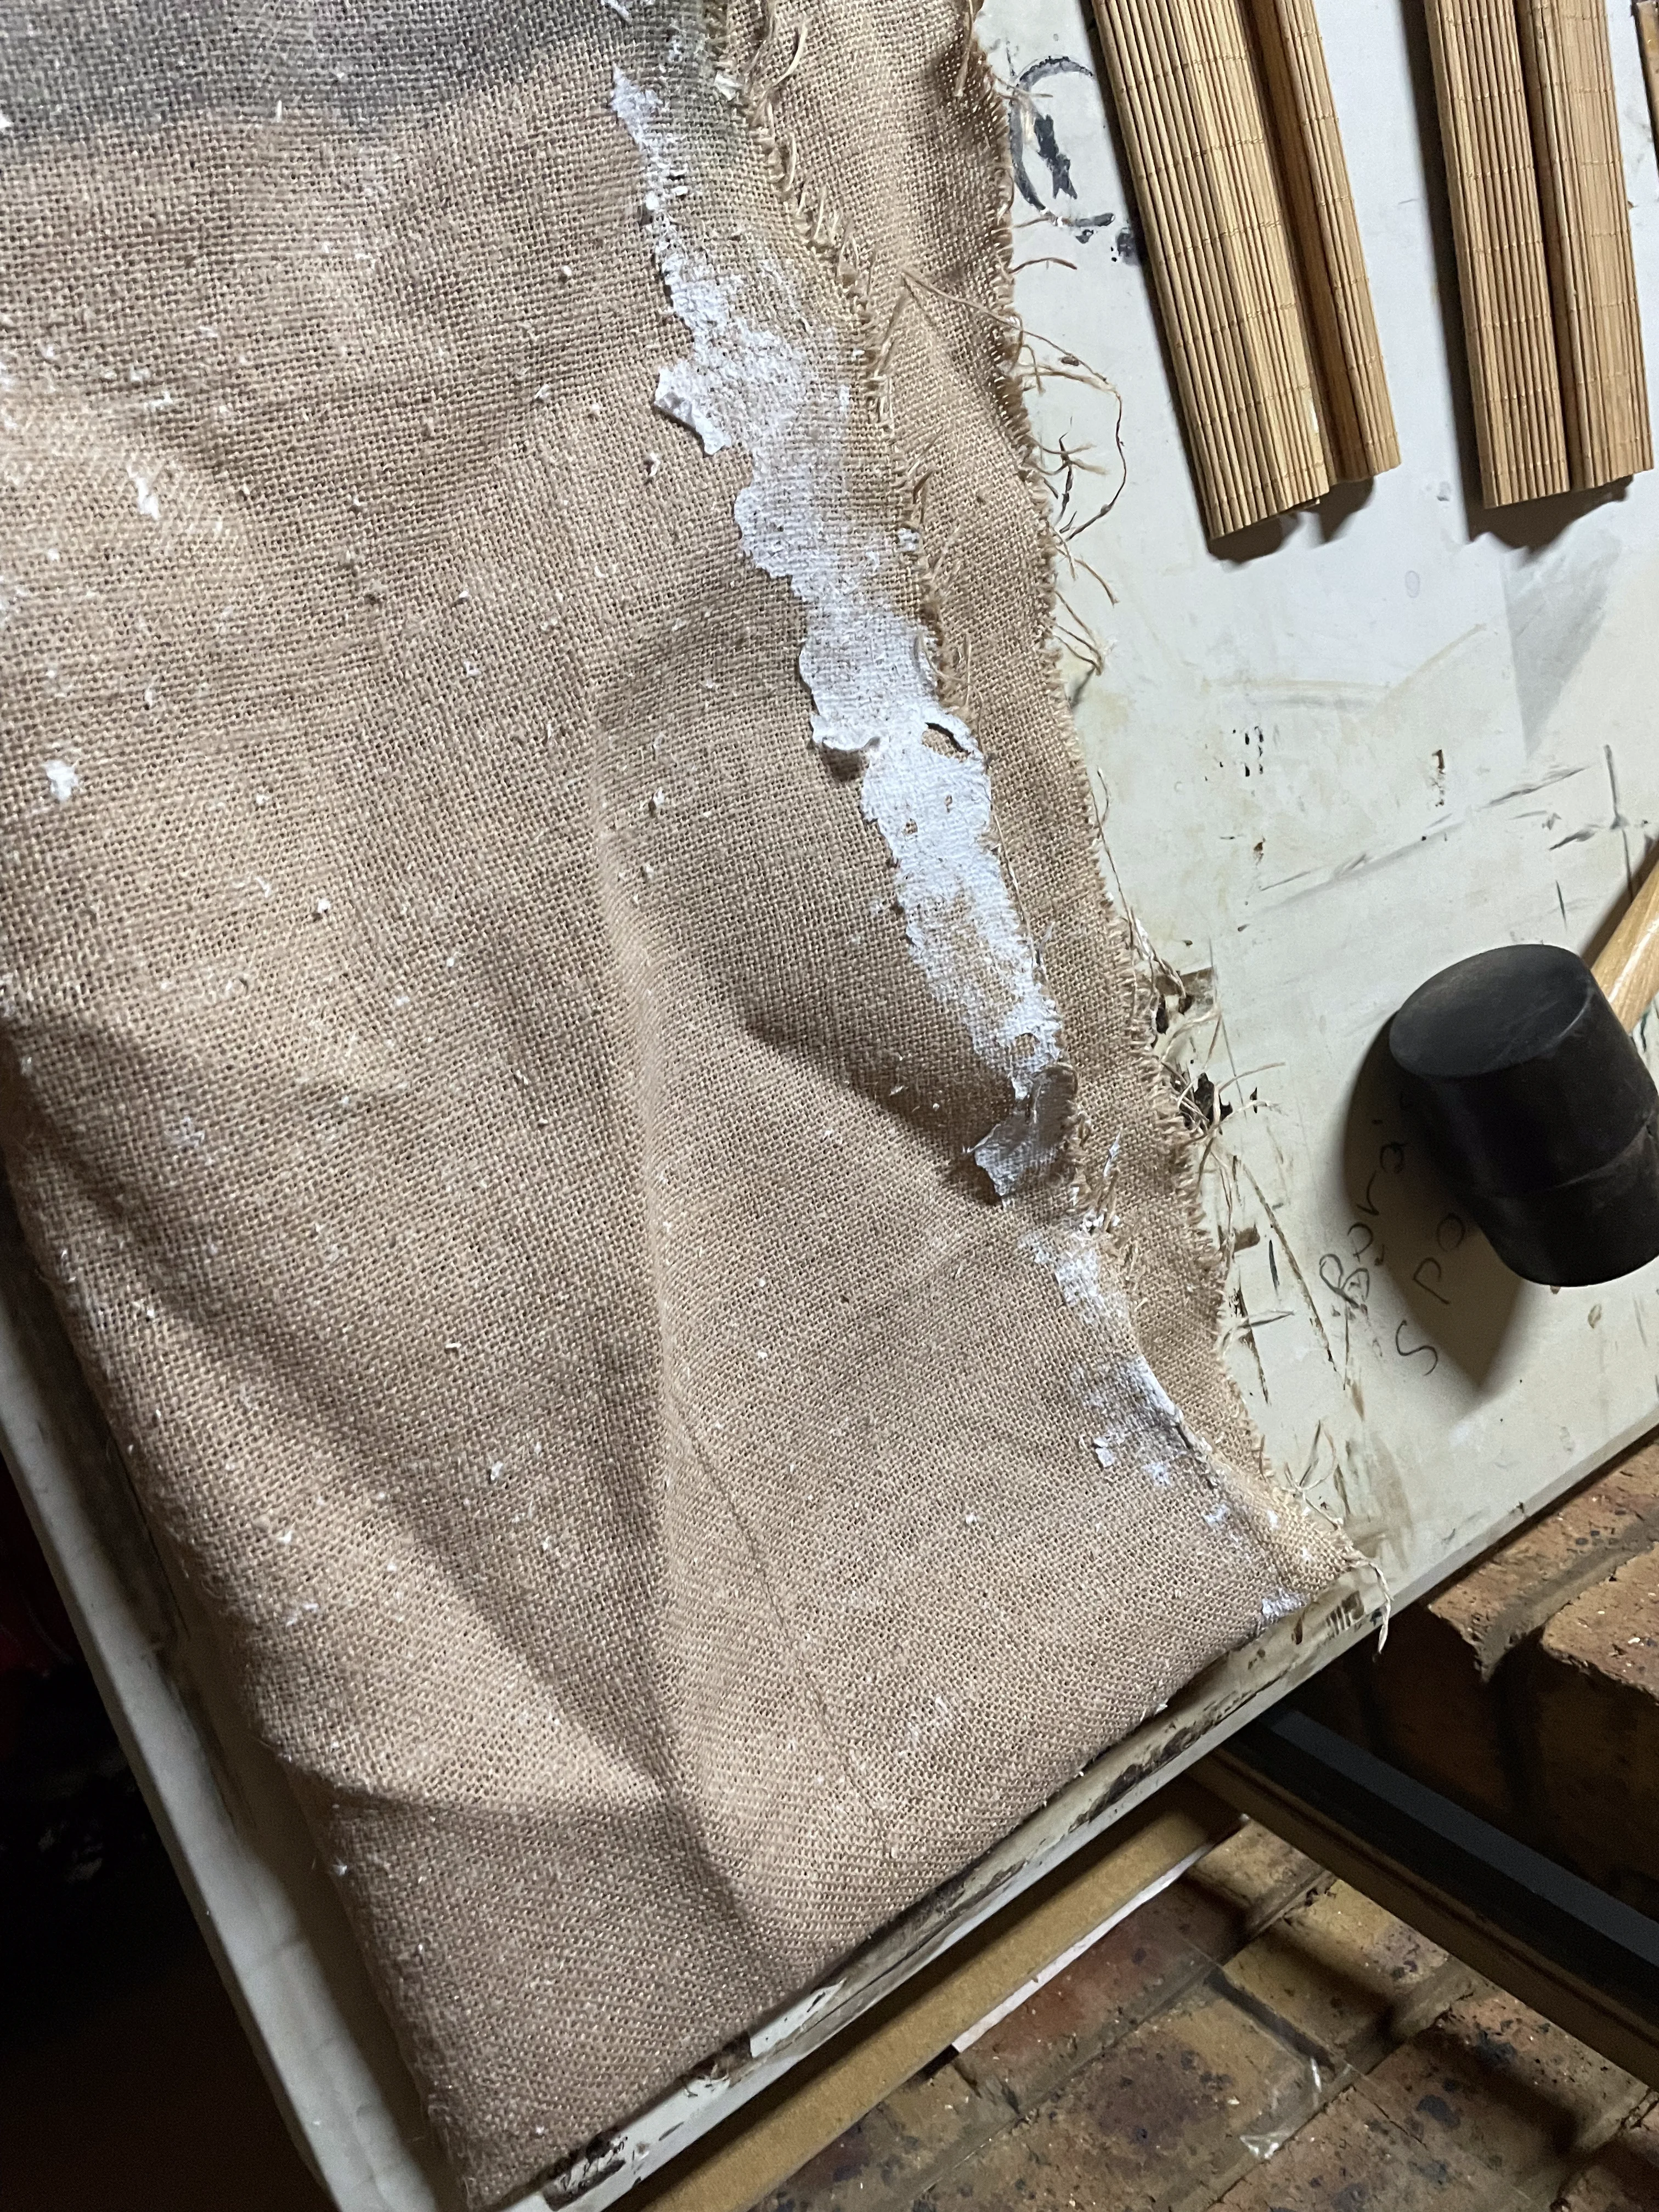
- Hemp (or similar)
- Container to hold water
To make life easier (possibly optional)
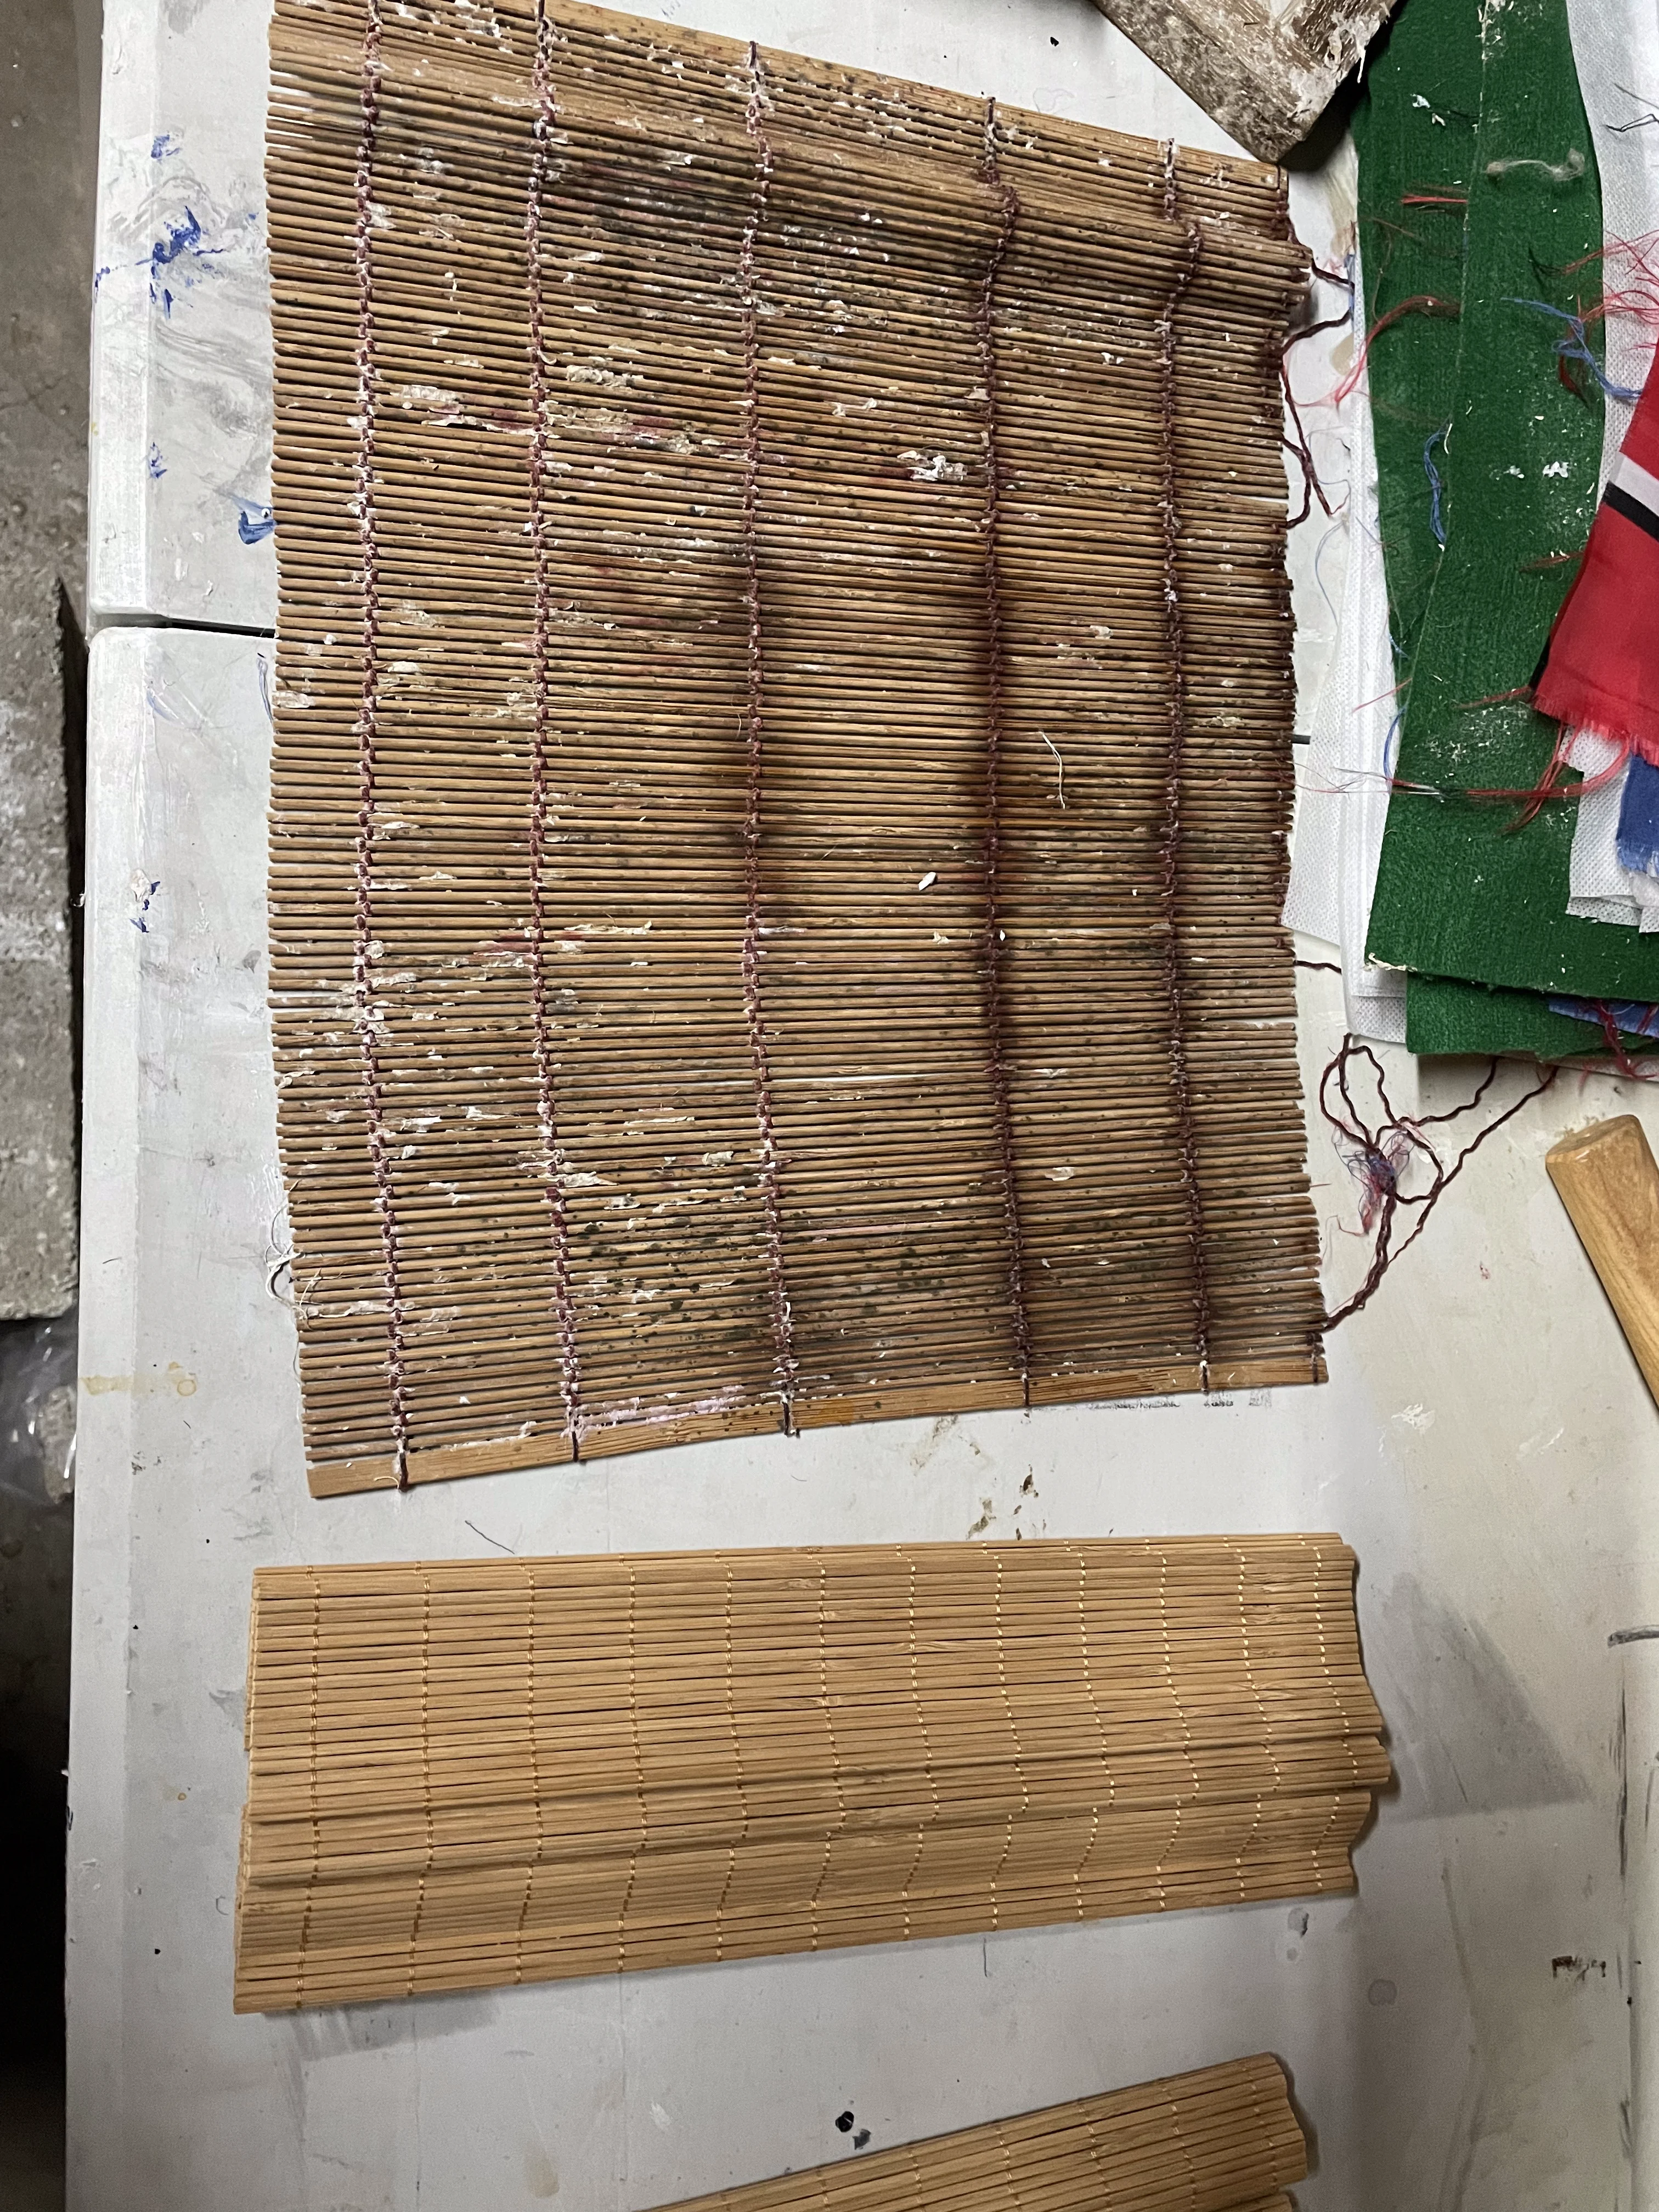
- Bamboo mats
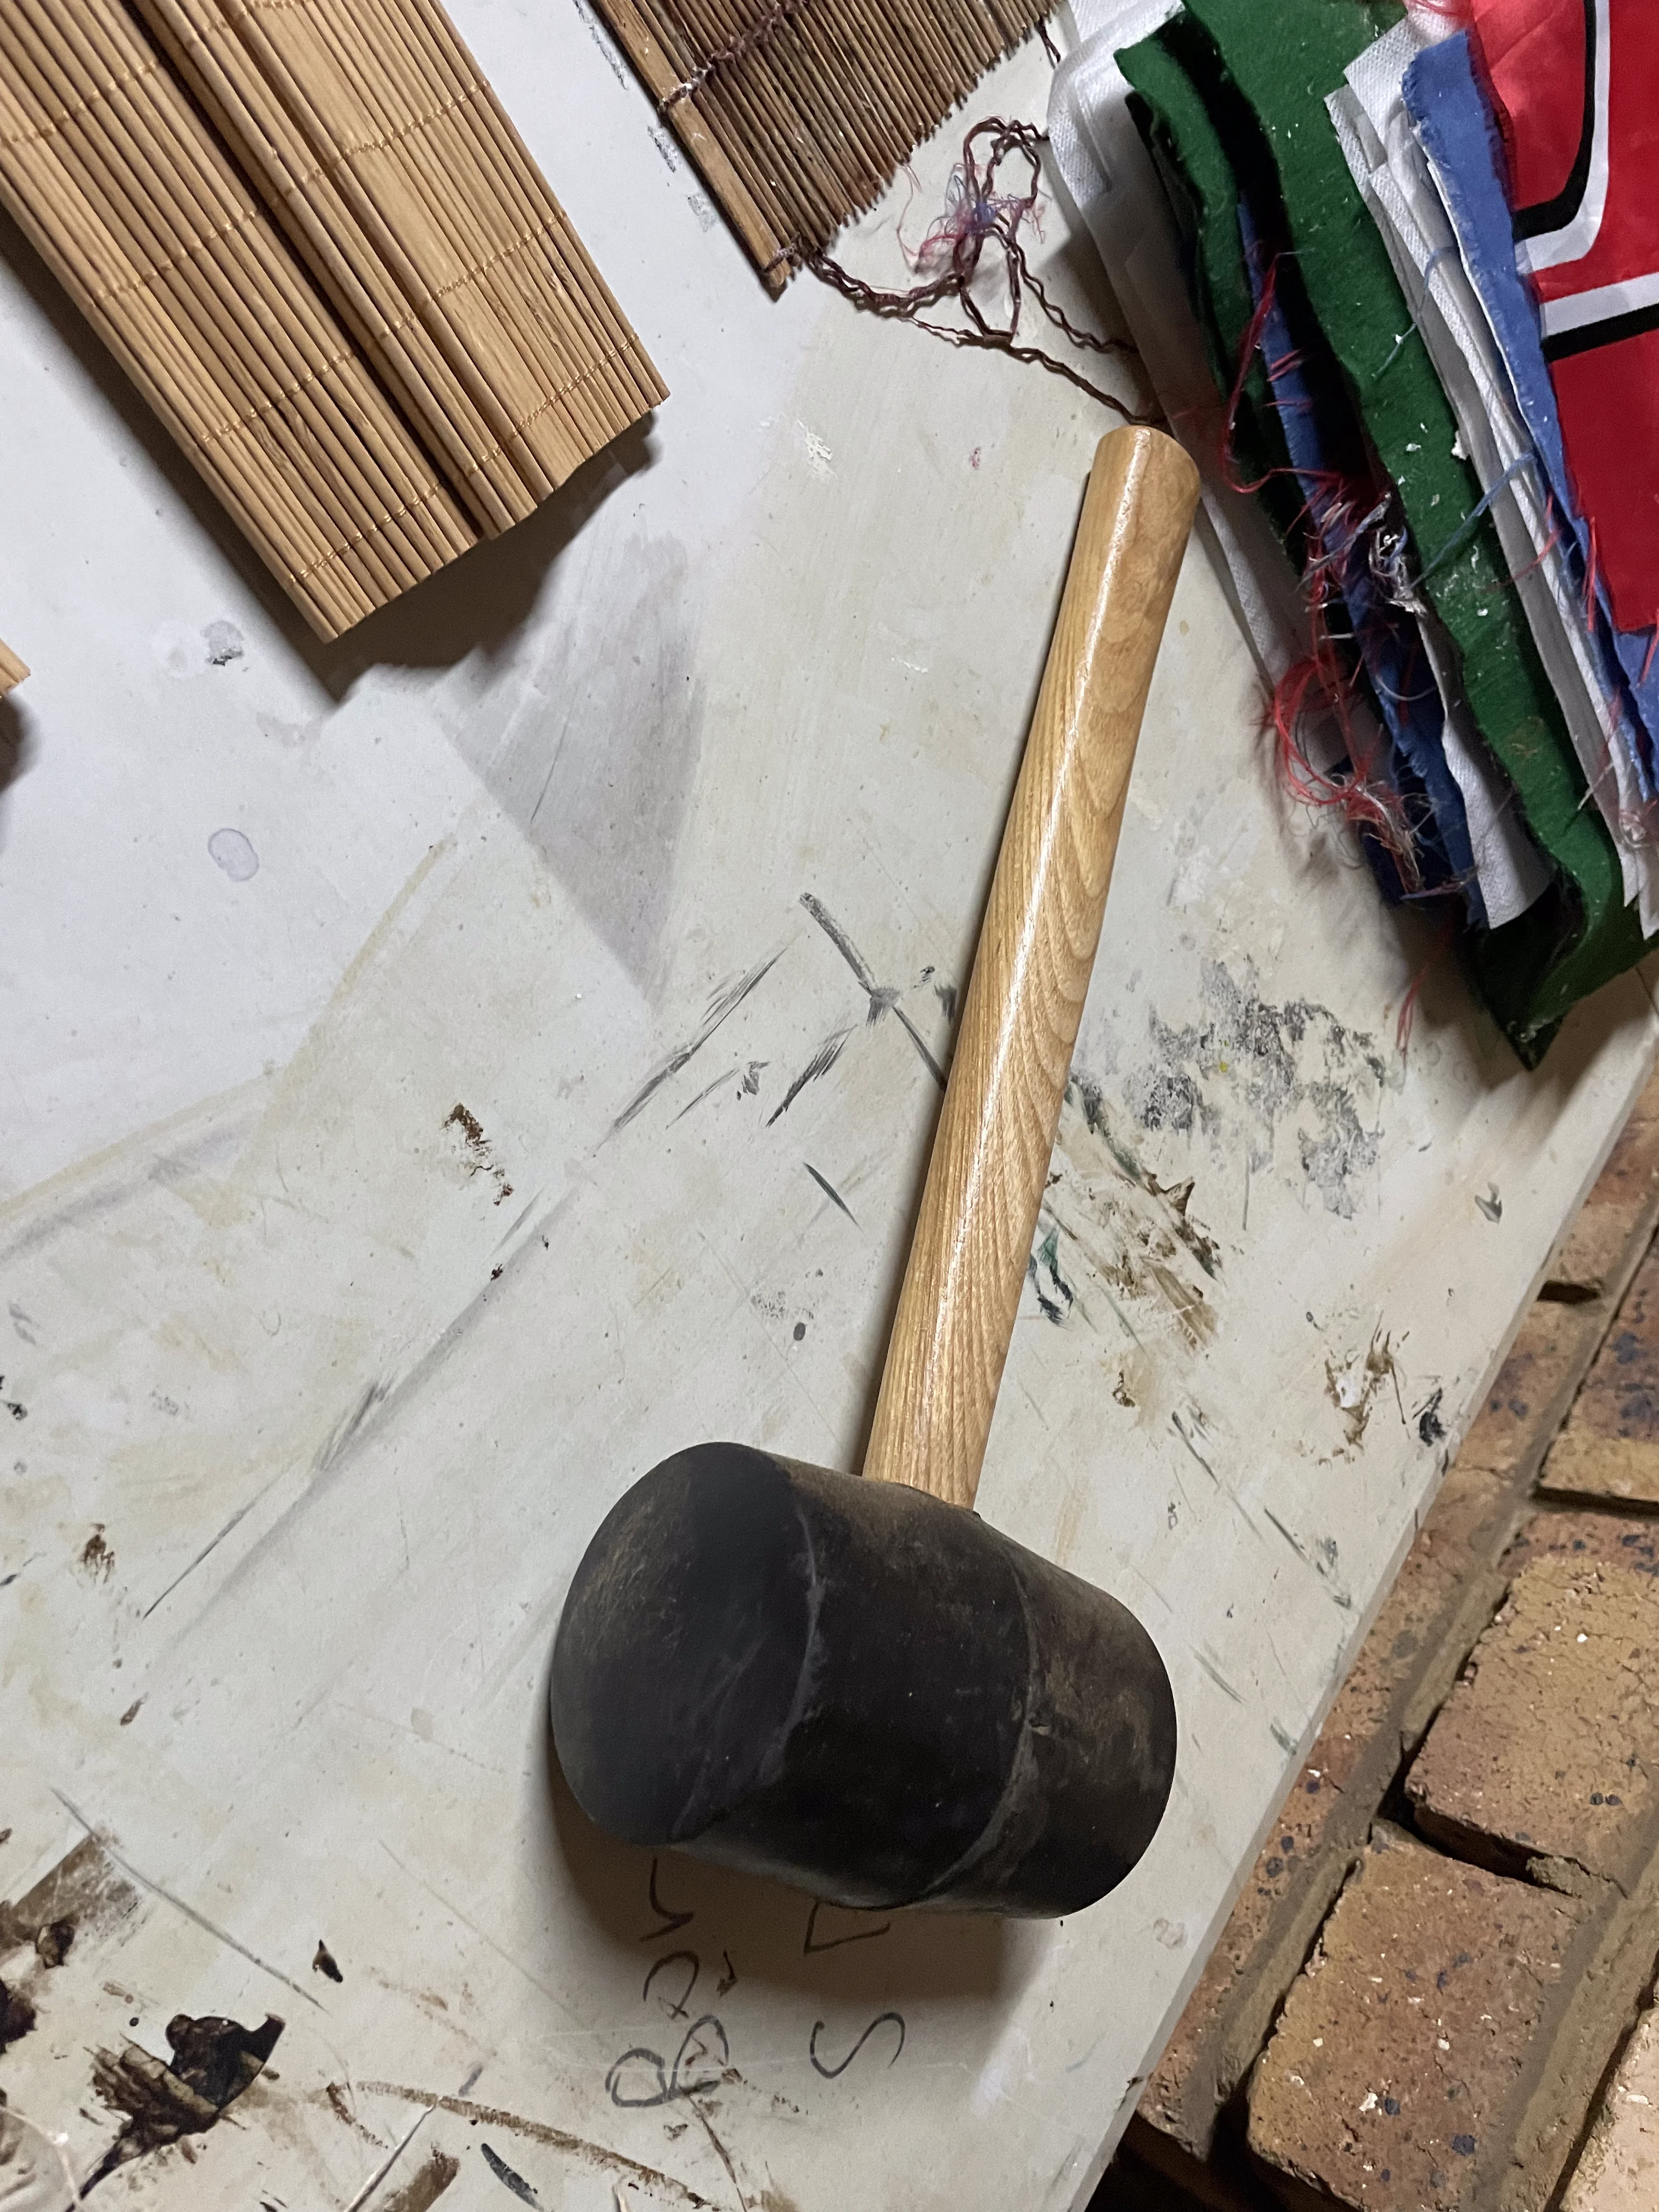
- Mallet
The next few items are all optional
- Lace curtain (for texture/inclusions?)
- Blender
- Cement mixer (for pulping larger batches?)
- Self-made vat/bath
- Mould and deckle
- Self-made press
- Drying racks
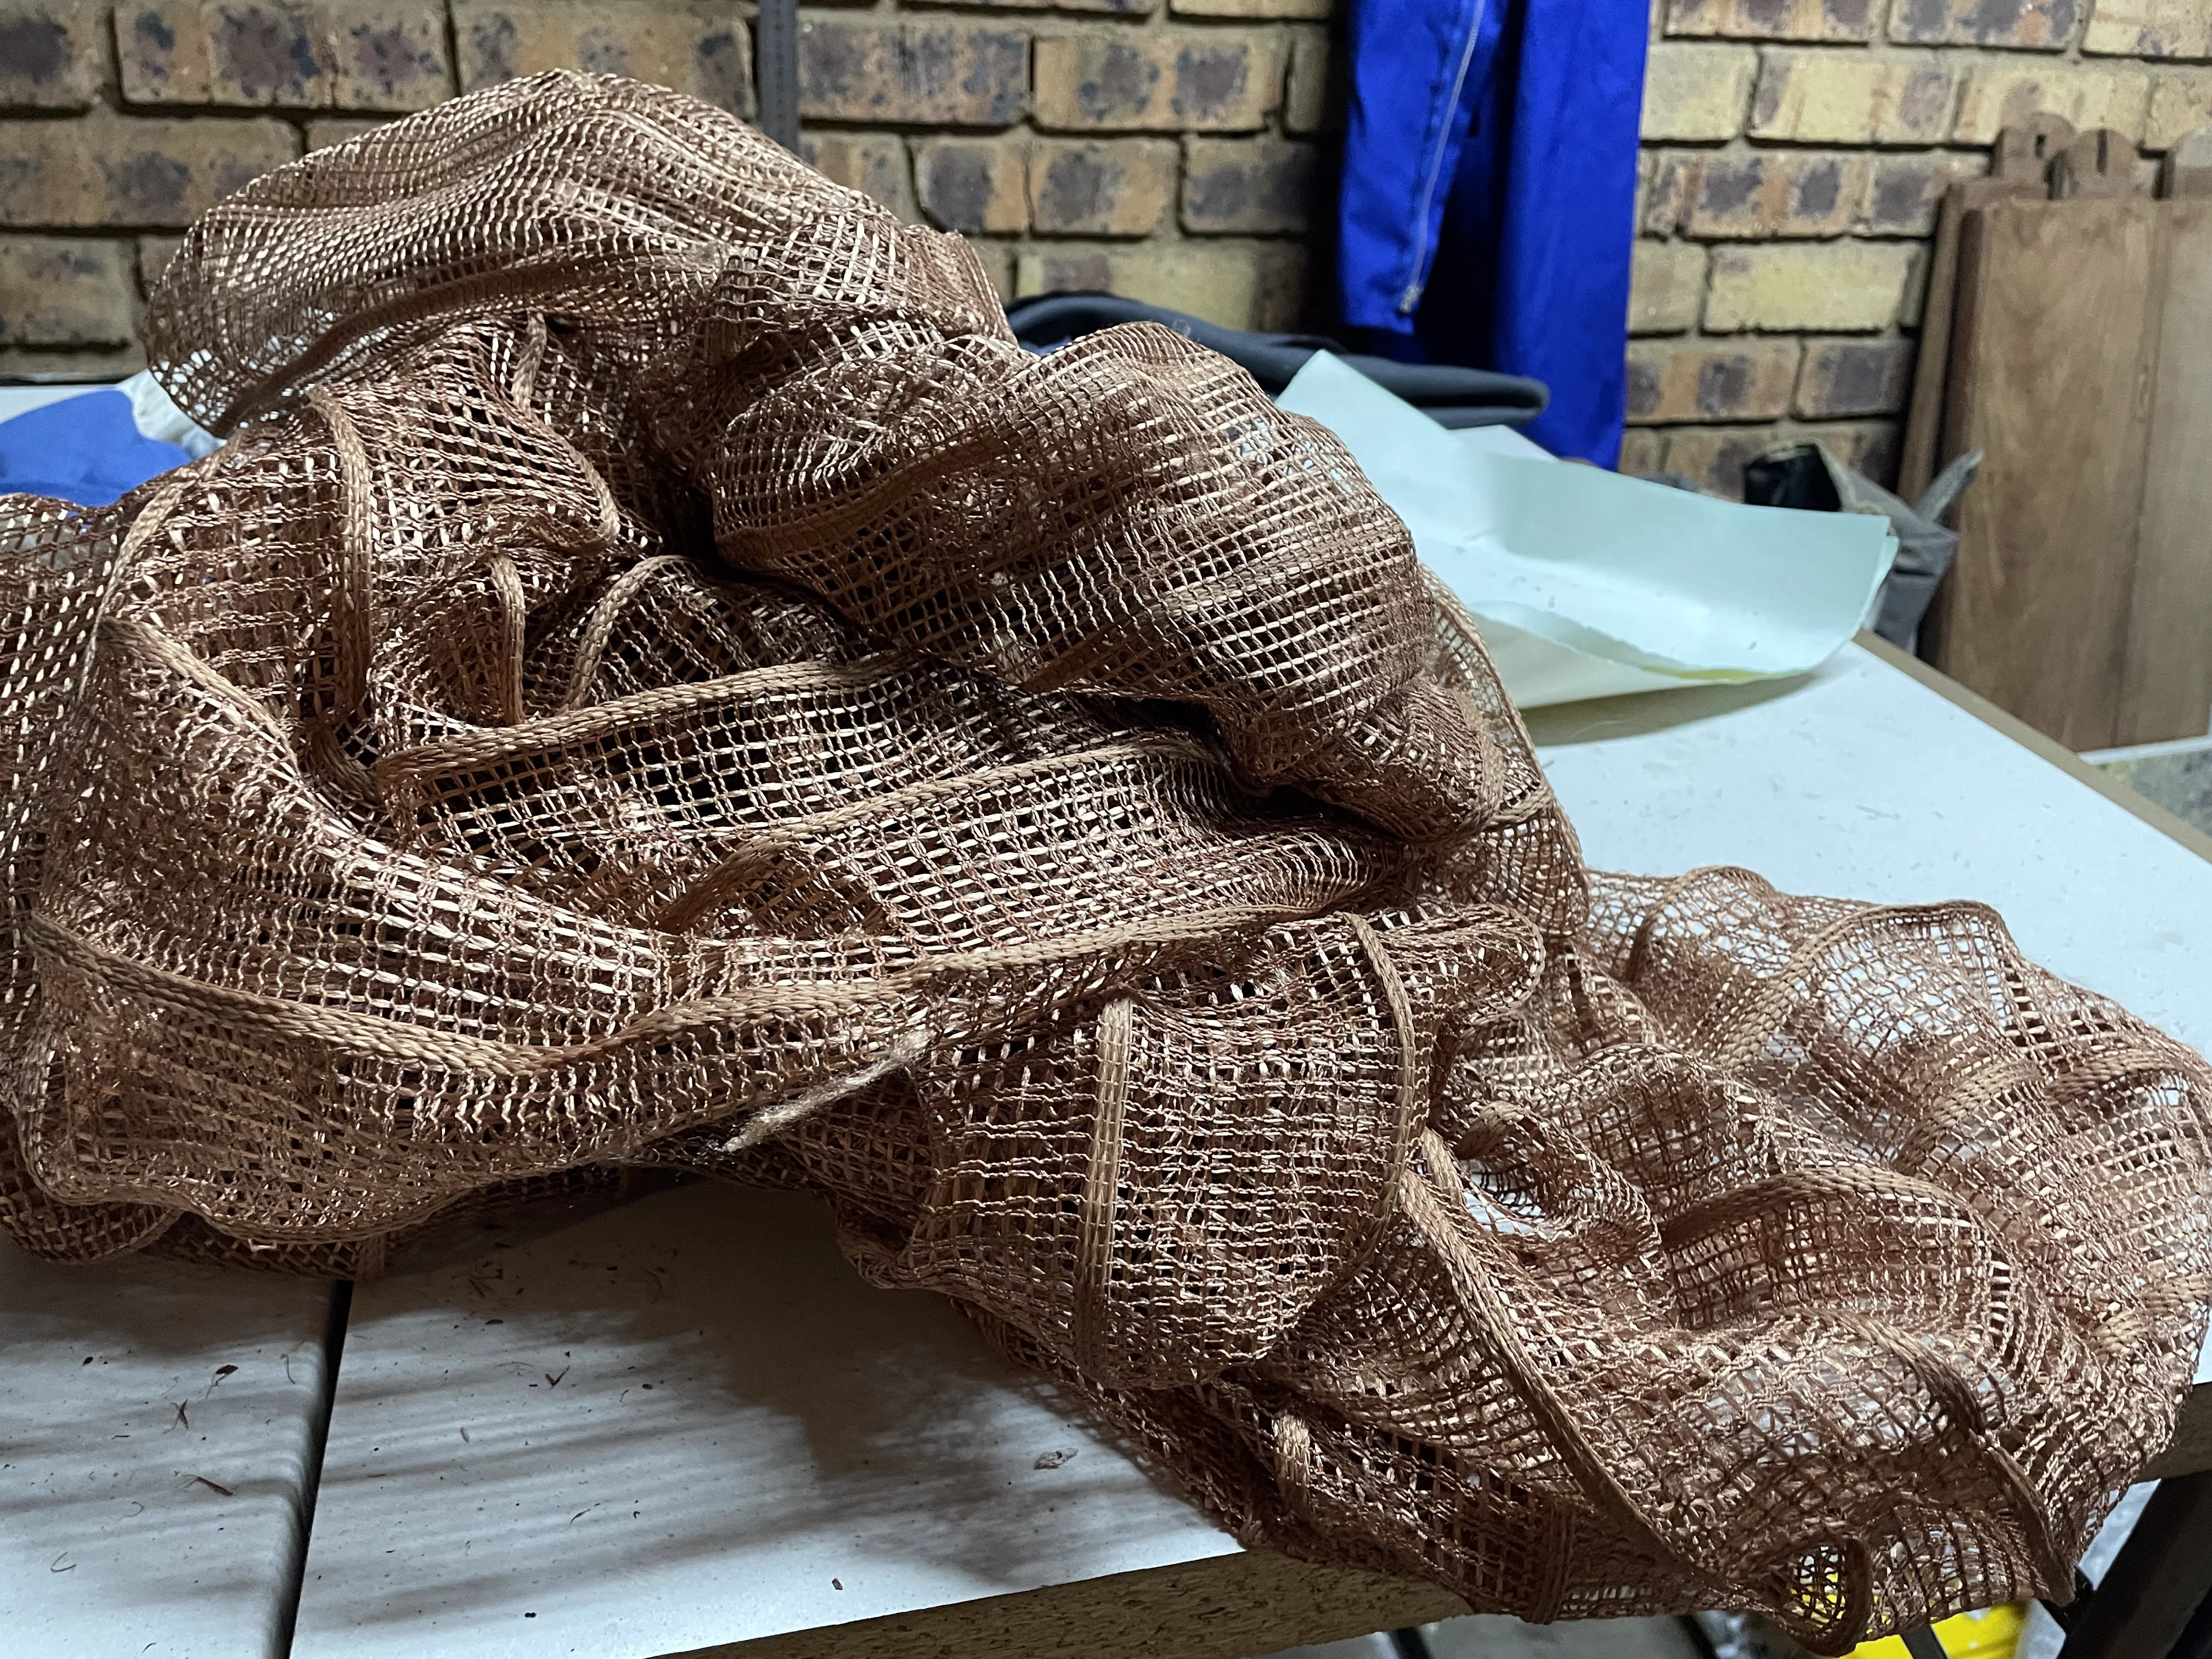
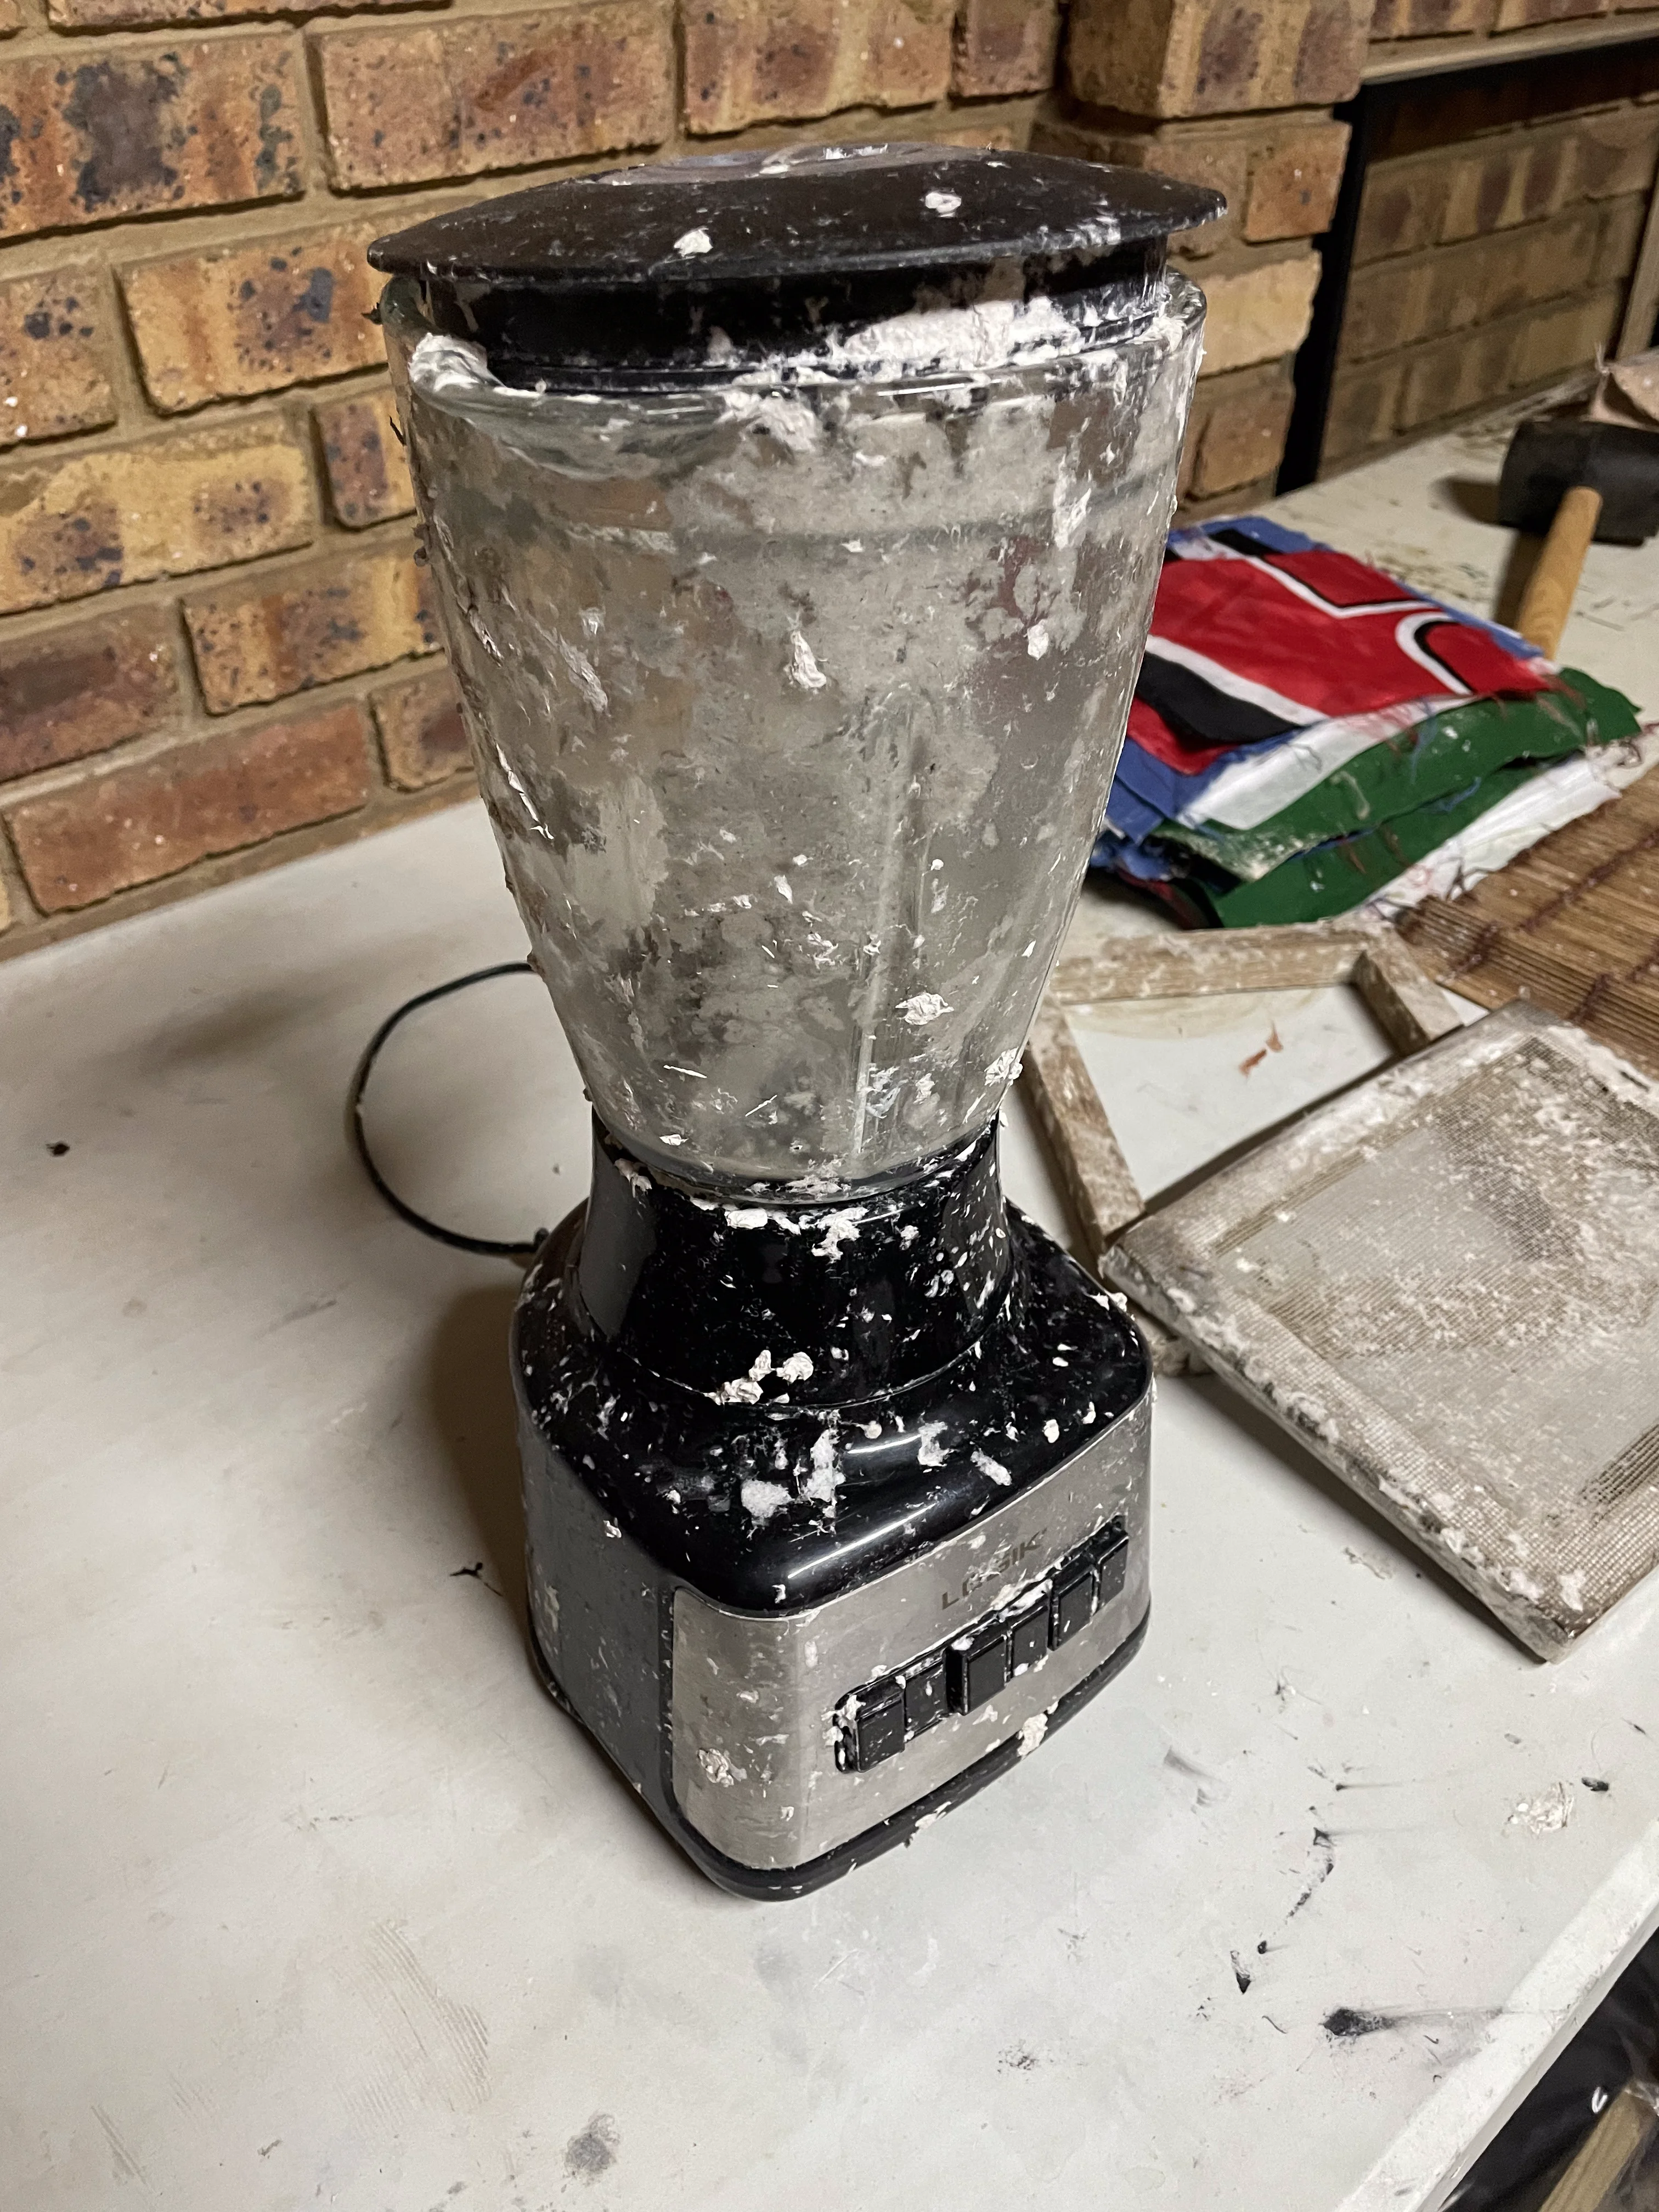
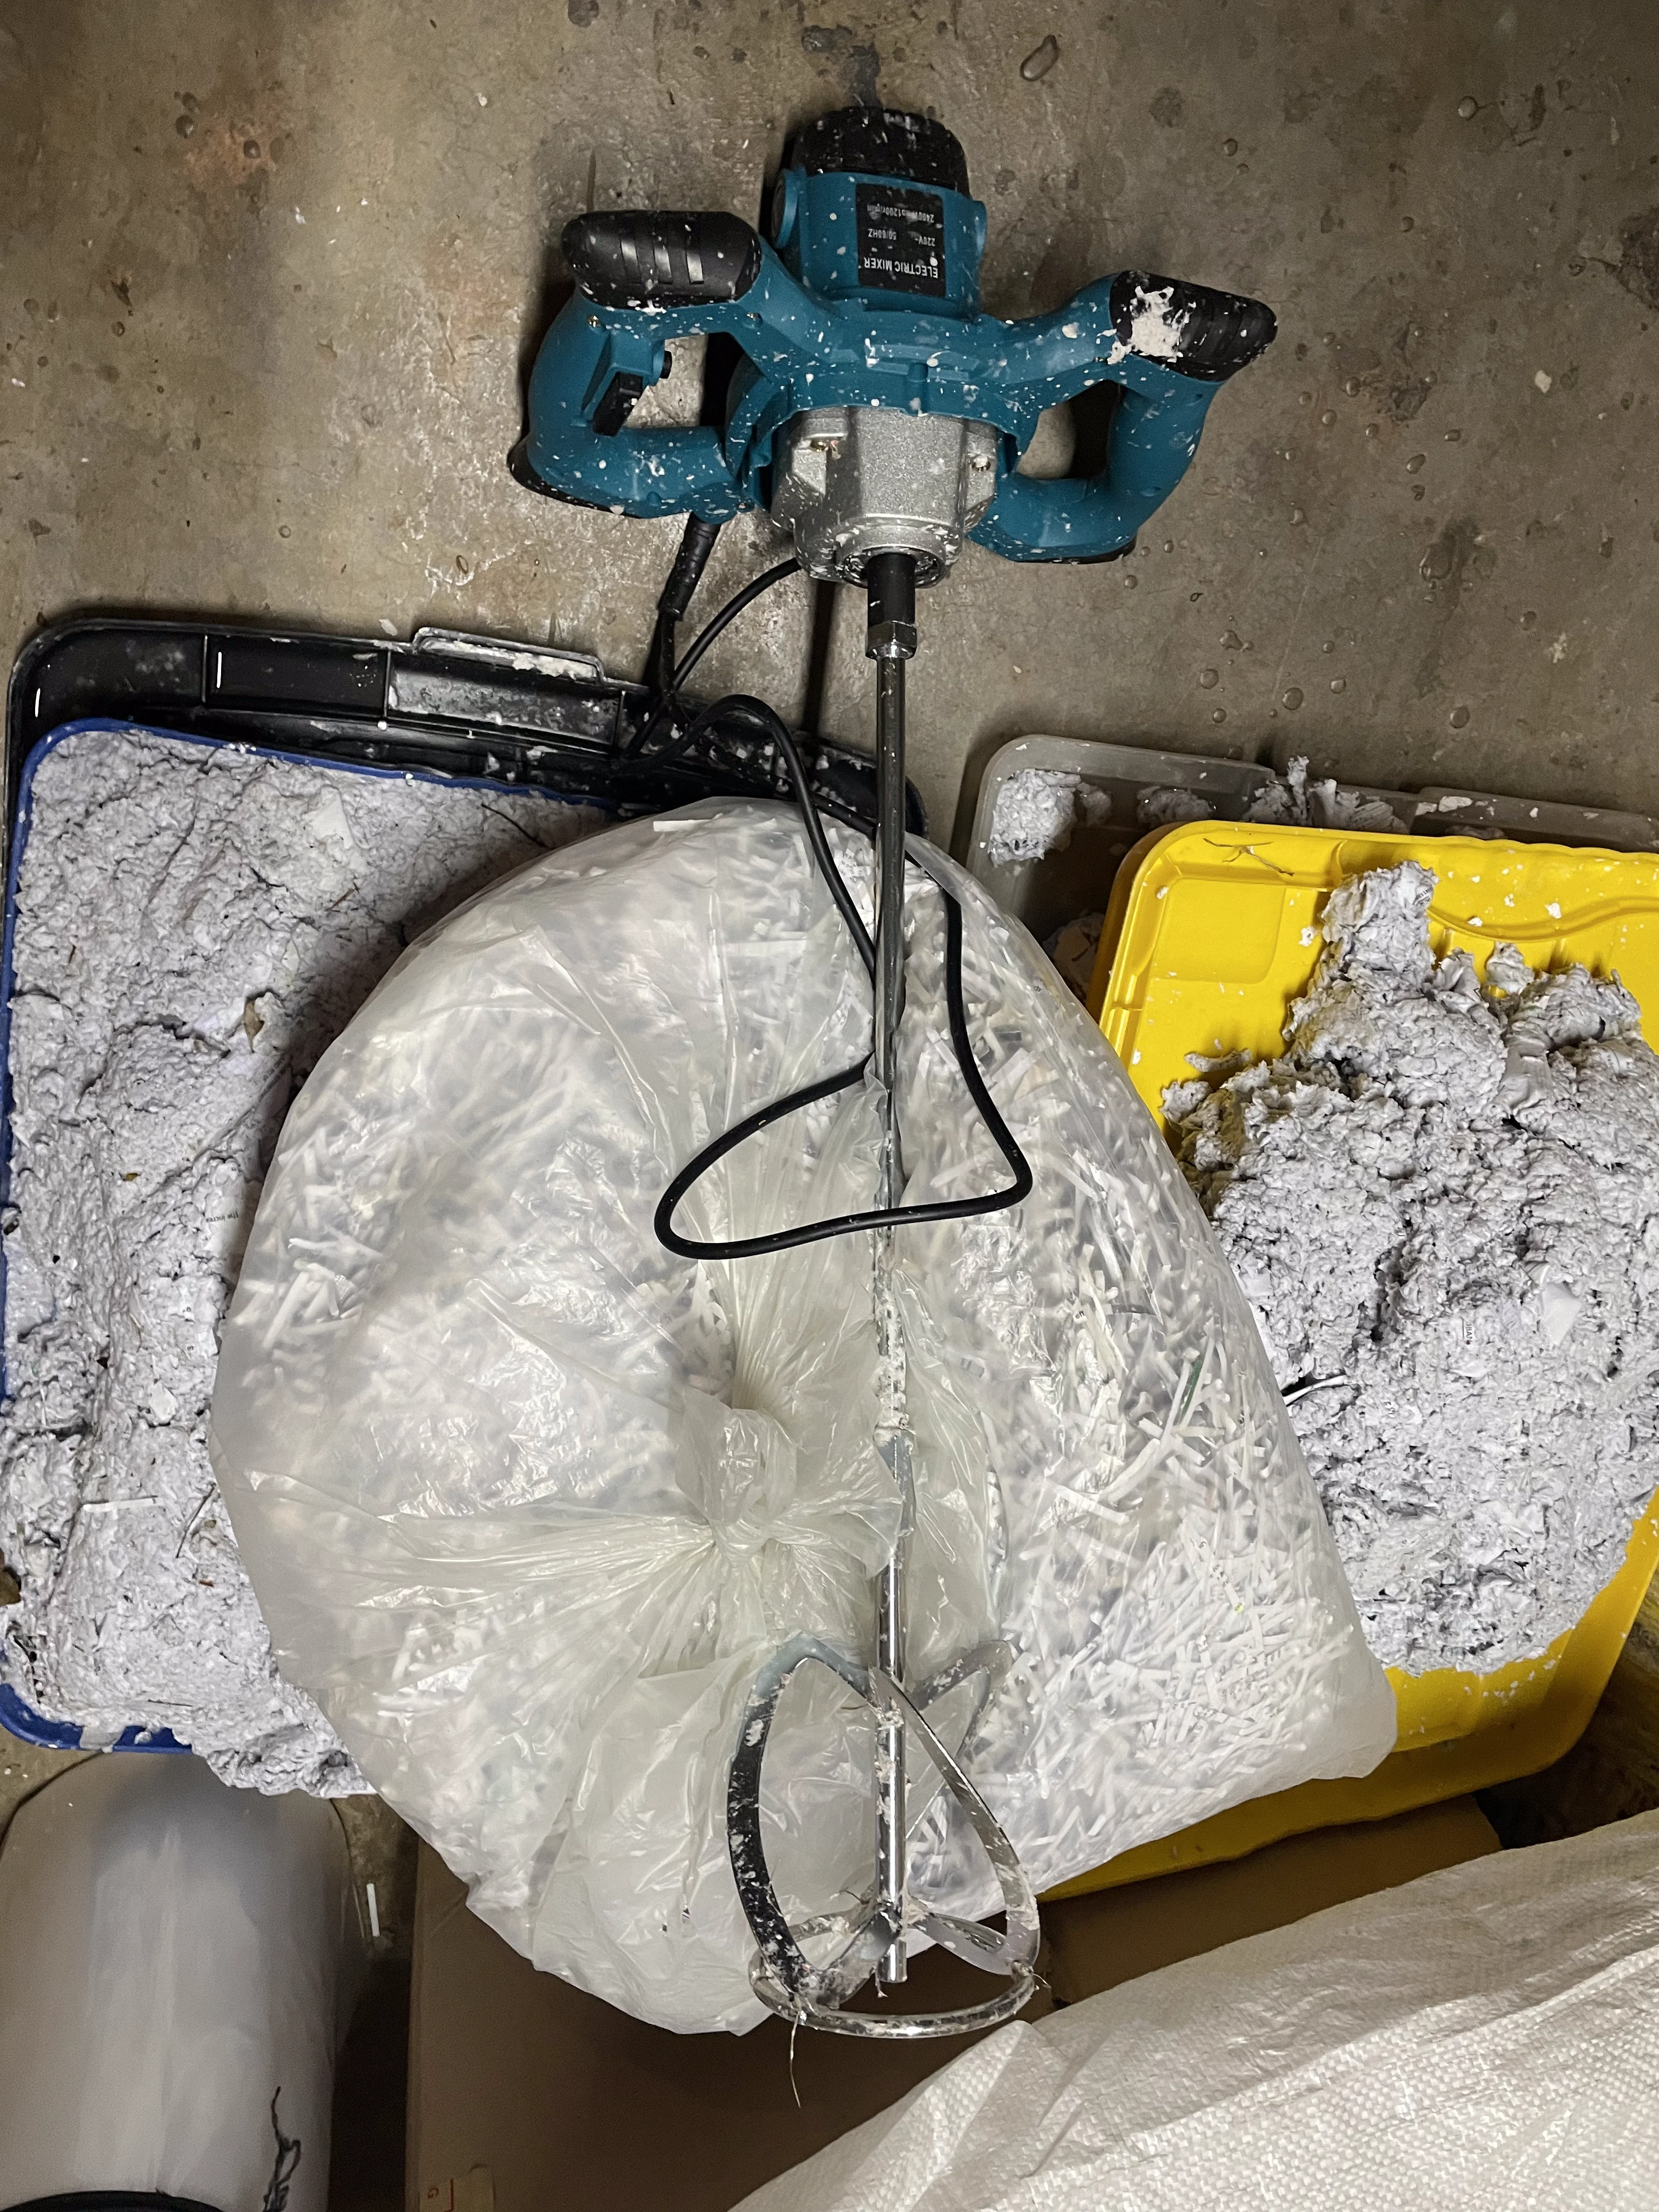
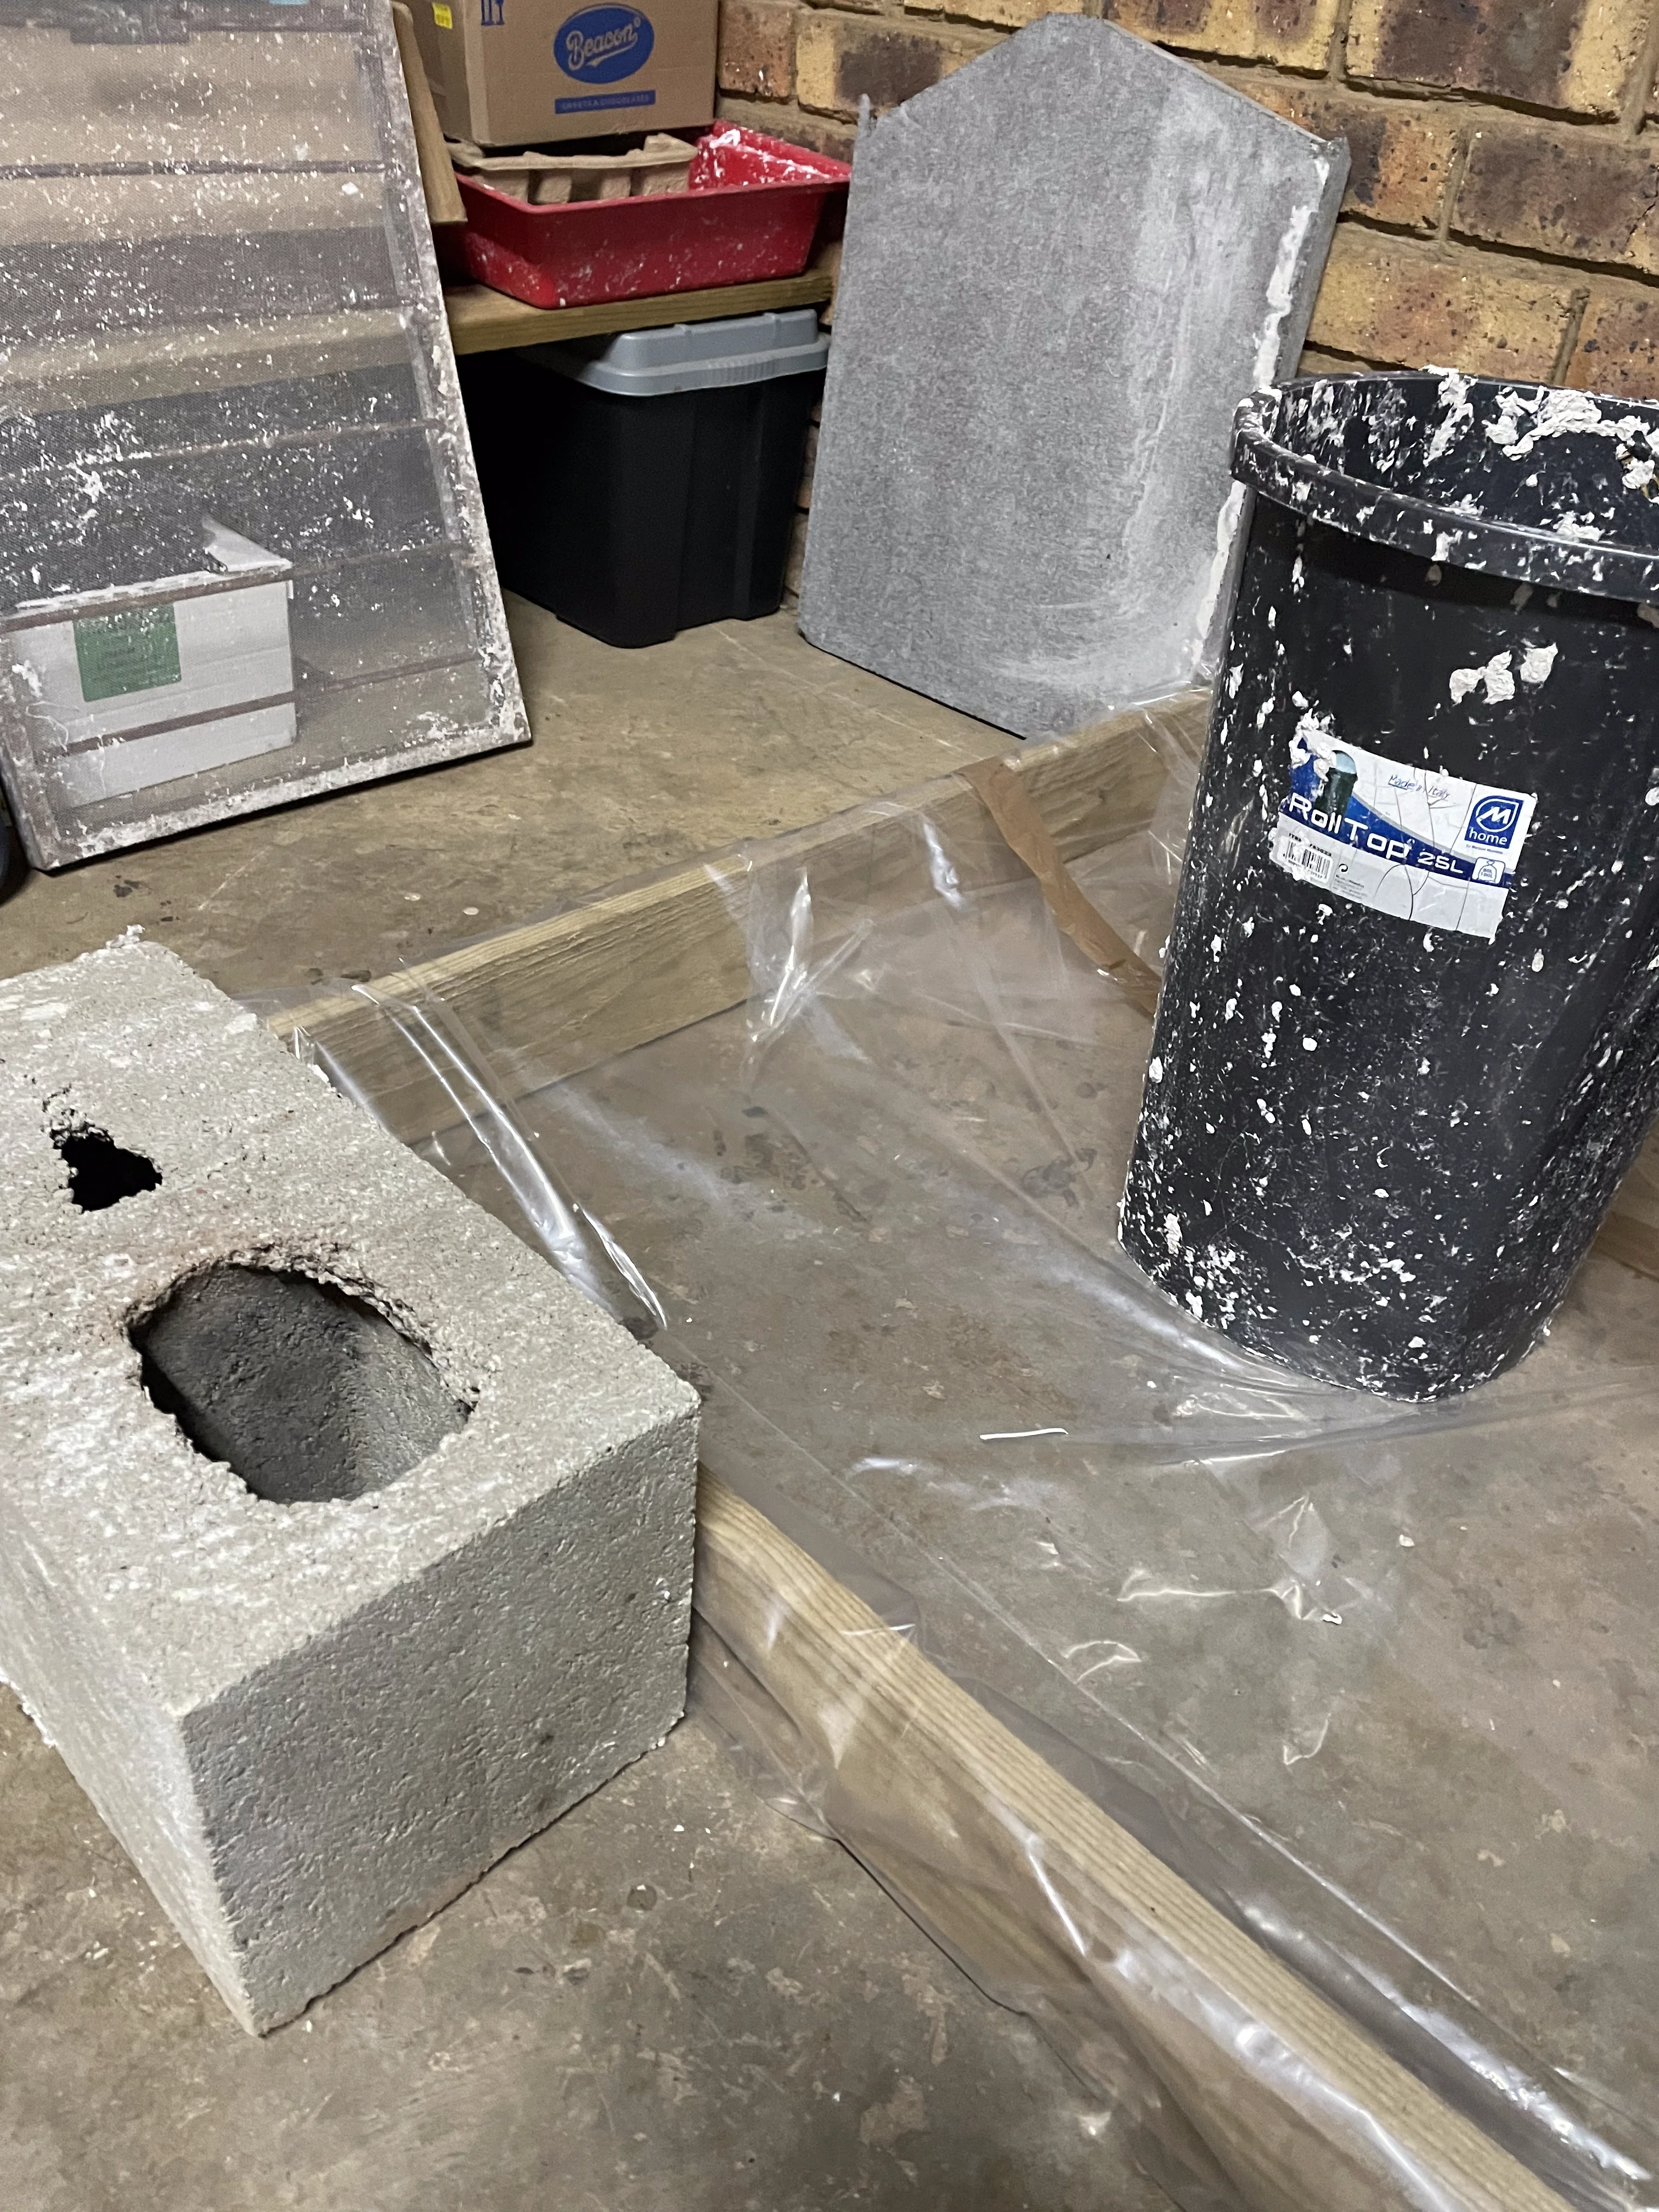
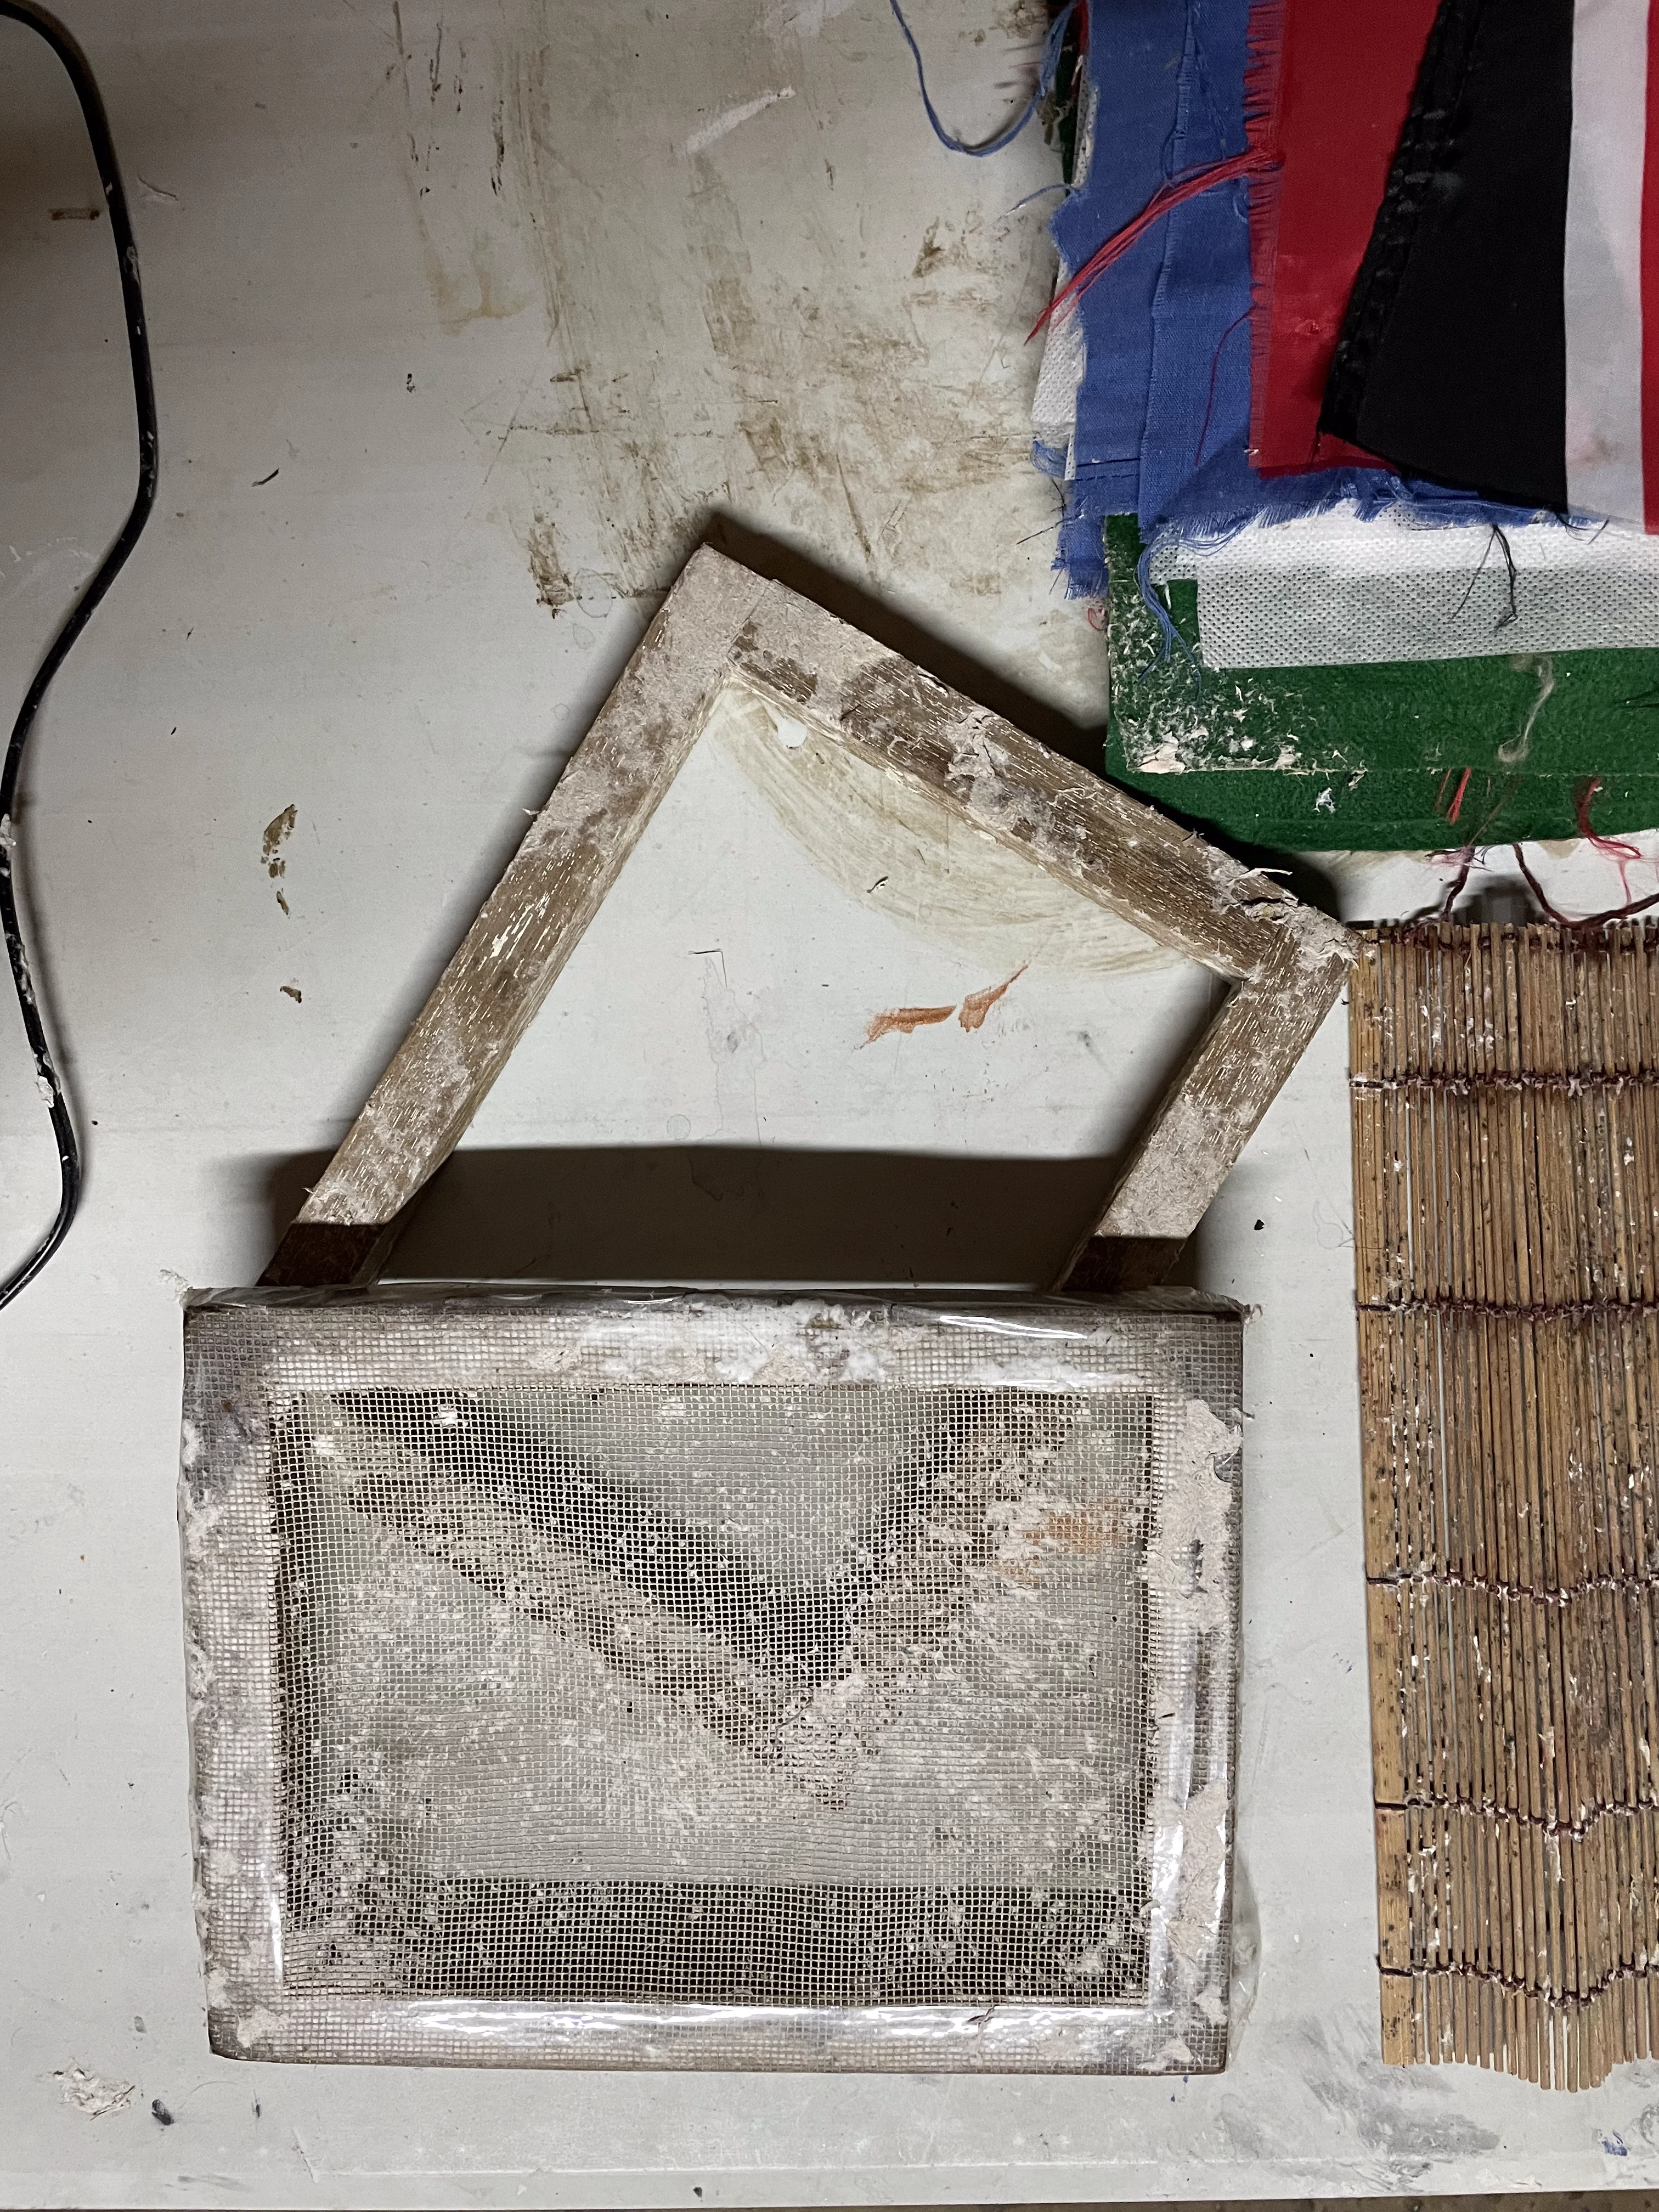
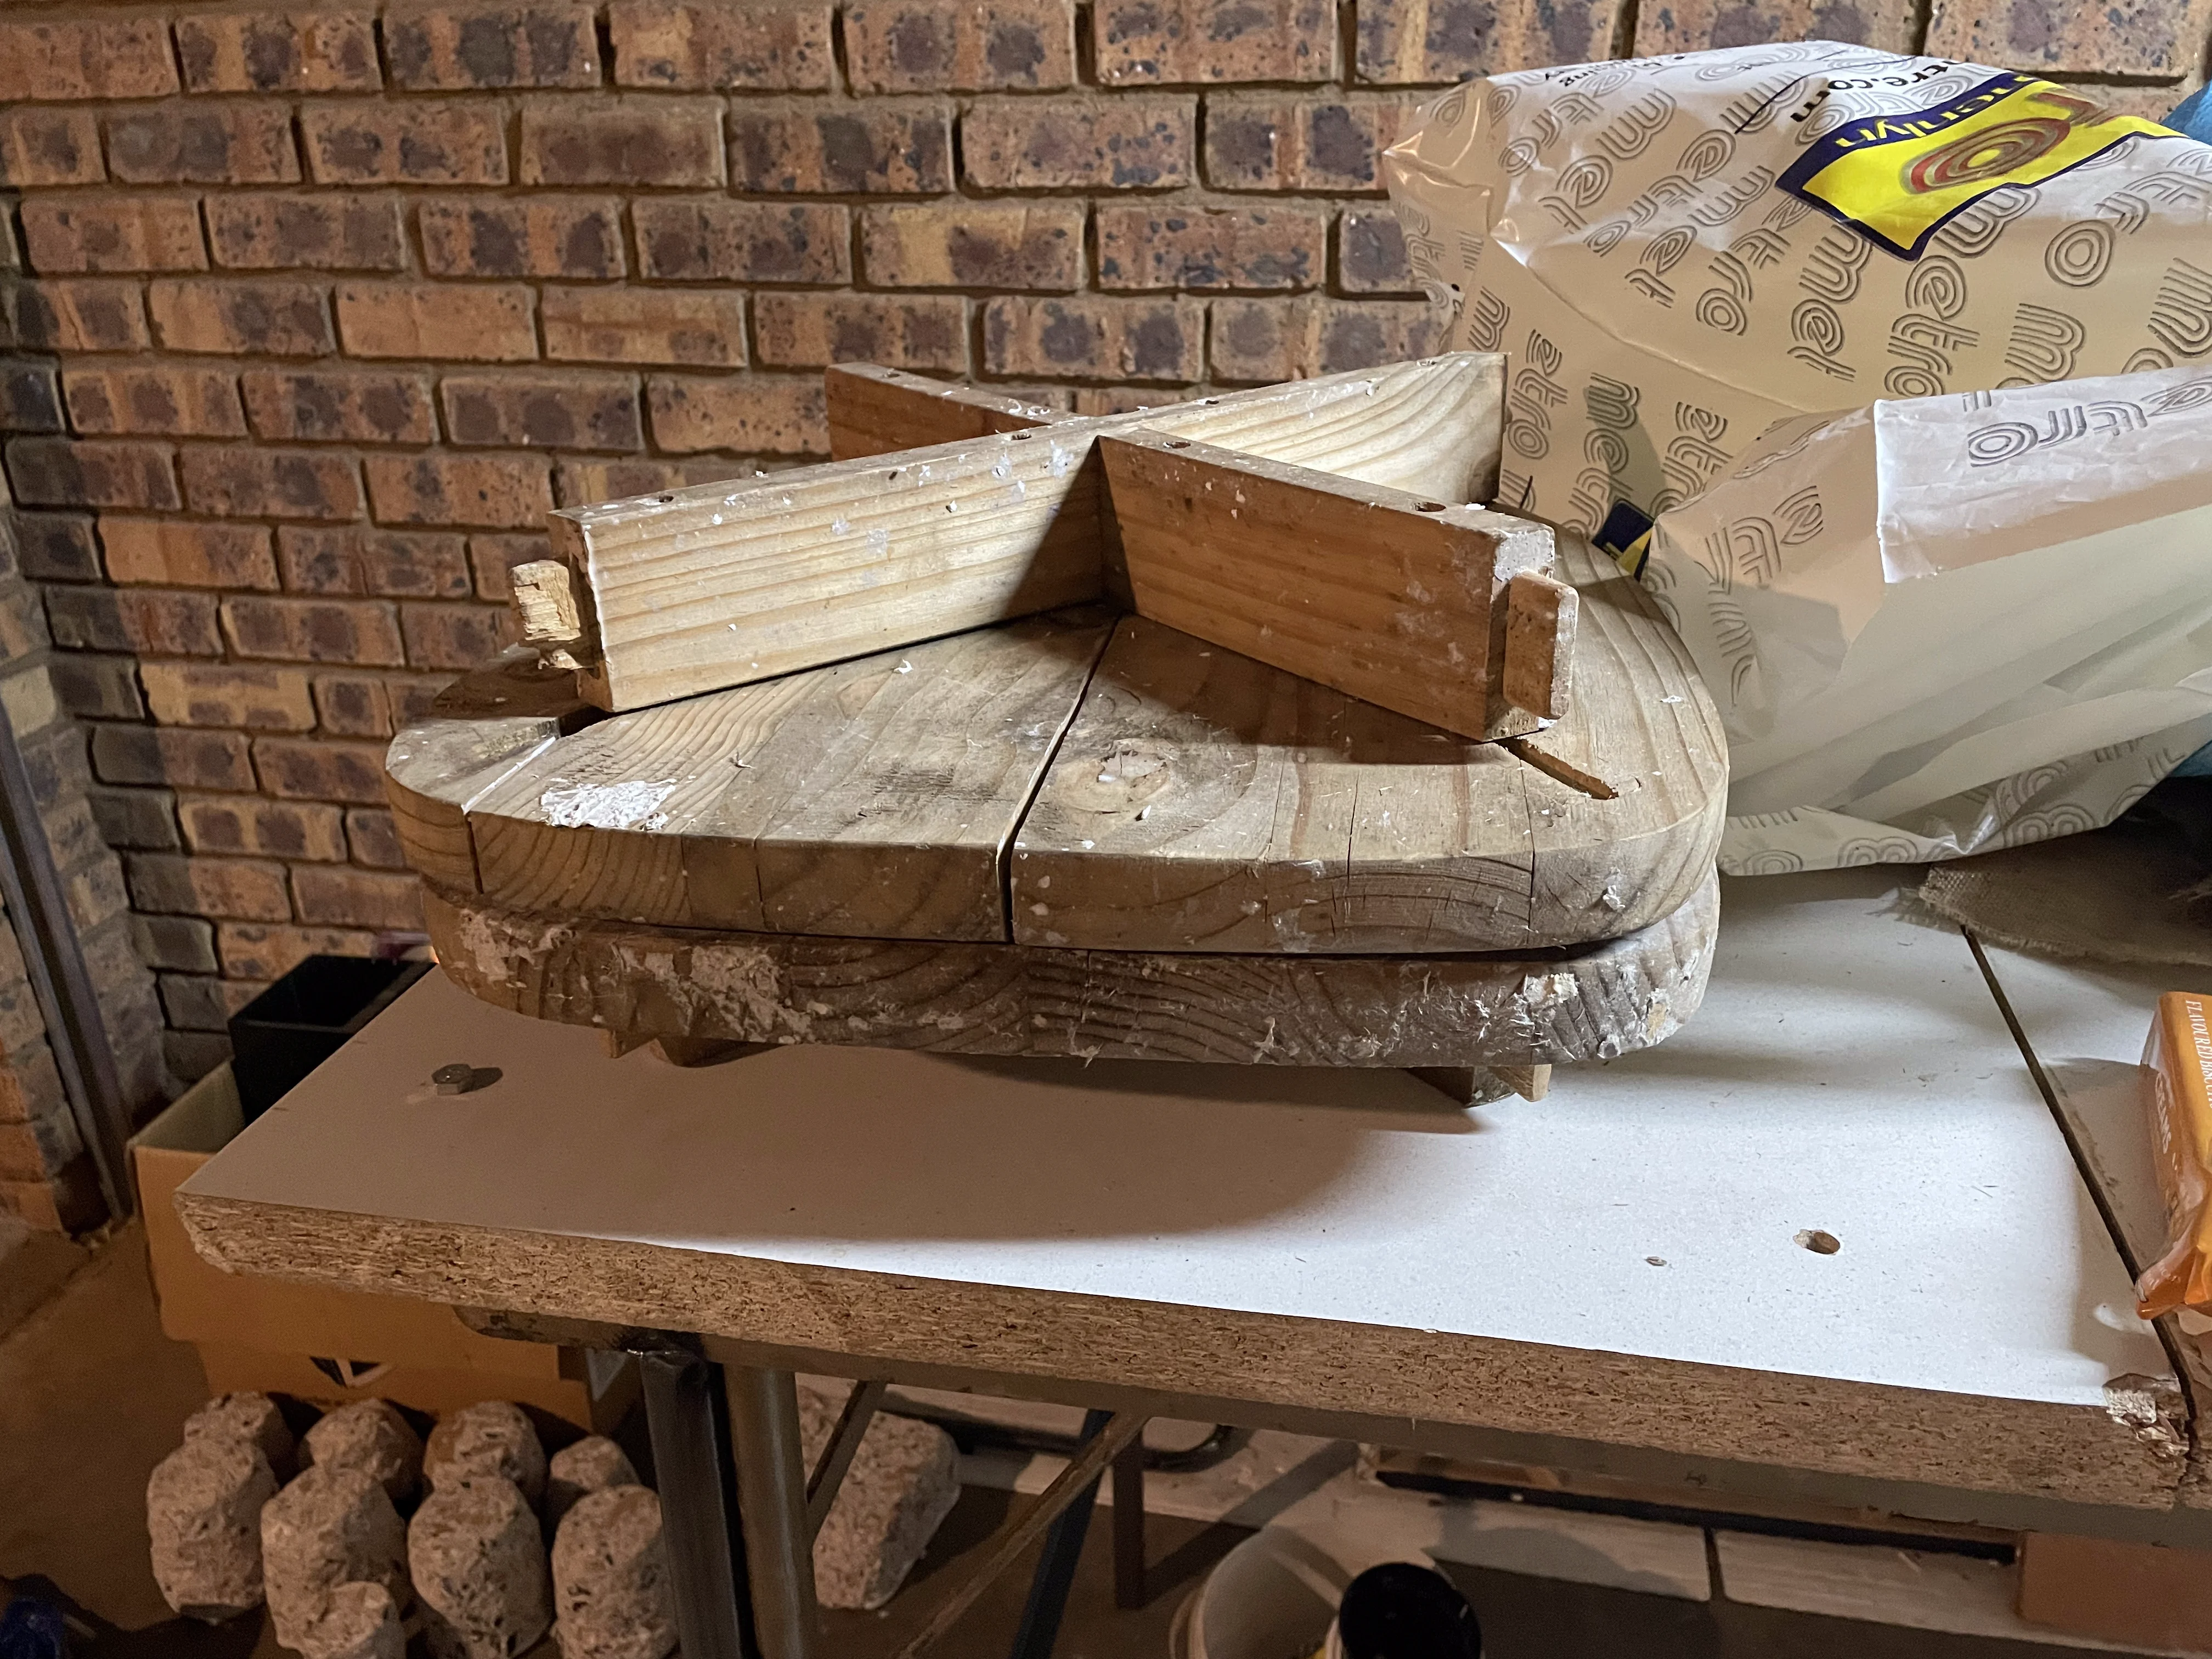
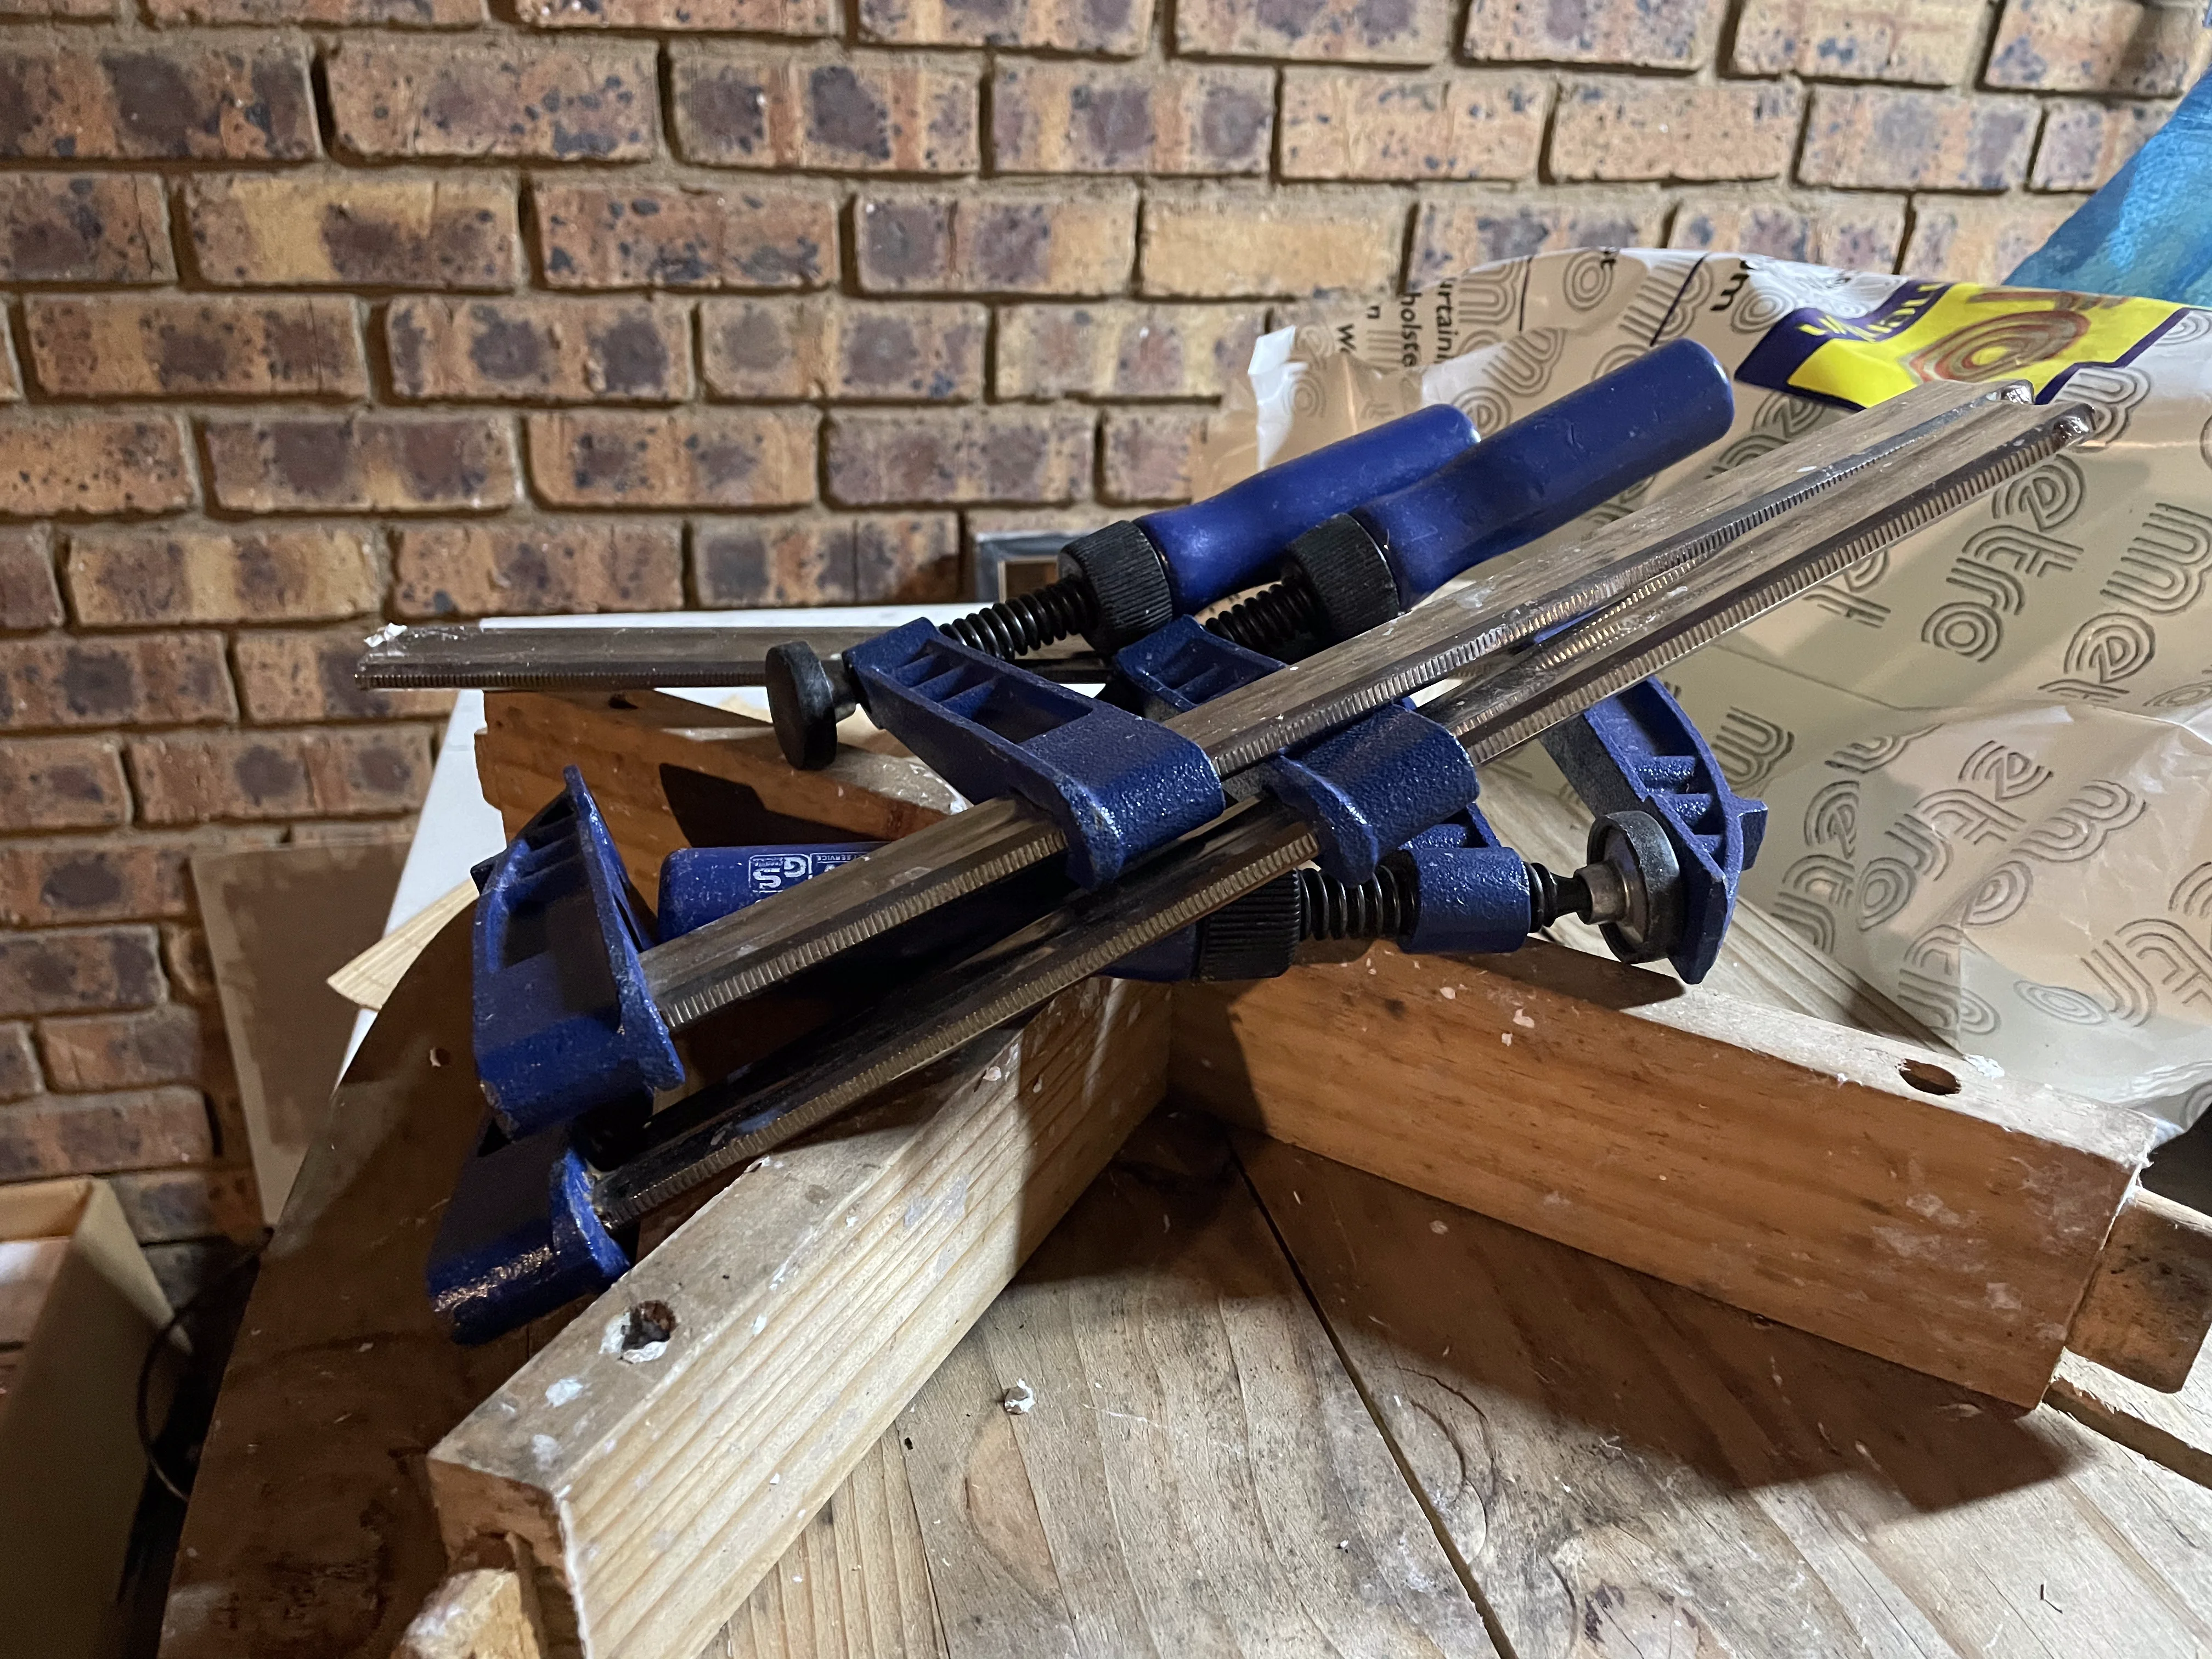
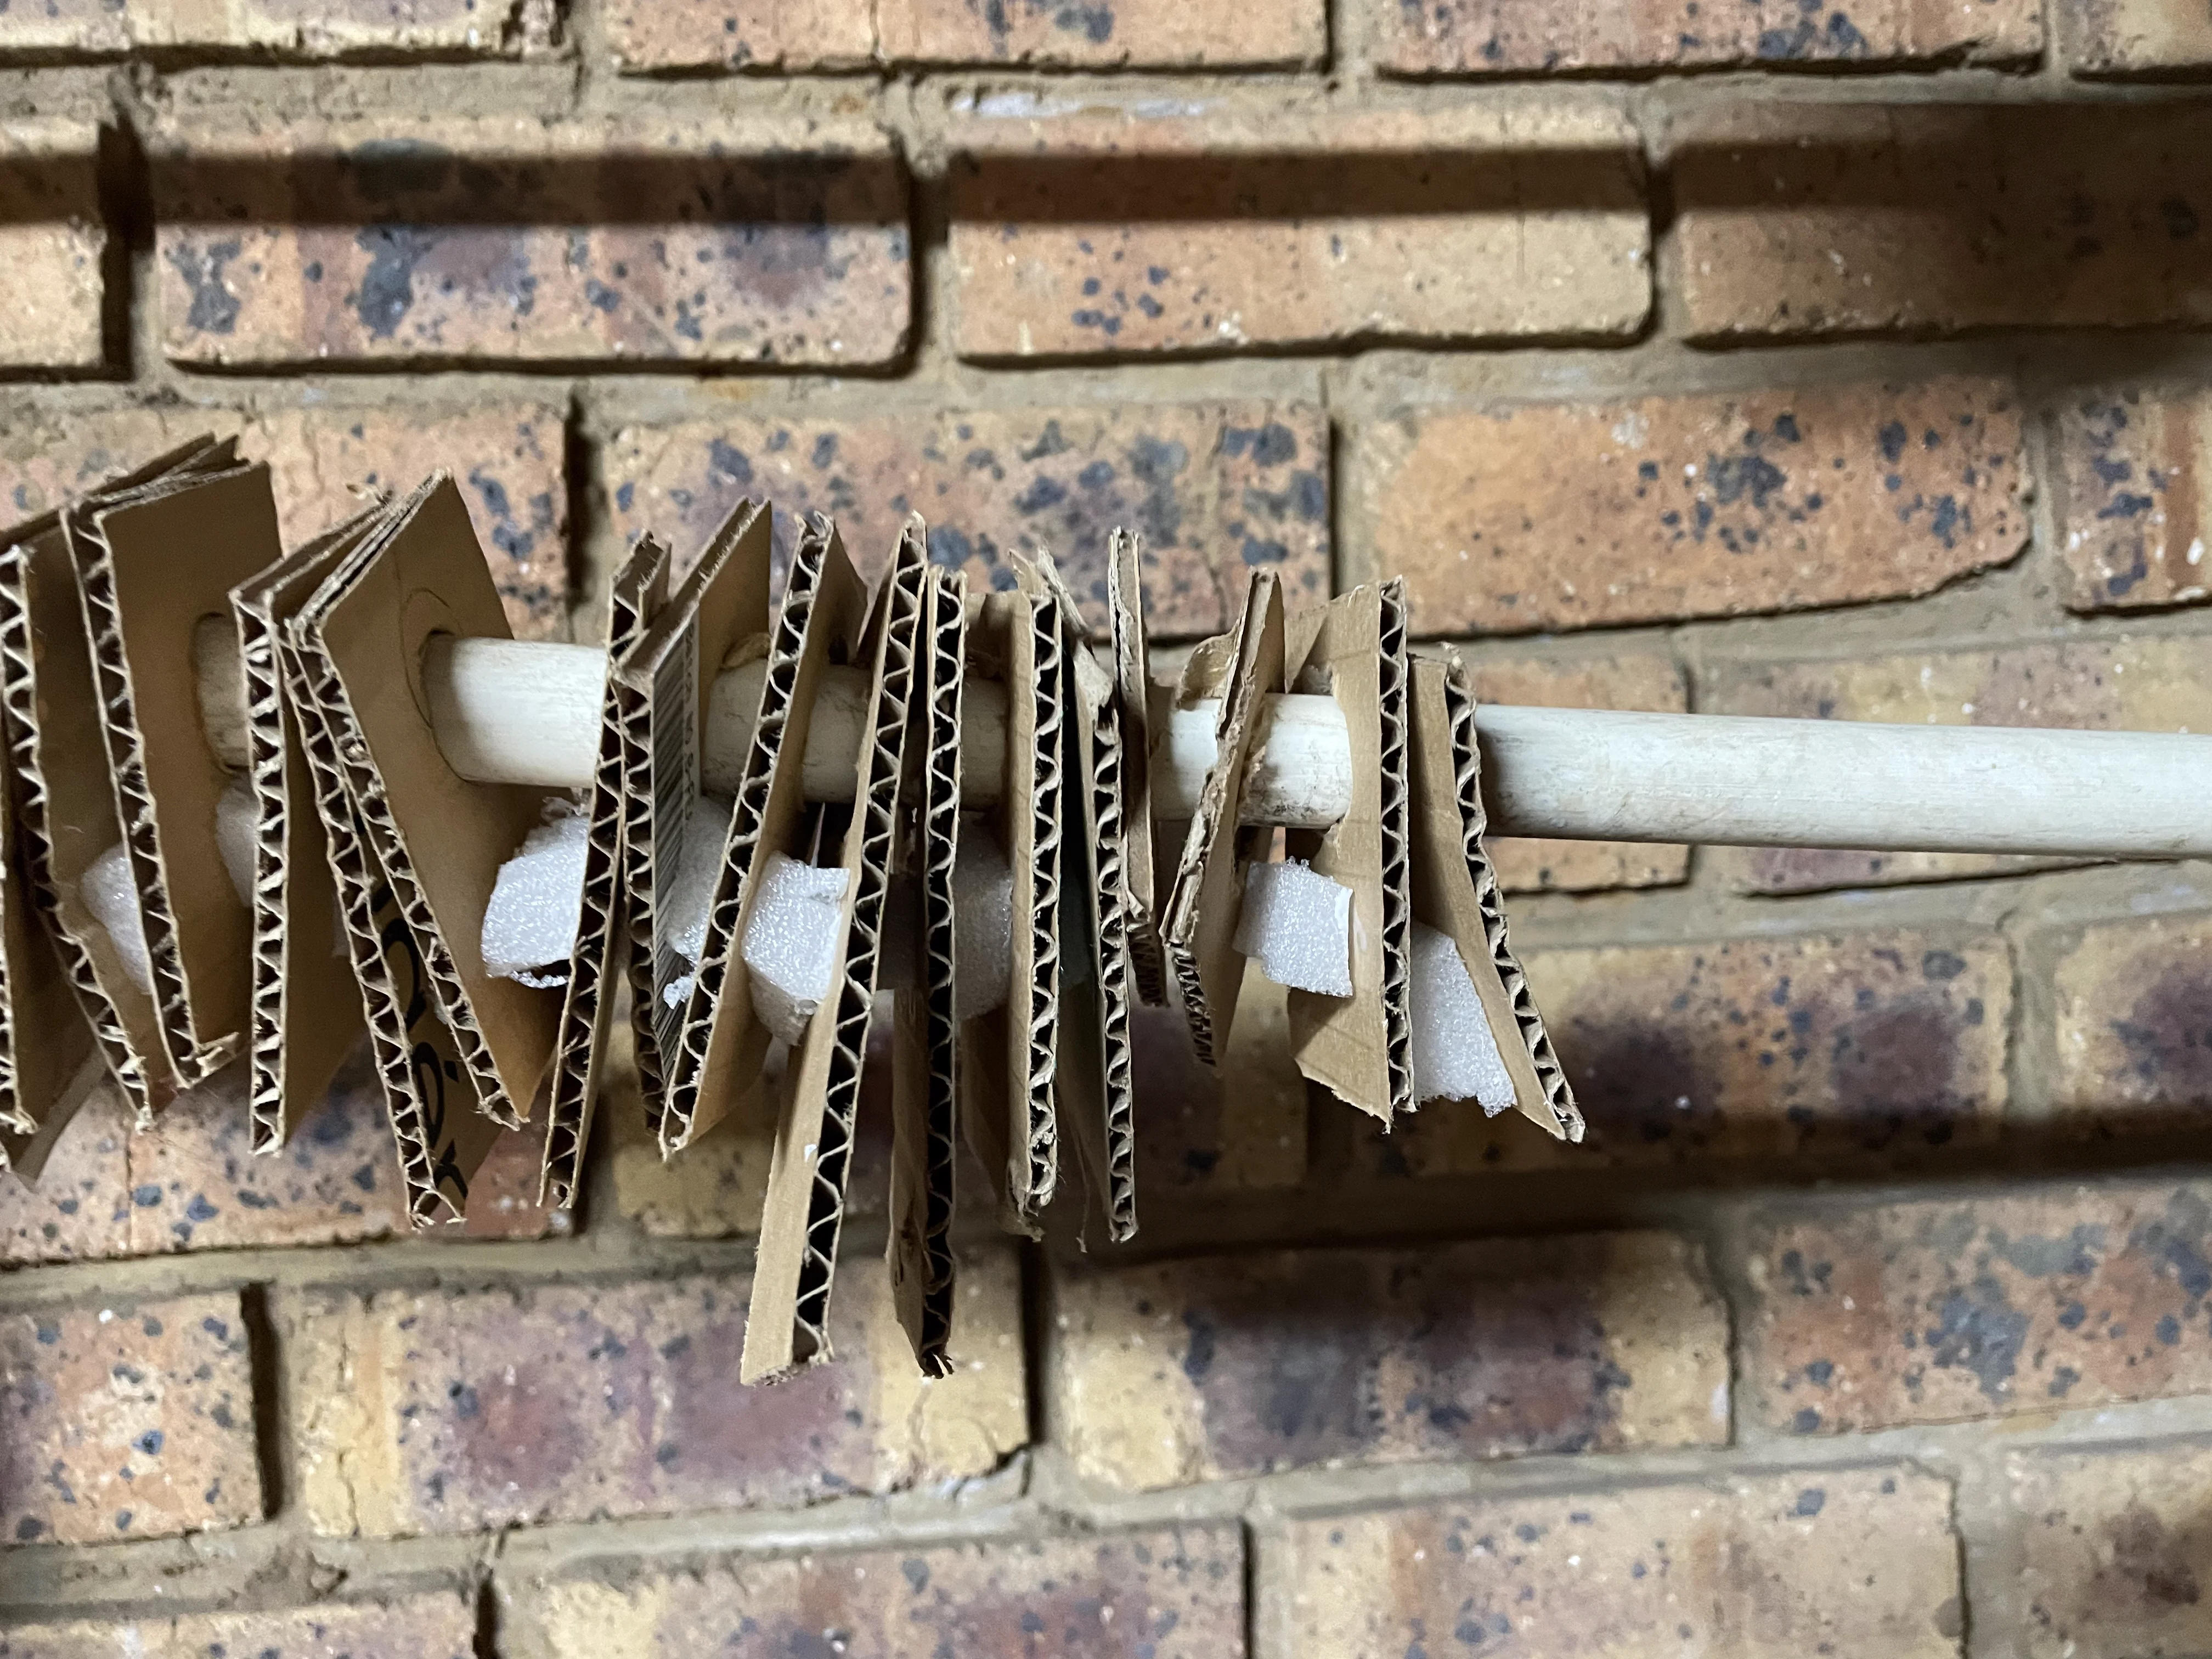
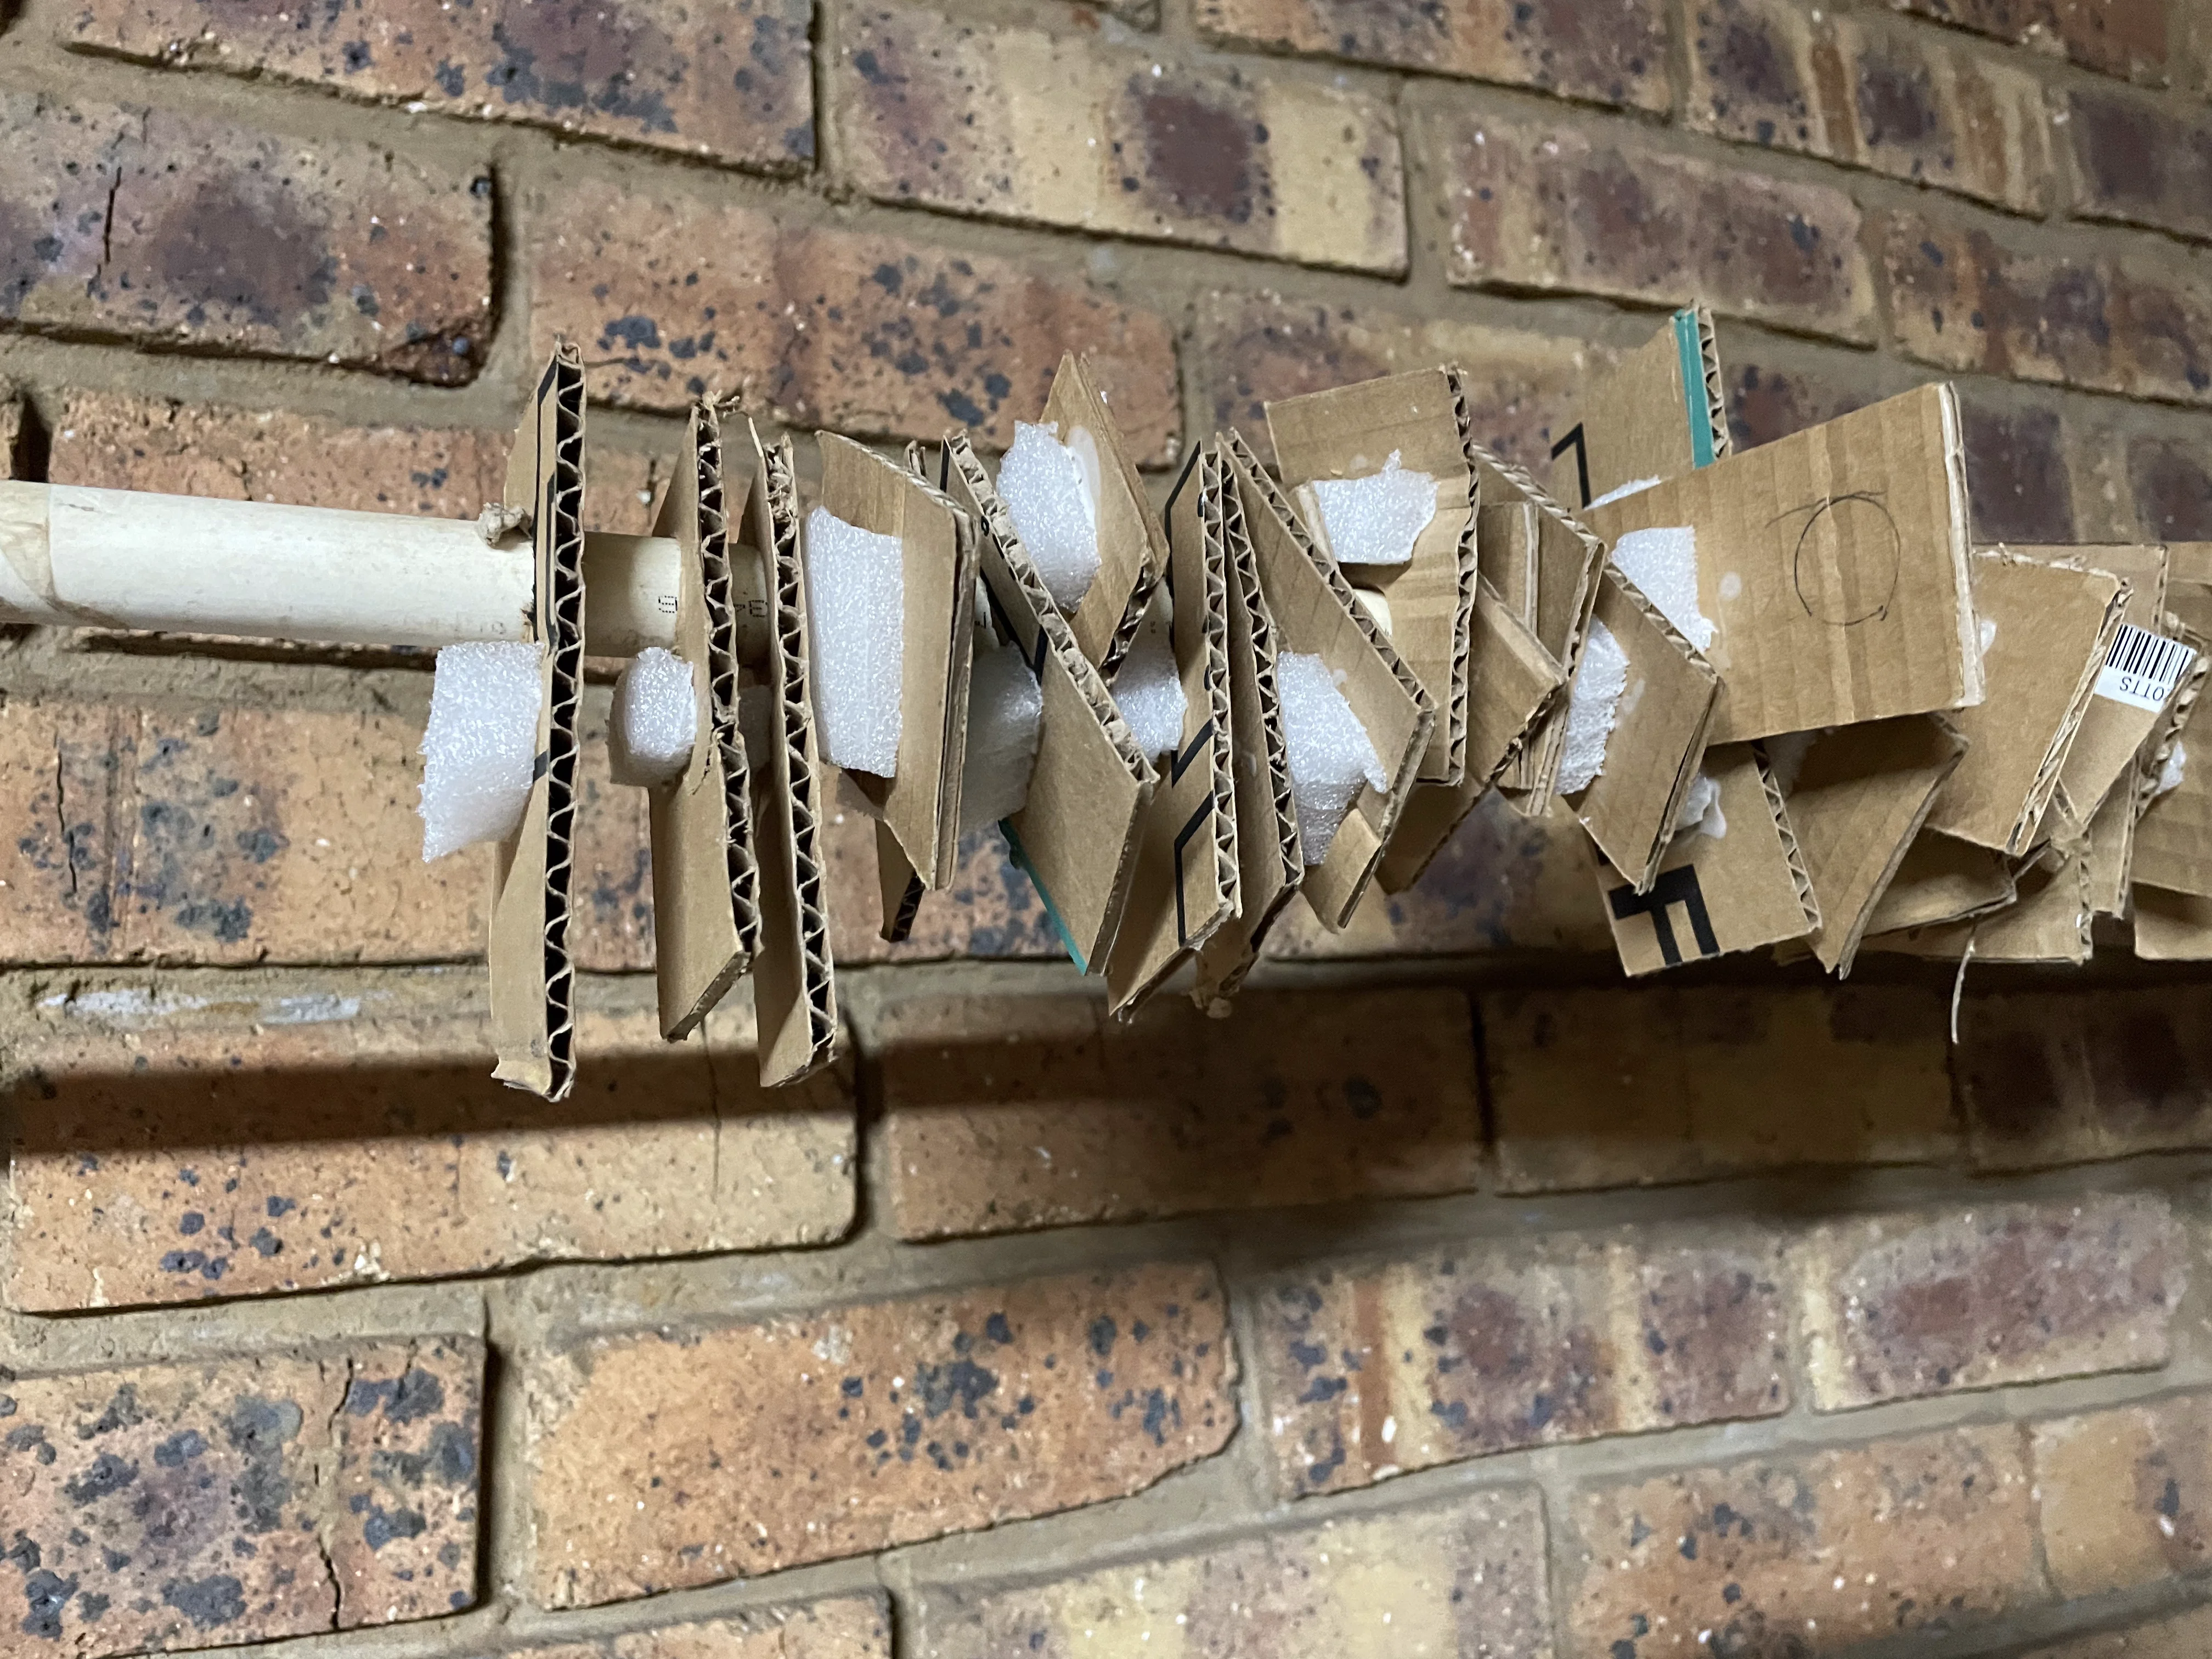
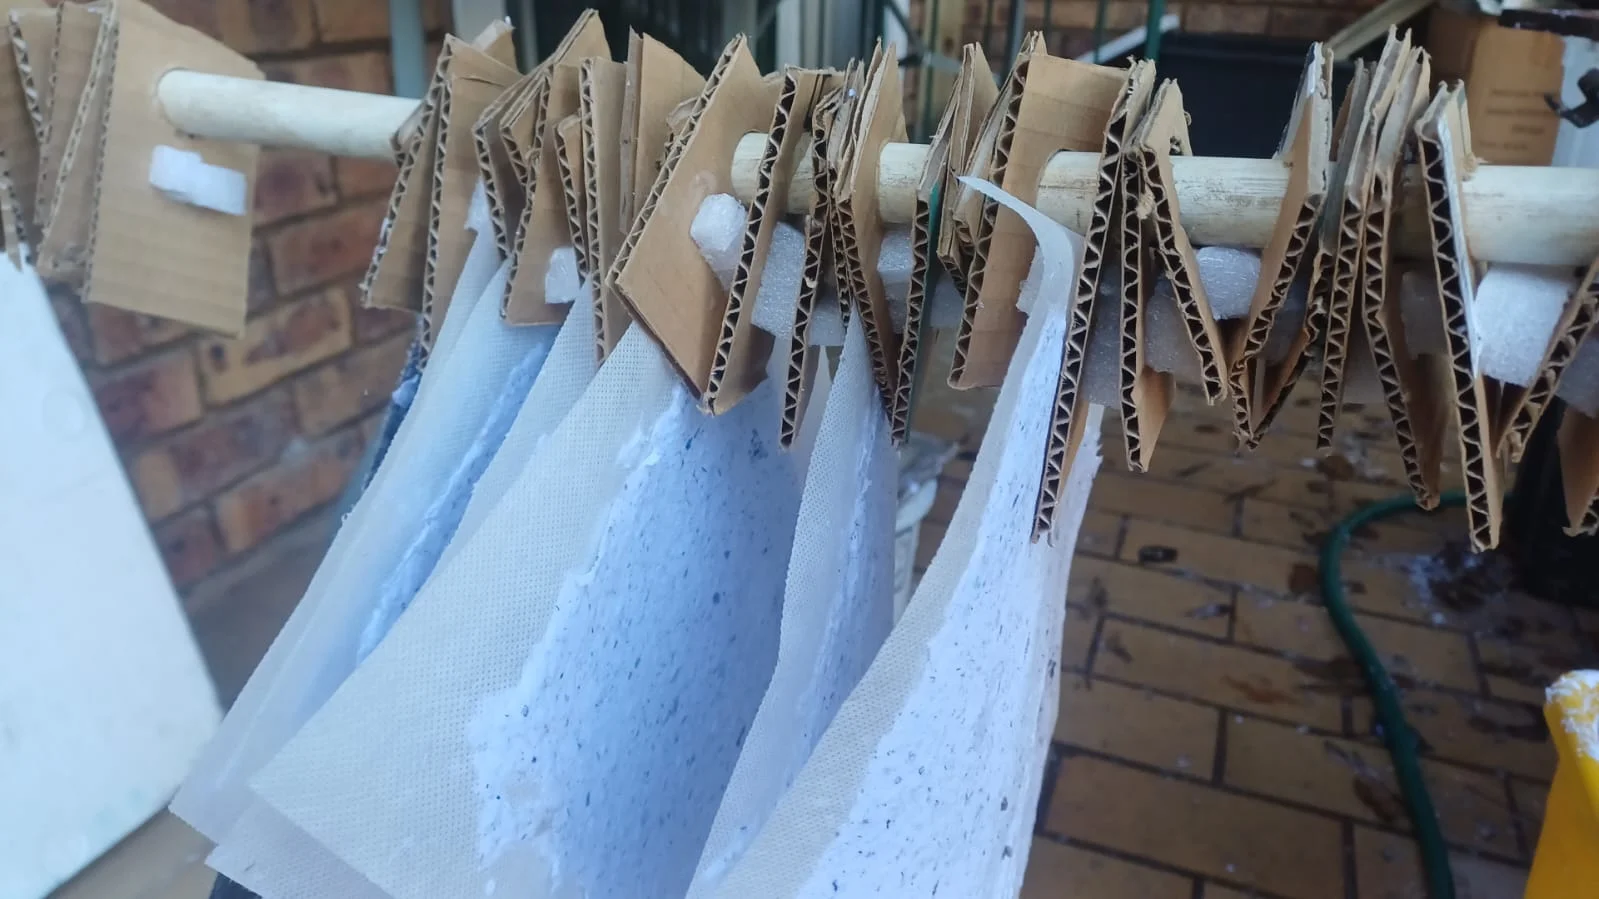
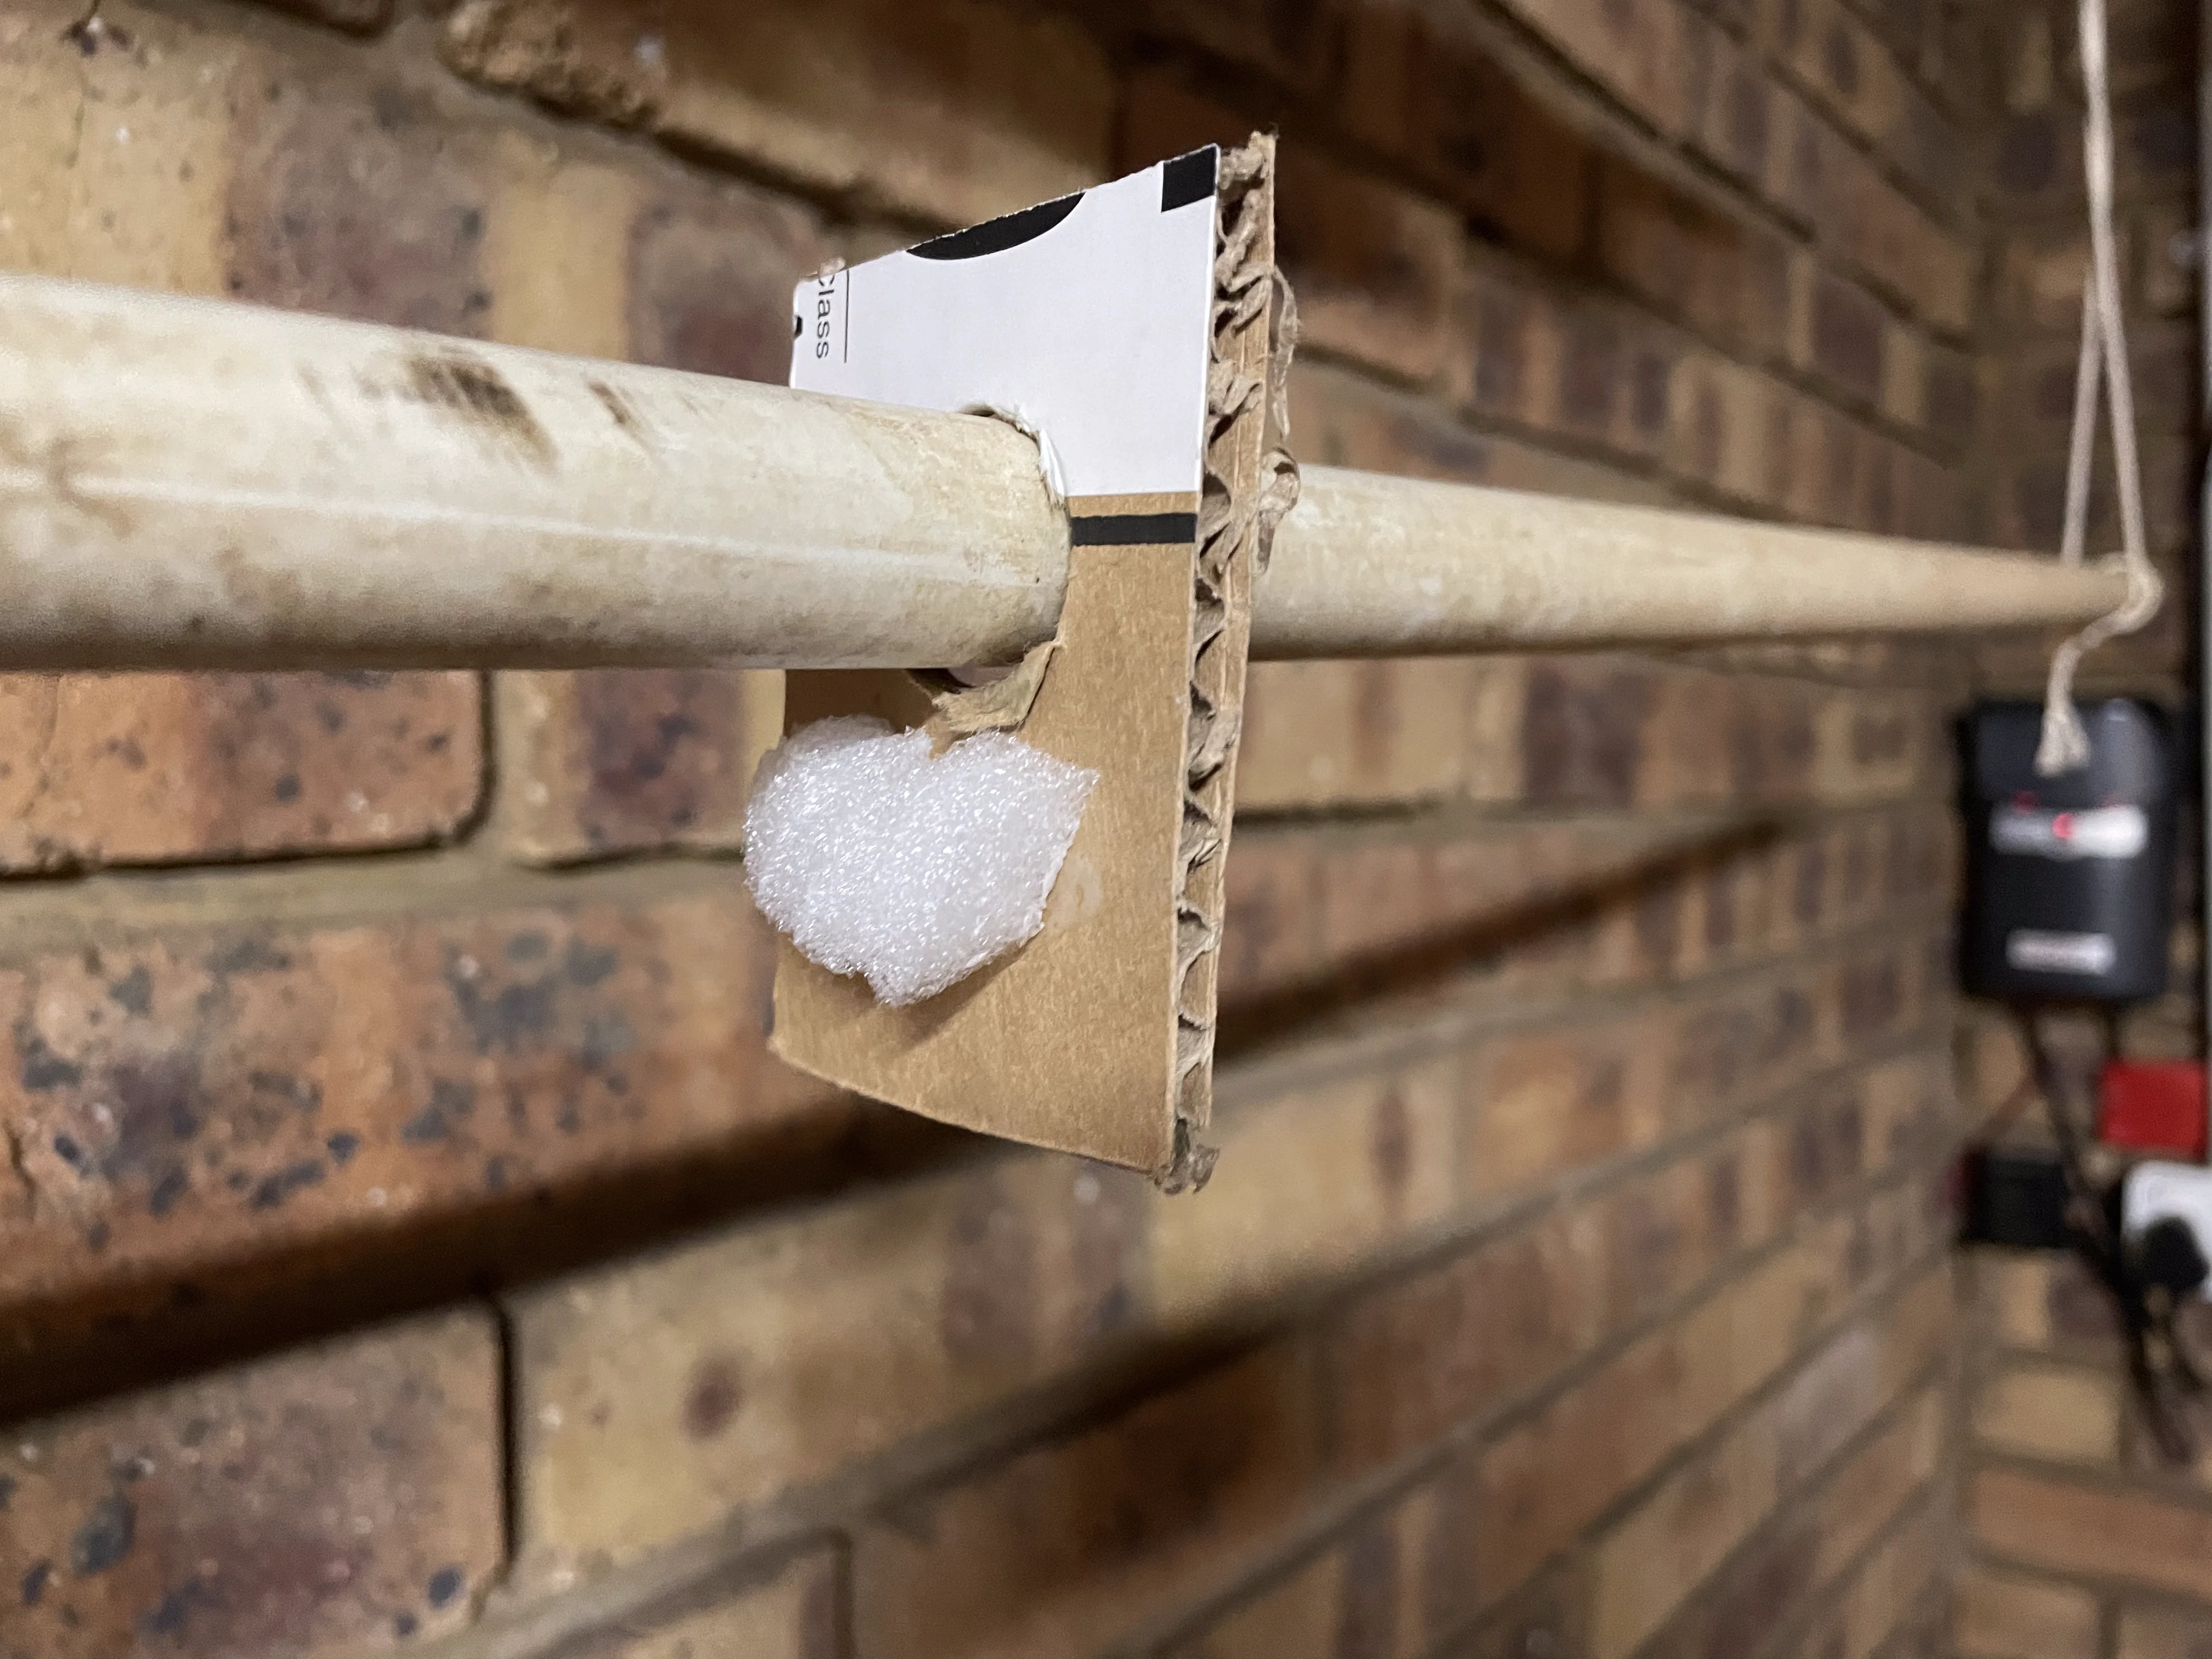
Step 1 — Sourcing and preparing raw material
So this is often the hardest step and also the most daunting if you are alone. When I started I had no idea what I was doing.
Some of the traditional ways of paper making involve cooking plant material, often the bark of plants, and then beating it to a pulp over a couple days. When I was in Nepal I spent a few days beating plant fibres to pulp and it was hard work.
In the video below they show some of the details of how traditional Gampi paper is made.
In the next video, we spent the day harvesting roots from the pool, which were later dried.
Of course this is possible without a beater. But it does make it easier. I am a big believer in not buying new. Before buying a new beater, please consider asking a friend to lend one, or looking at your nearest hospice or charity shop. There are so many lying around, waiting to be used.
Some tips for breaking down fibres naturally:
- Let it soak in water first.
- Once soaked let it lie in the direct sun for a couple of days.
- Bicarbonate of soda when soaking or boiling helps break it down.
- You can cook the material in a pot with bicarb for a couple of hours. But this takes a lot of energy. Consider building or looking for a rocket stove.
Step 2 — Breaking down the material
These are some tips for when using a blender:
- Always have enough water compared to material. You don't want to burn out your motor.
- Start by pulsing the beater, before letting it run.
- Fabrics or threads do not break down and get tangled in the blade.
- Watch out for staples or other foreign objects.
You generally only need less than a minute of beating before continuing.
Step 3 — Creating paper on hemp
Here I will outline the process for creating paper on hemp without a press.
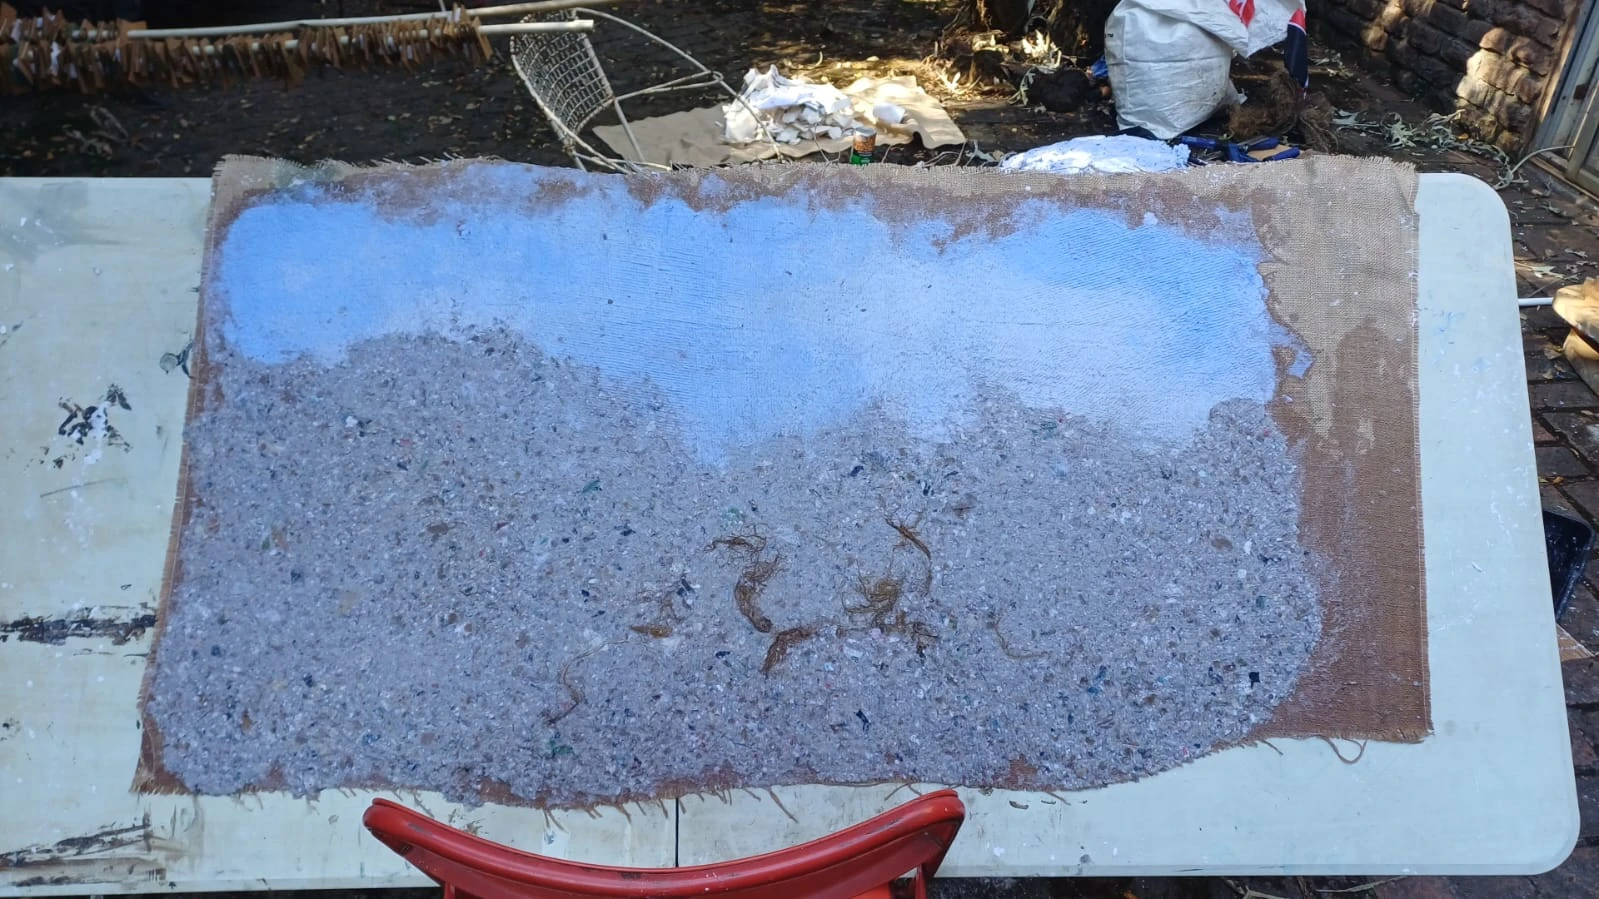
- Lay the hemp on a table which can withstand water.
- Ensure your vat (the container with the pulp) has enough water. The consistency should not be like porridge. But rather you should be able to put your hand in and shake it around easily. Only with some pulp sticking as you exit your hand.
- If you live in a cold area. Add some warm water to the vat. 🤟
- Pour the mixture slowly in sections onto the hemp.
- With the bamboo mats or with some cloth, press down lightly onto the hemp and flatten it.
- If the mixture sticks to your cloth. Pour some water on top of the cloth with the pulp in between.
- Continue the process of adding and flattening. Working slowly and consistently.
- Once you are happy with your achievements. Slant the table so that the water can drain. But not too much as the pulp will slide. Don't worry about the hemp falling off. The water acts as a glue to the table.
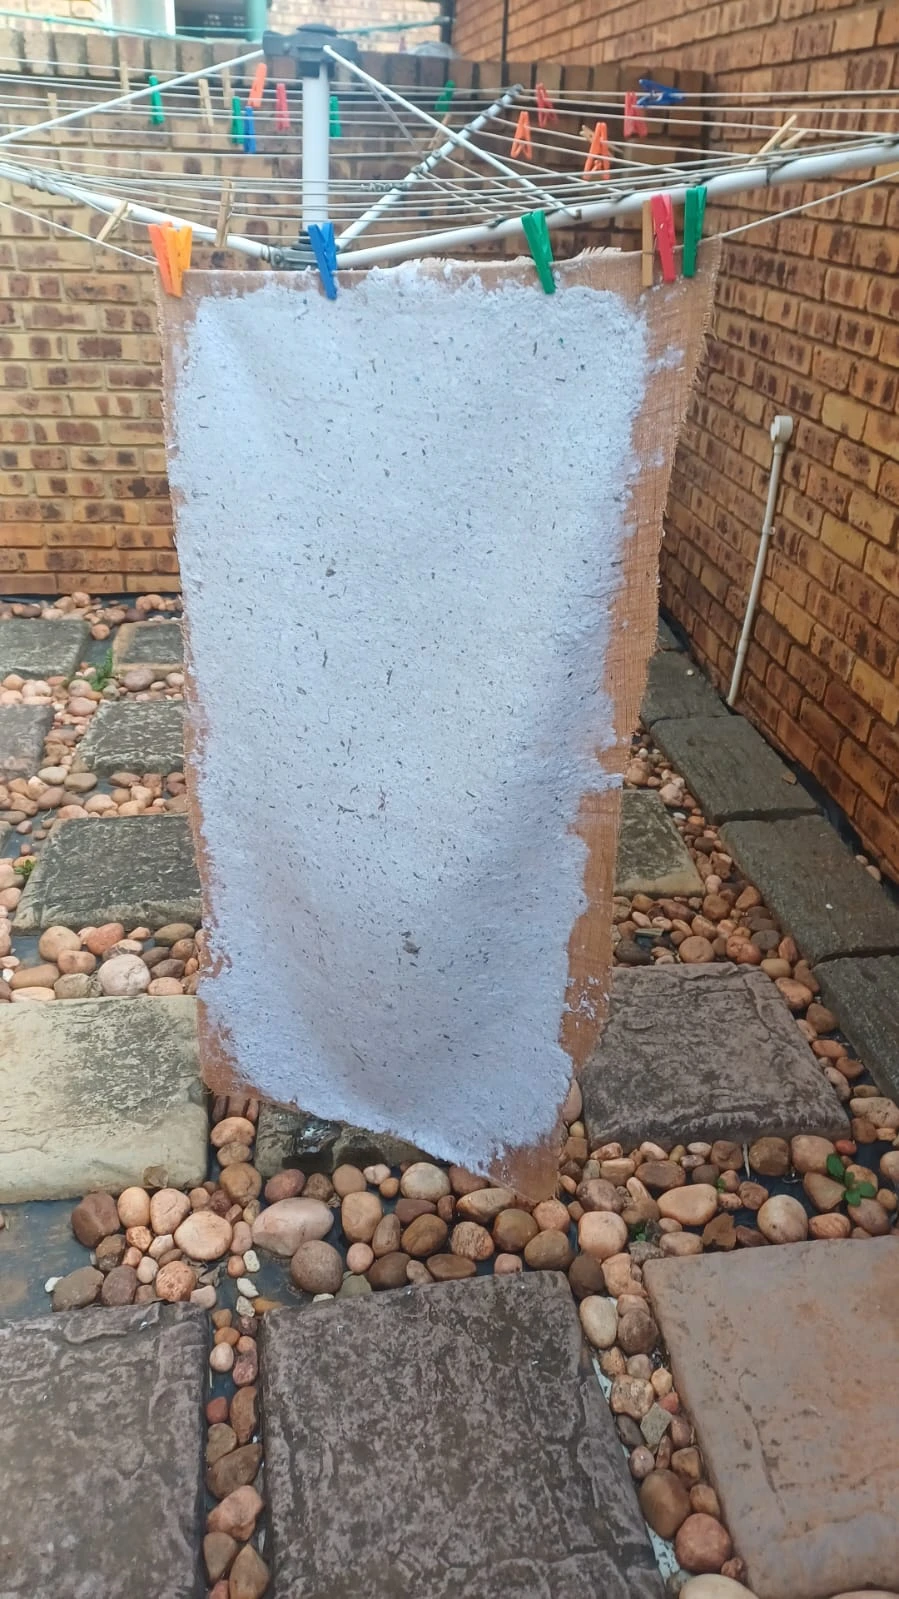
- Once dry enough. Carefully lift the hemp and hang it on a line.
- This last part is particularly difficult as the paper is at its most vulnerable. If it tears you can patch it with the same process above.
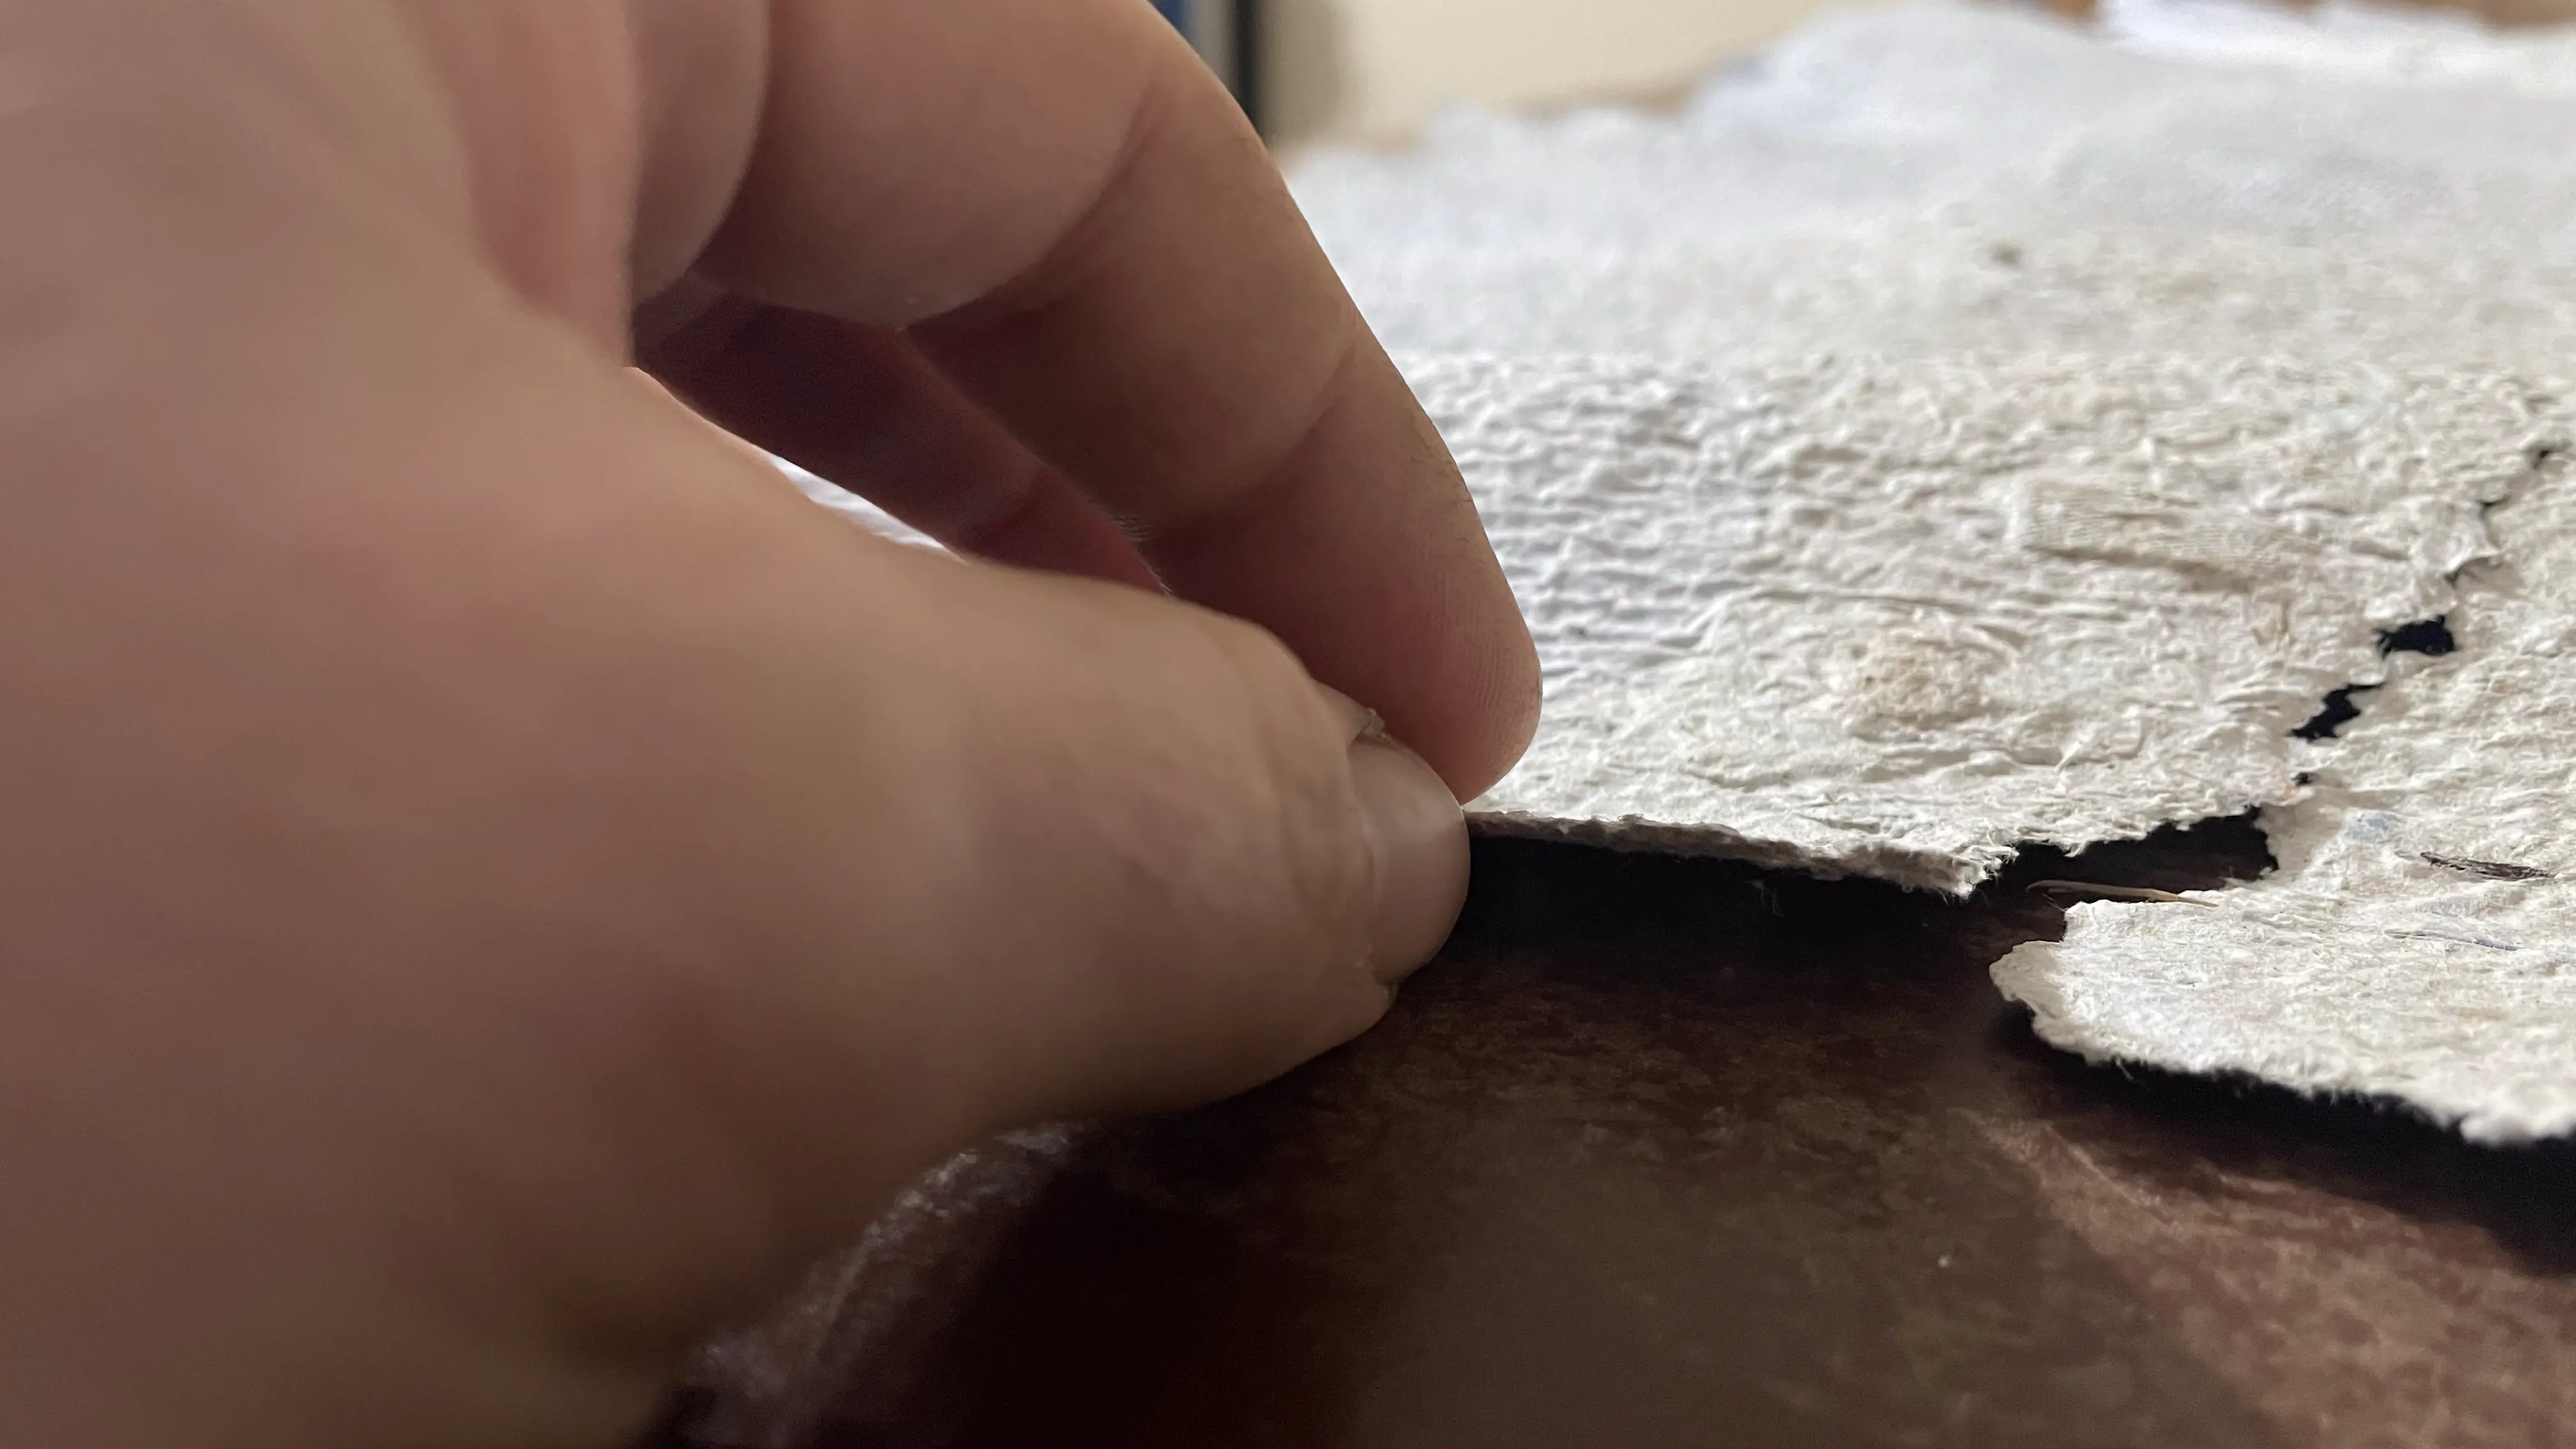
- Once it has dried over a day. You can then peel the paper from the hemp.
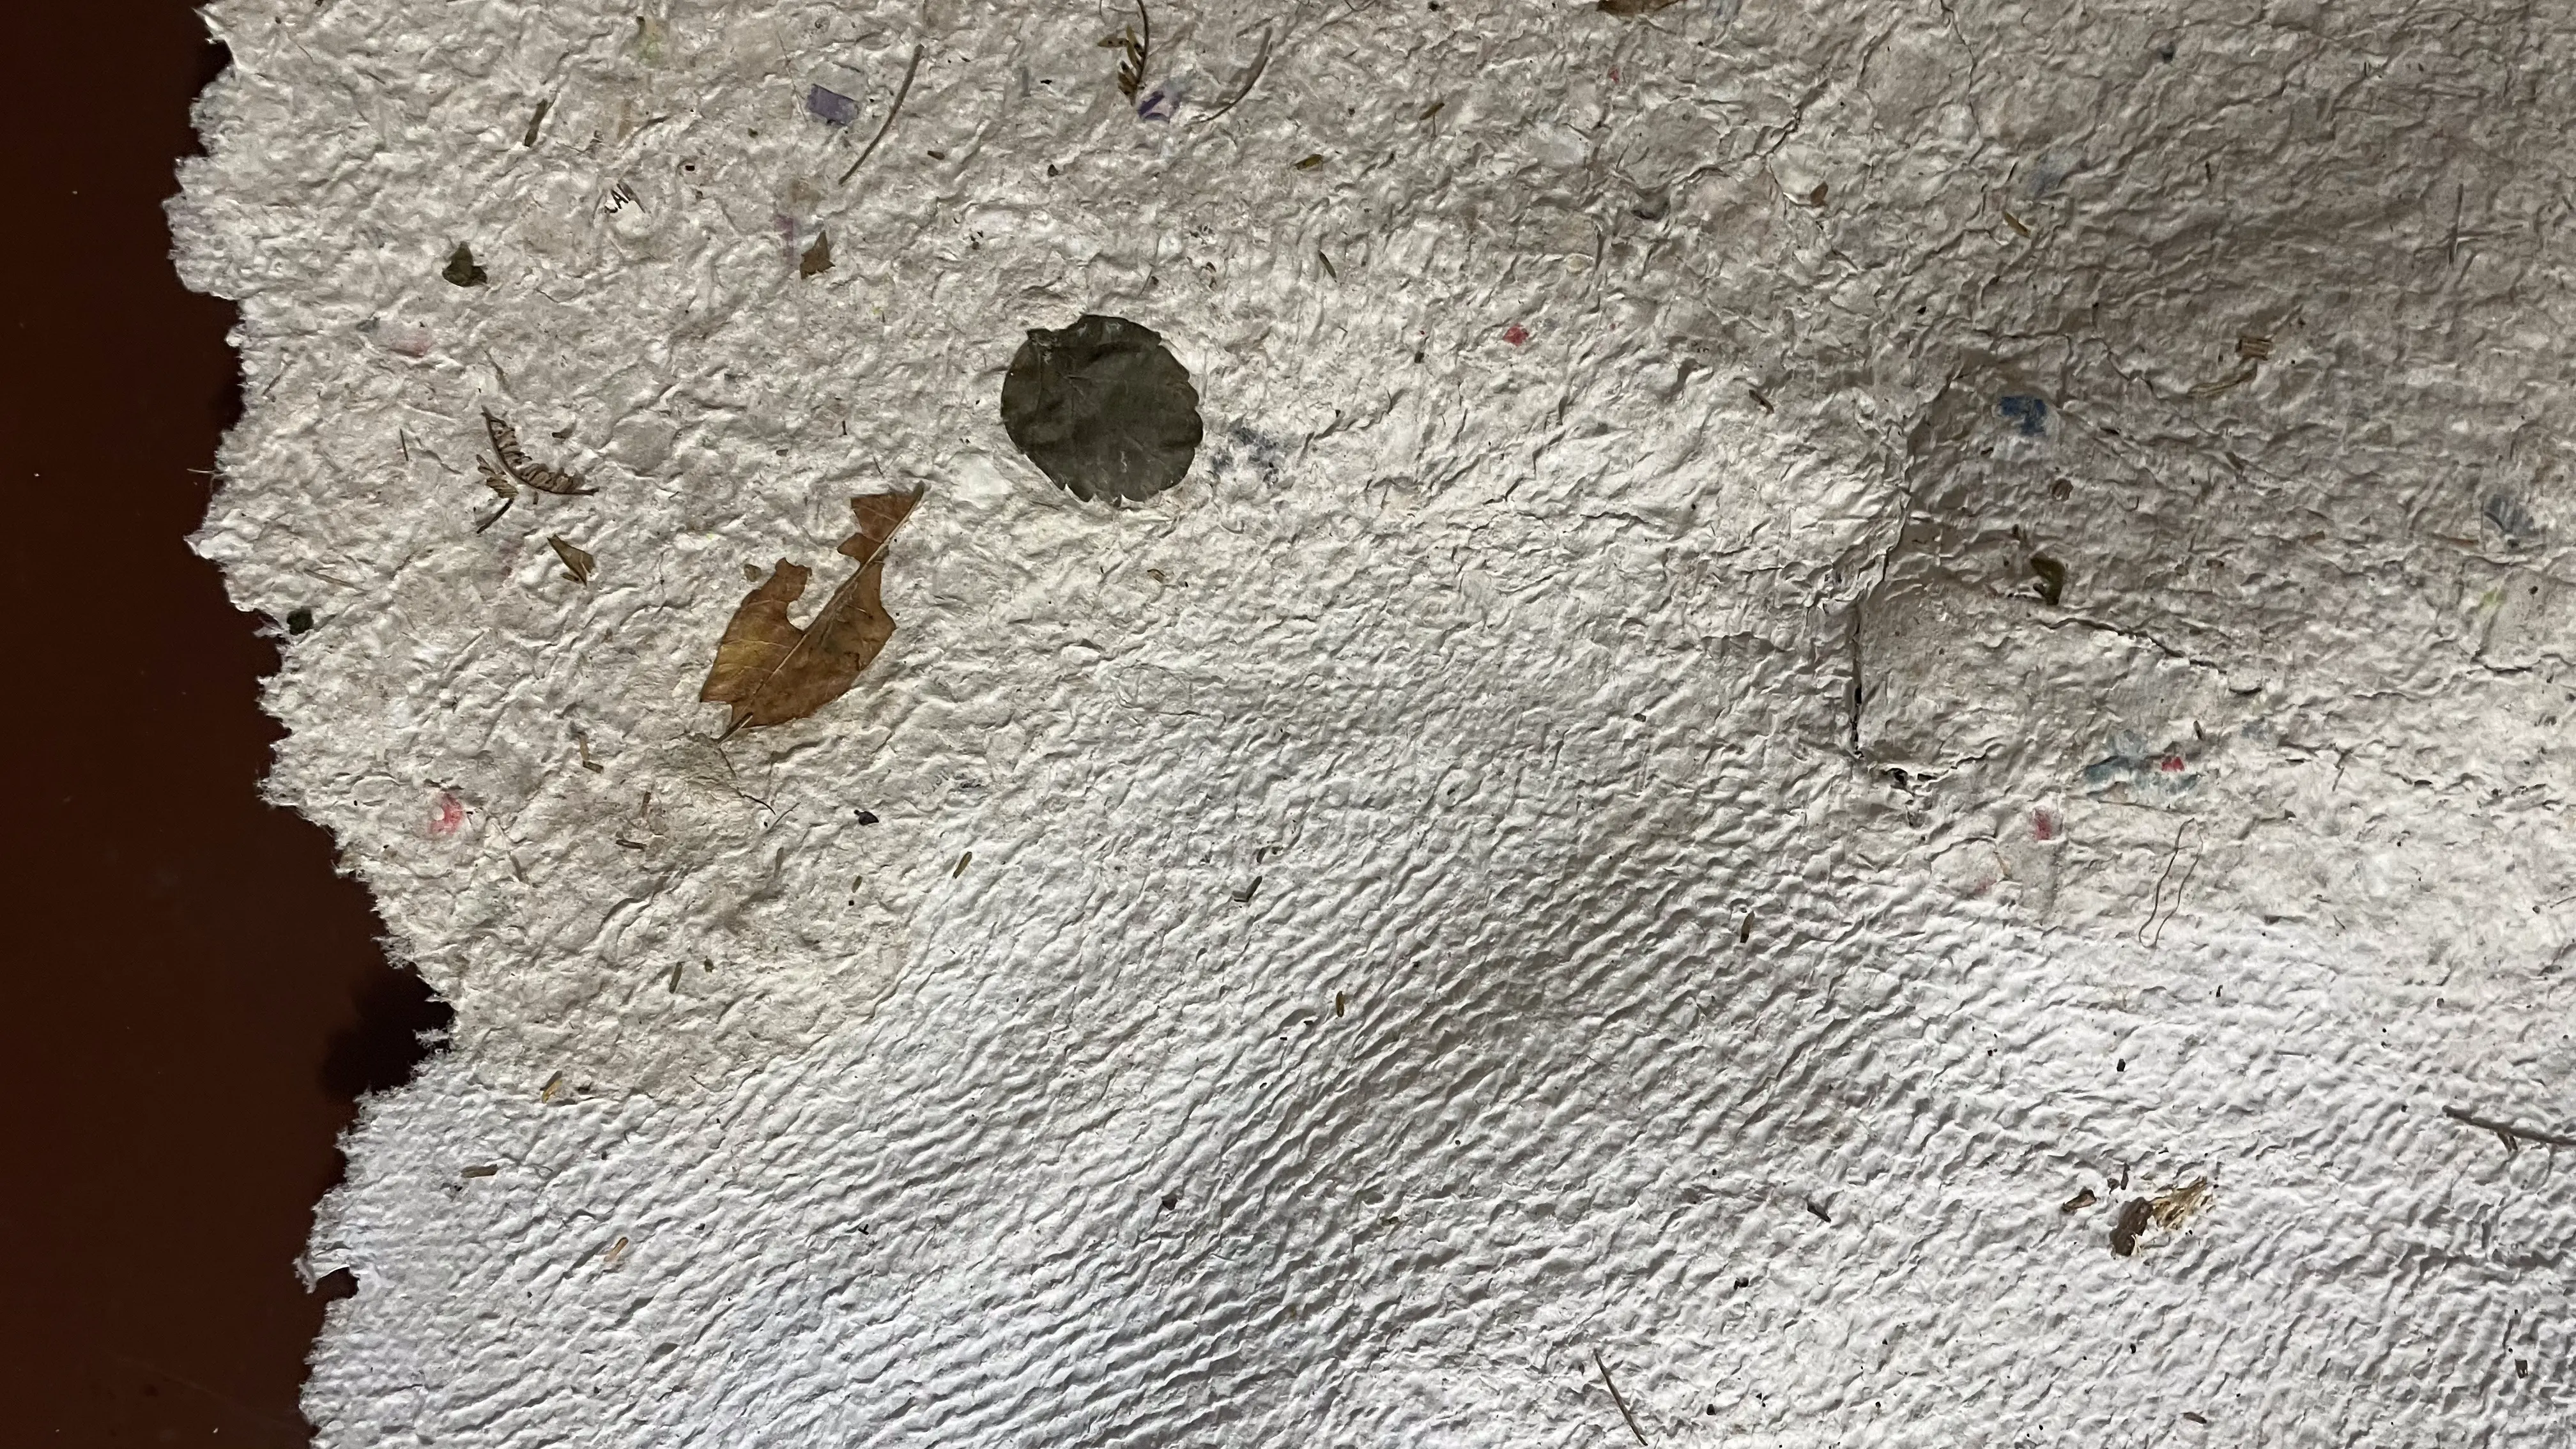
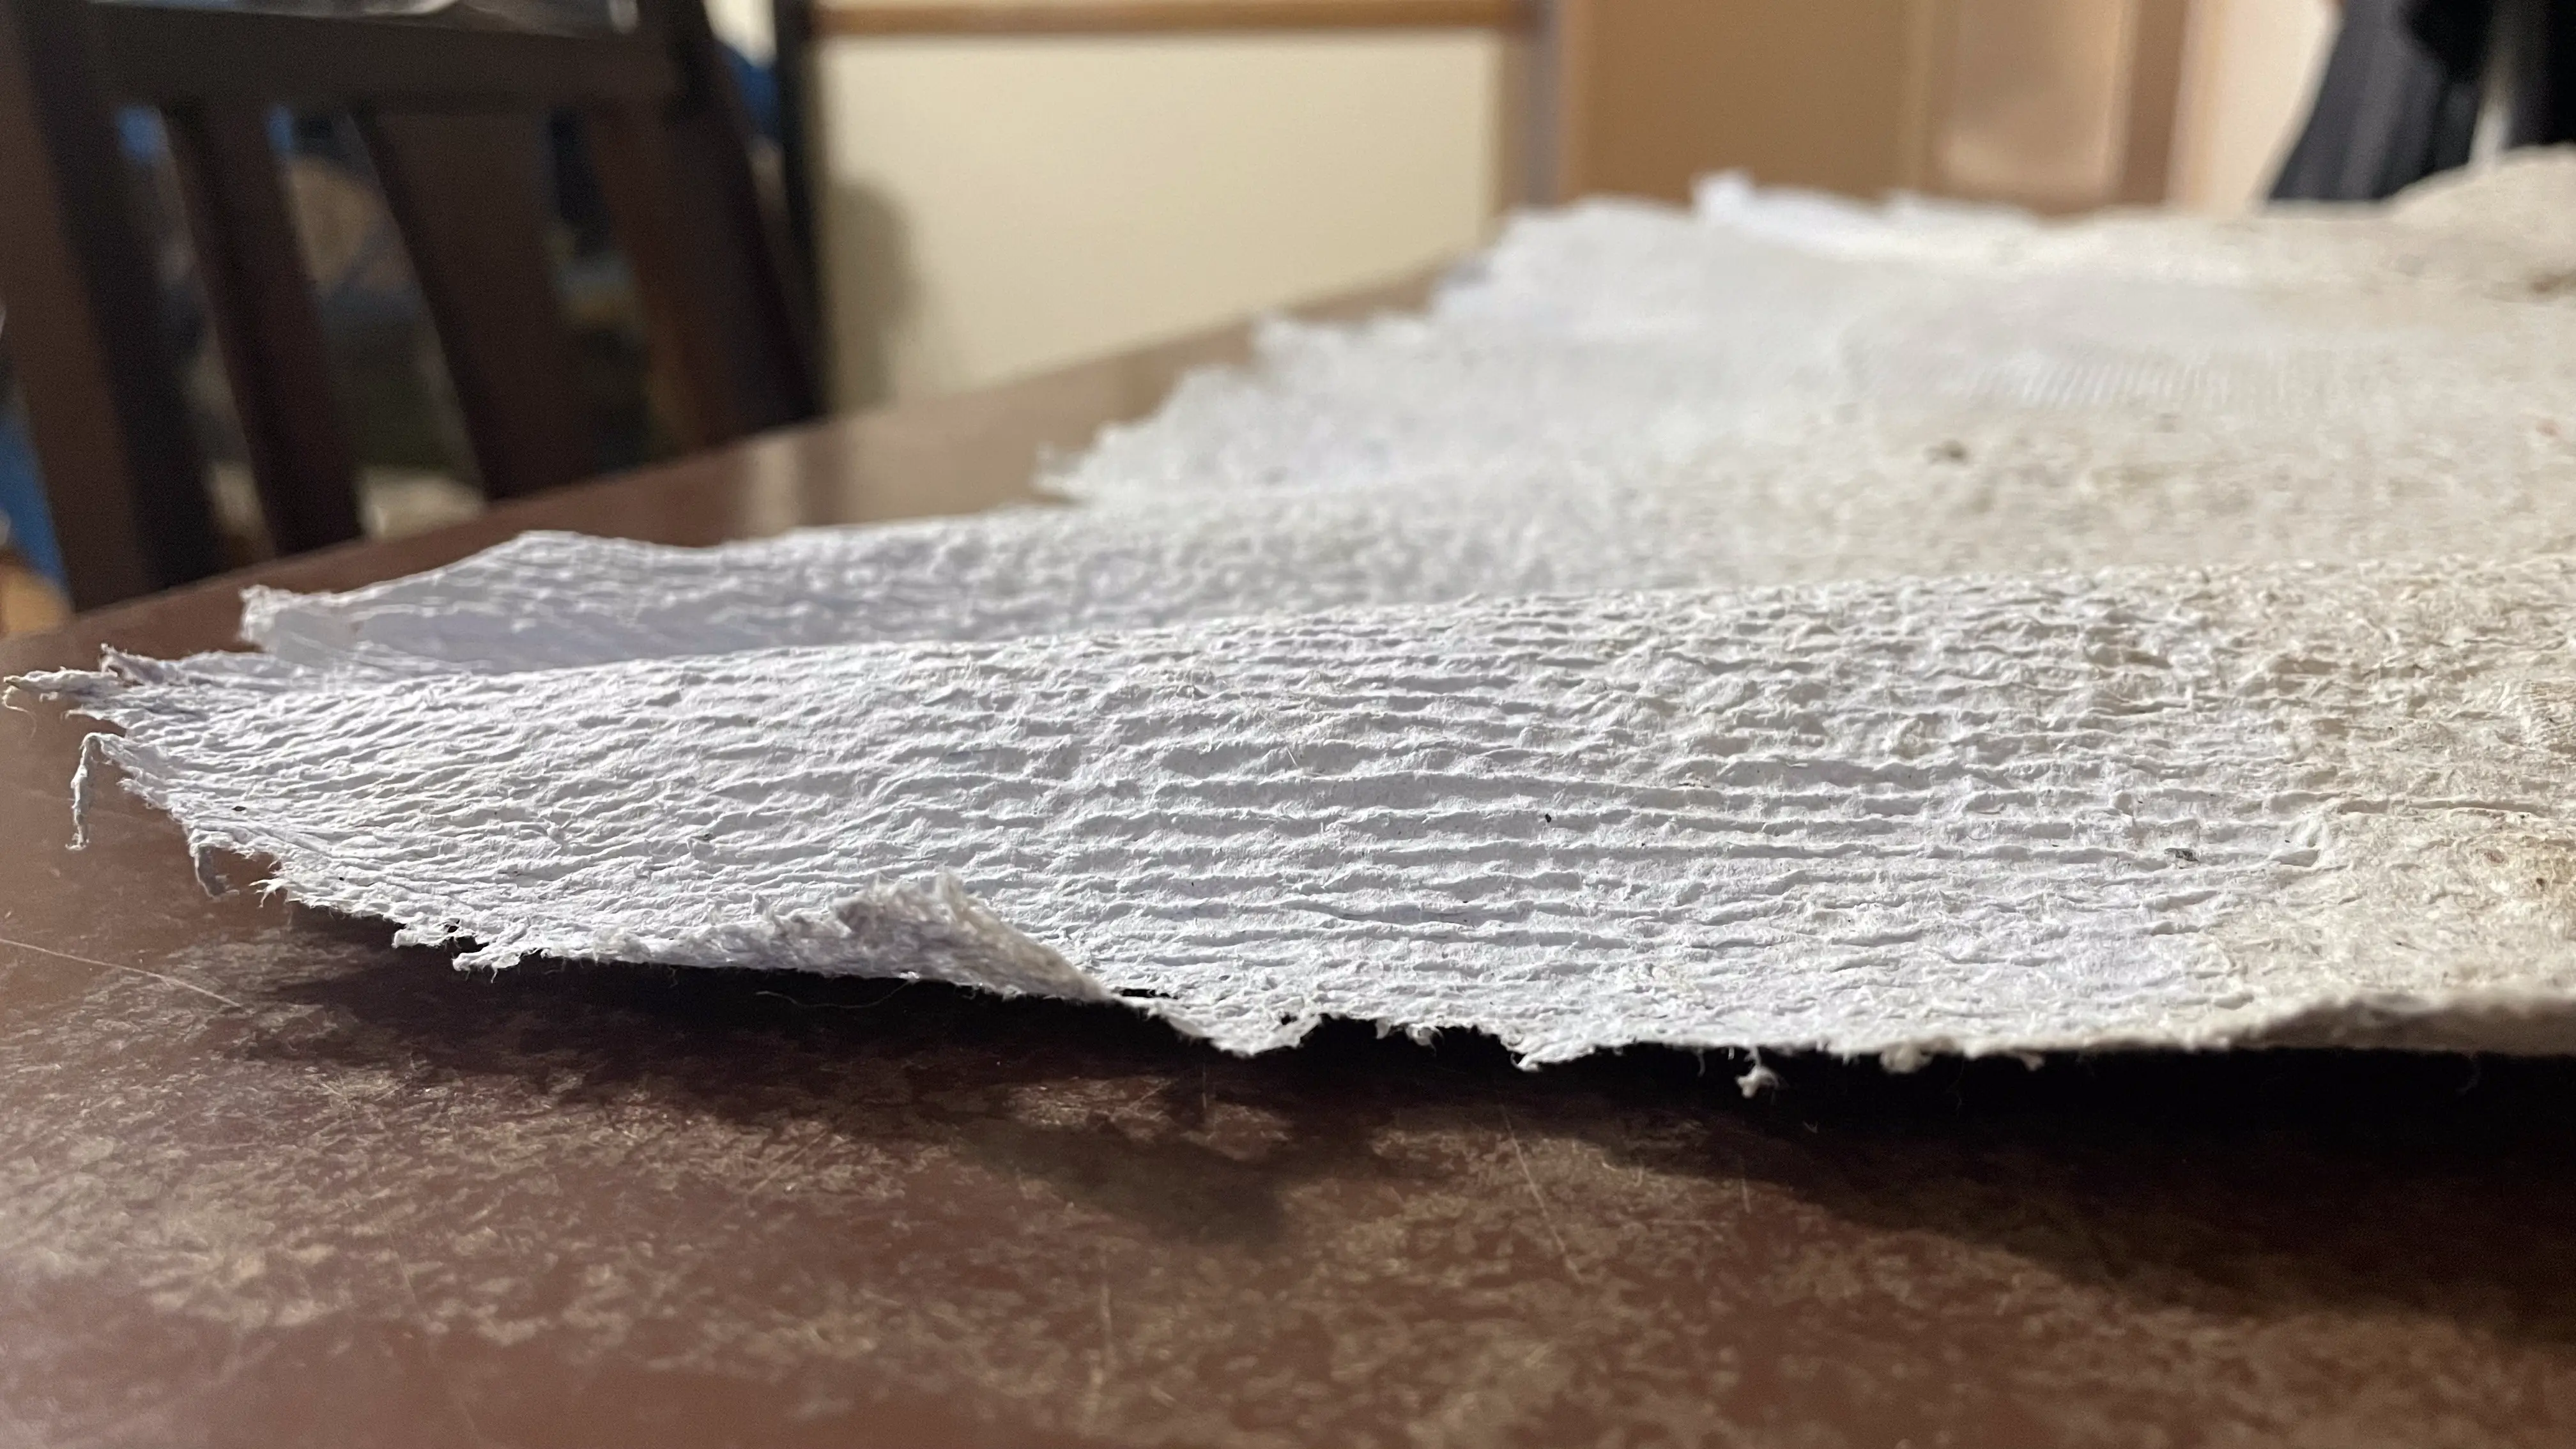
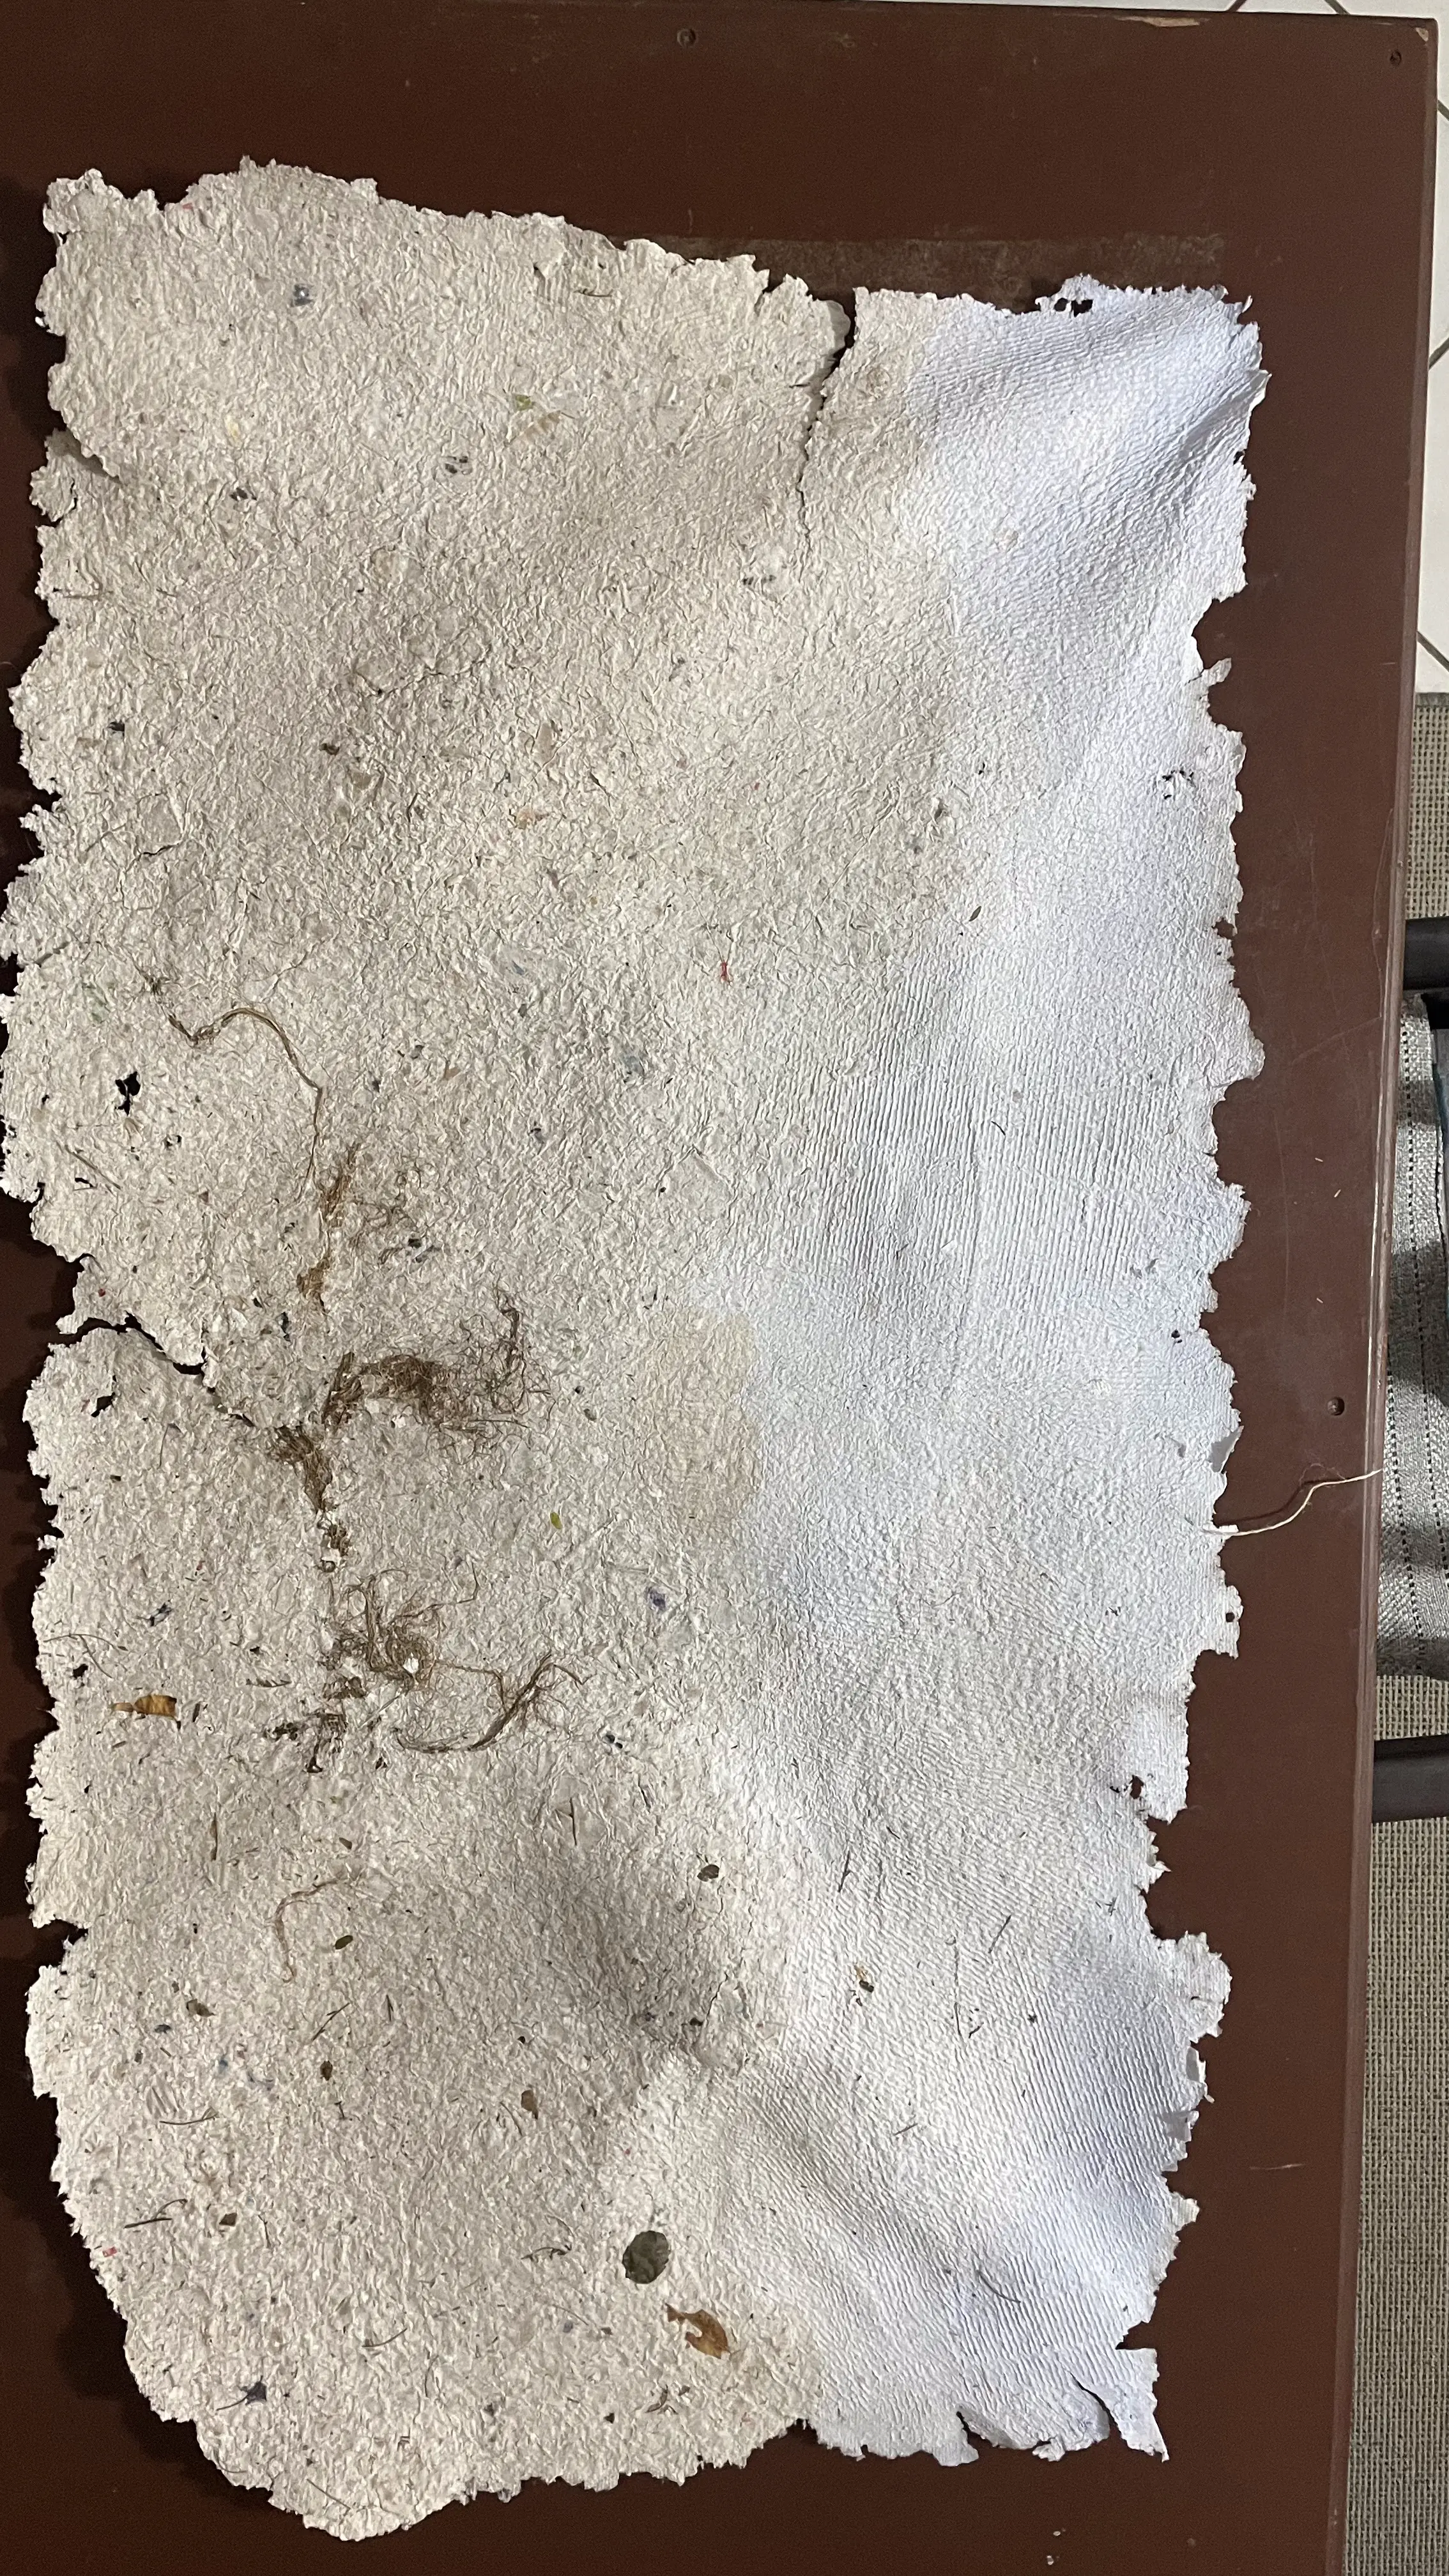
From here you can press the paper to flatten it. But I really like the texture that comes from it.
Results
These are some of the results from my most recent hemp paper.
Troubleshooting & lessons learned
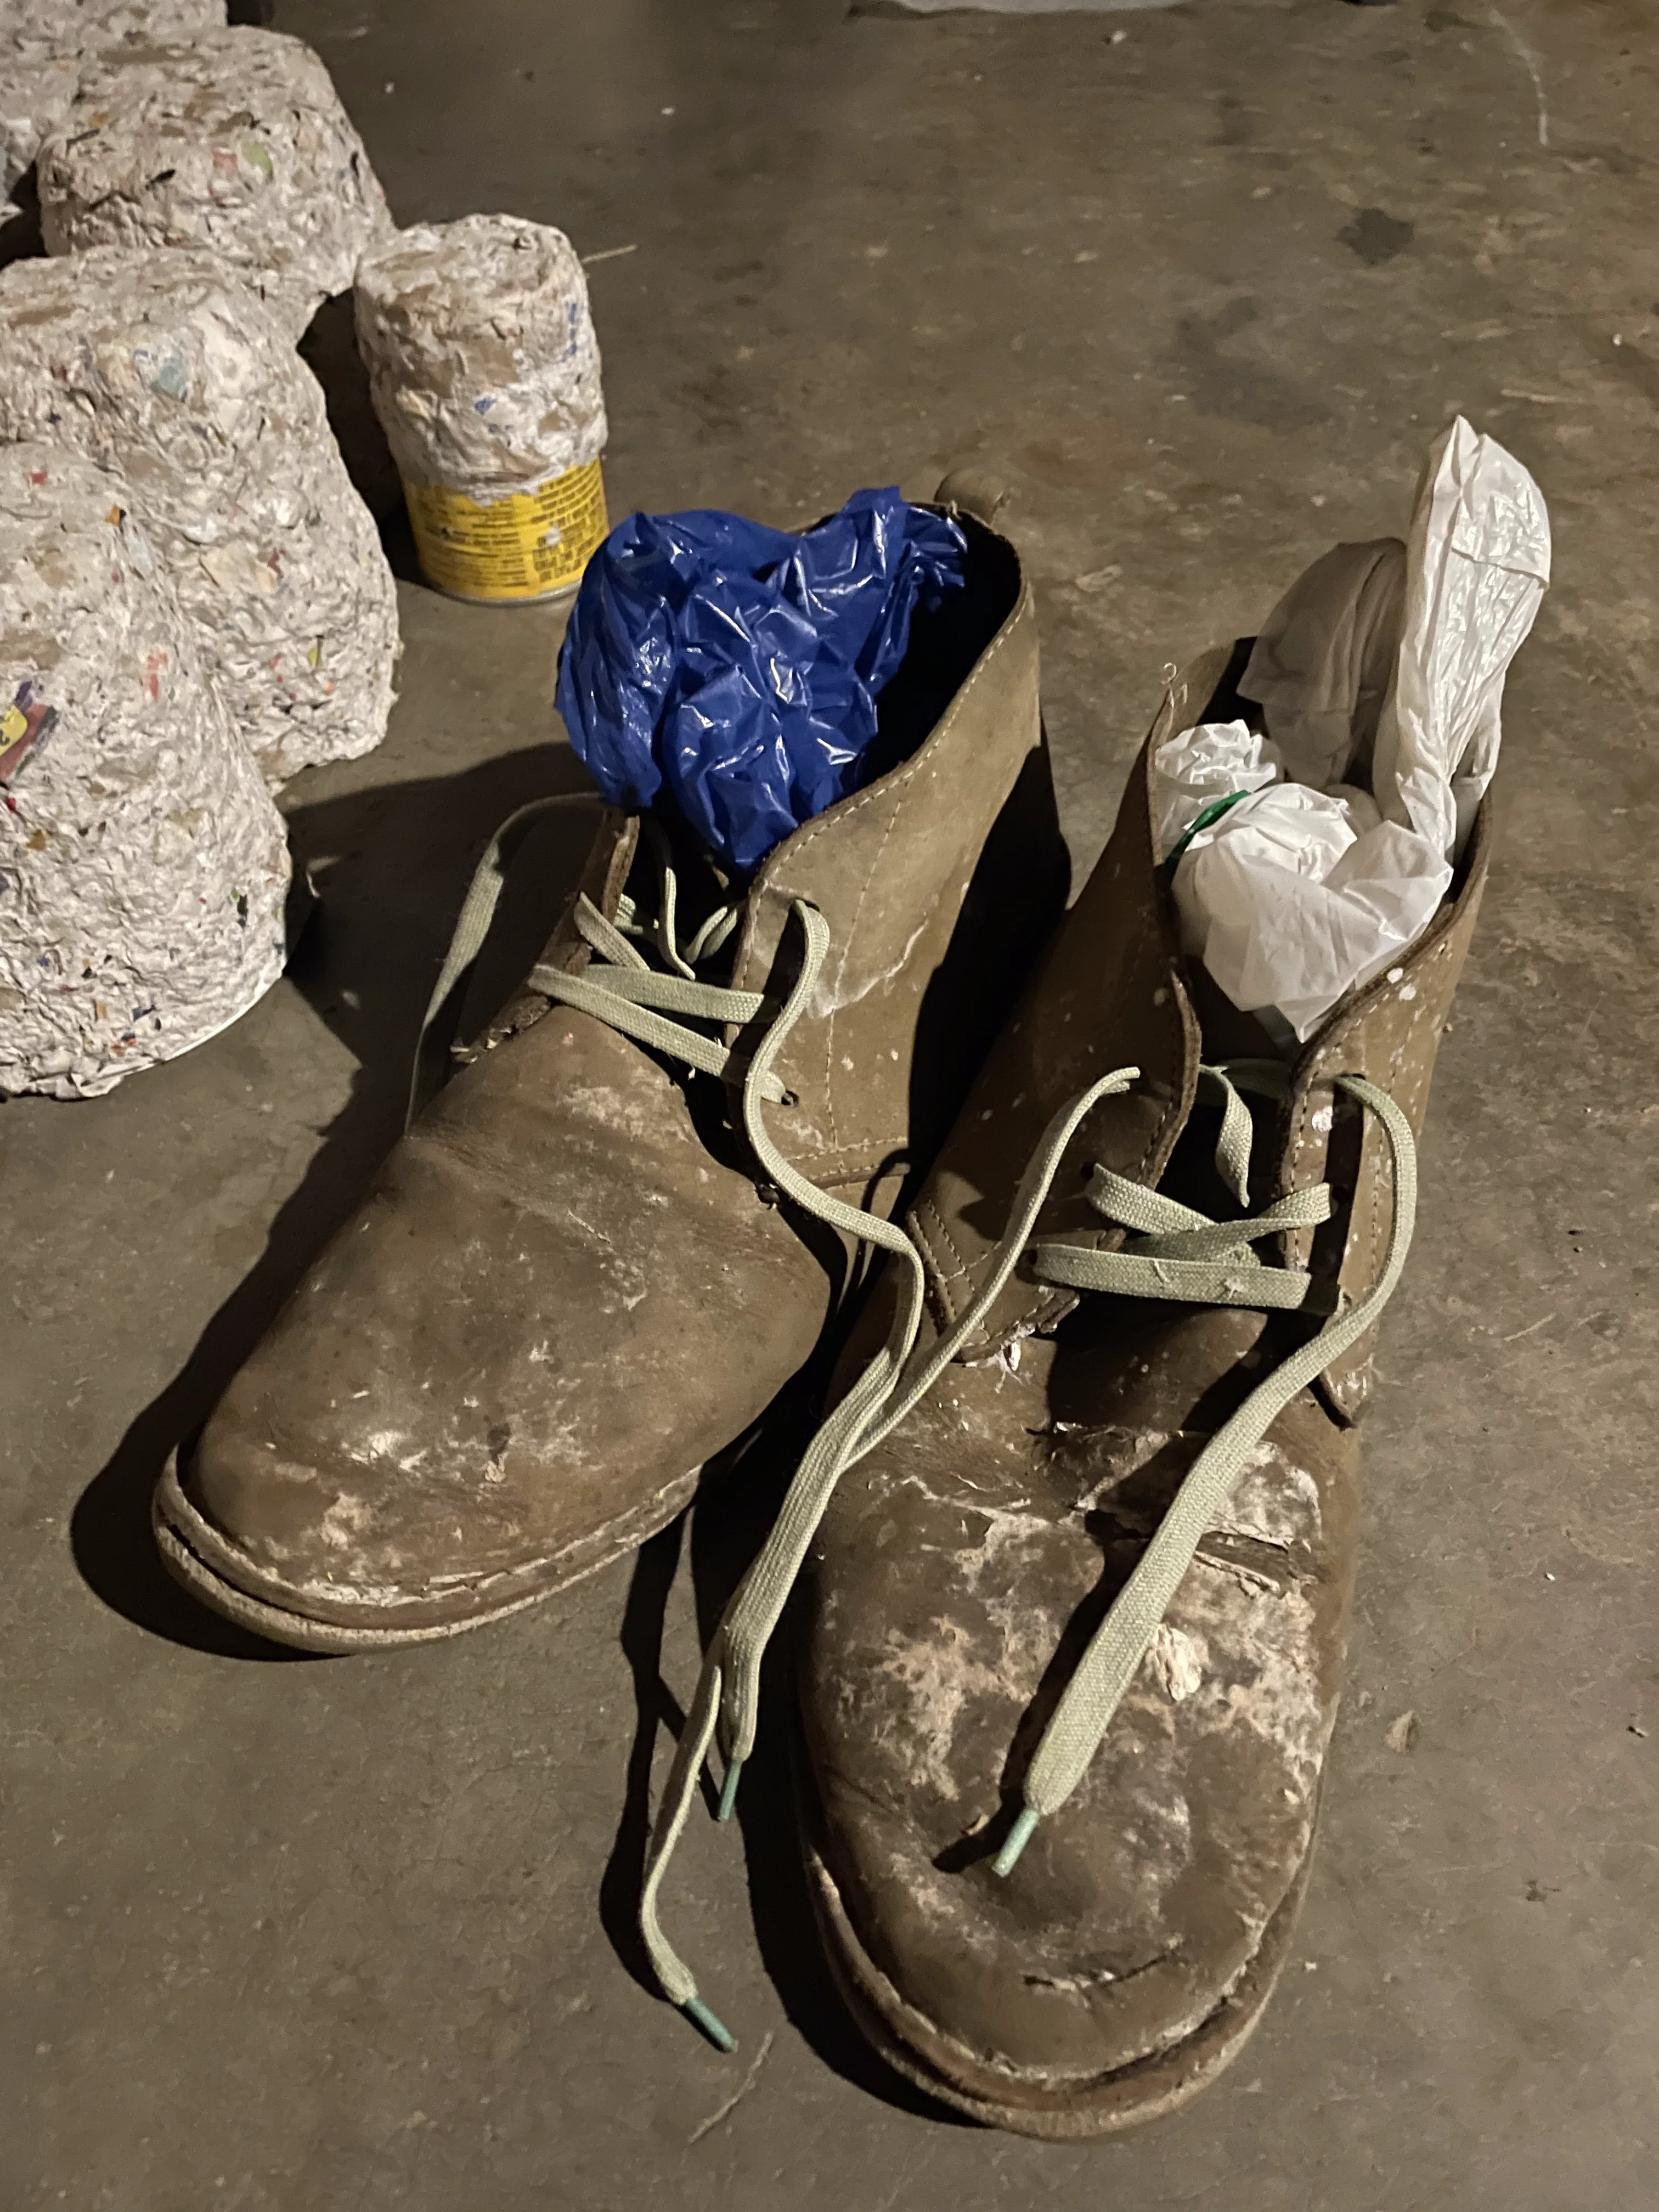
How I keep my shoes dry.
Next steps
I will be planning weekly online sessions in future if you have questions. So please write them down.
If you found this information useful. Please be in touch through WhatsApp me and let me know.
Want a sheet of your own?
If reading this made you curious to hold a piece of it, I sell the handmade paper itself. Visit the Paper shop to see what's currently available.